
Wood Block Printing
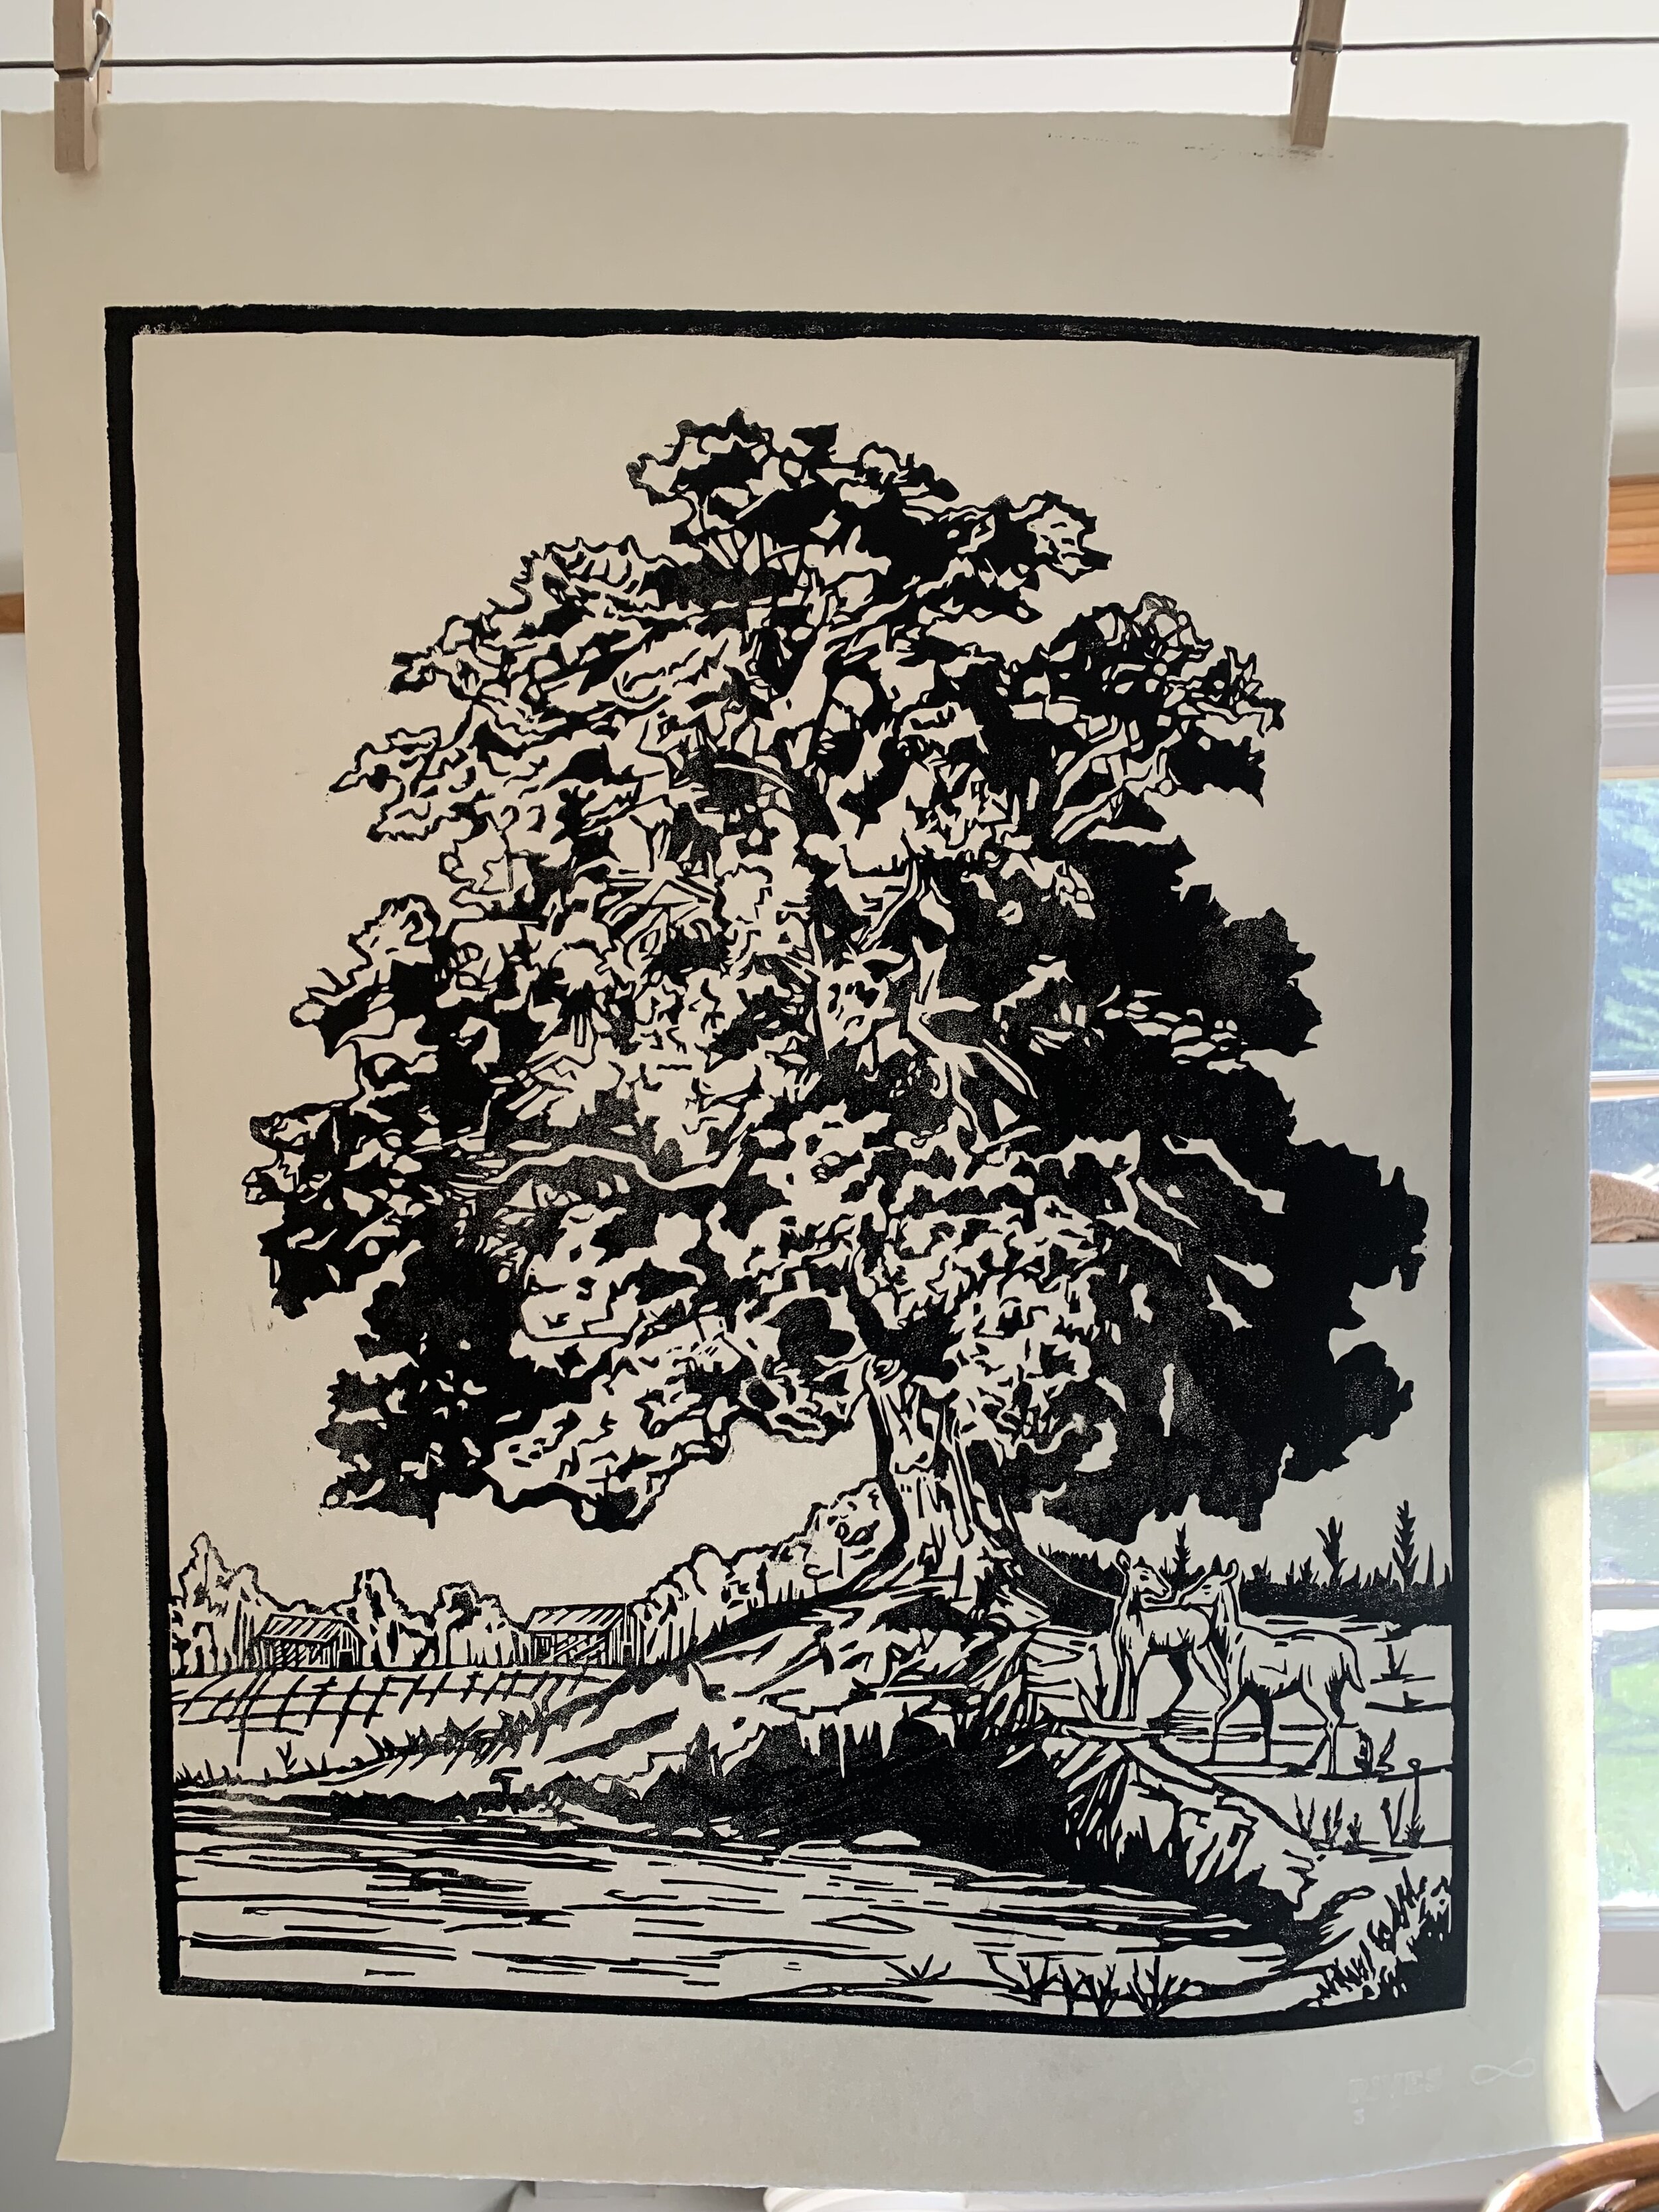
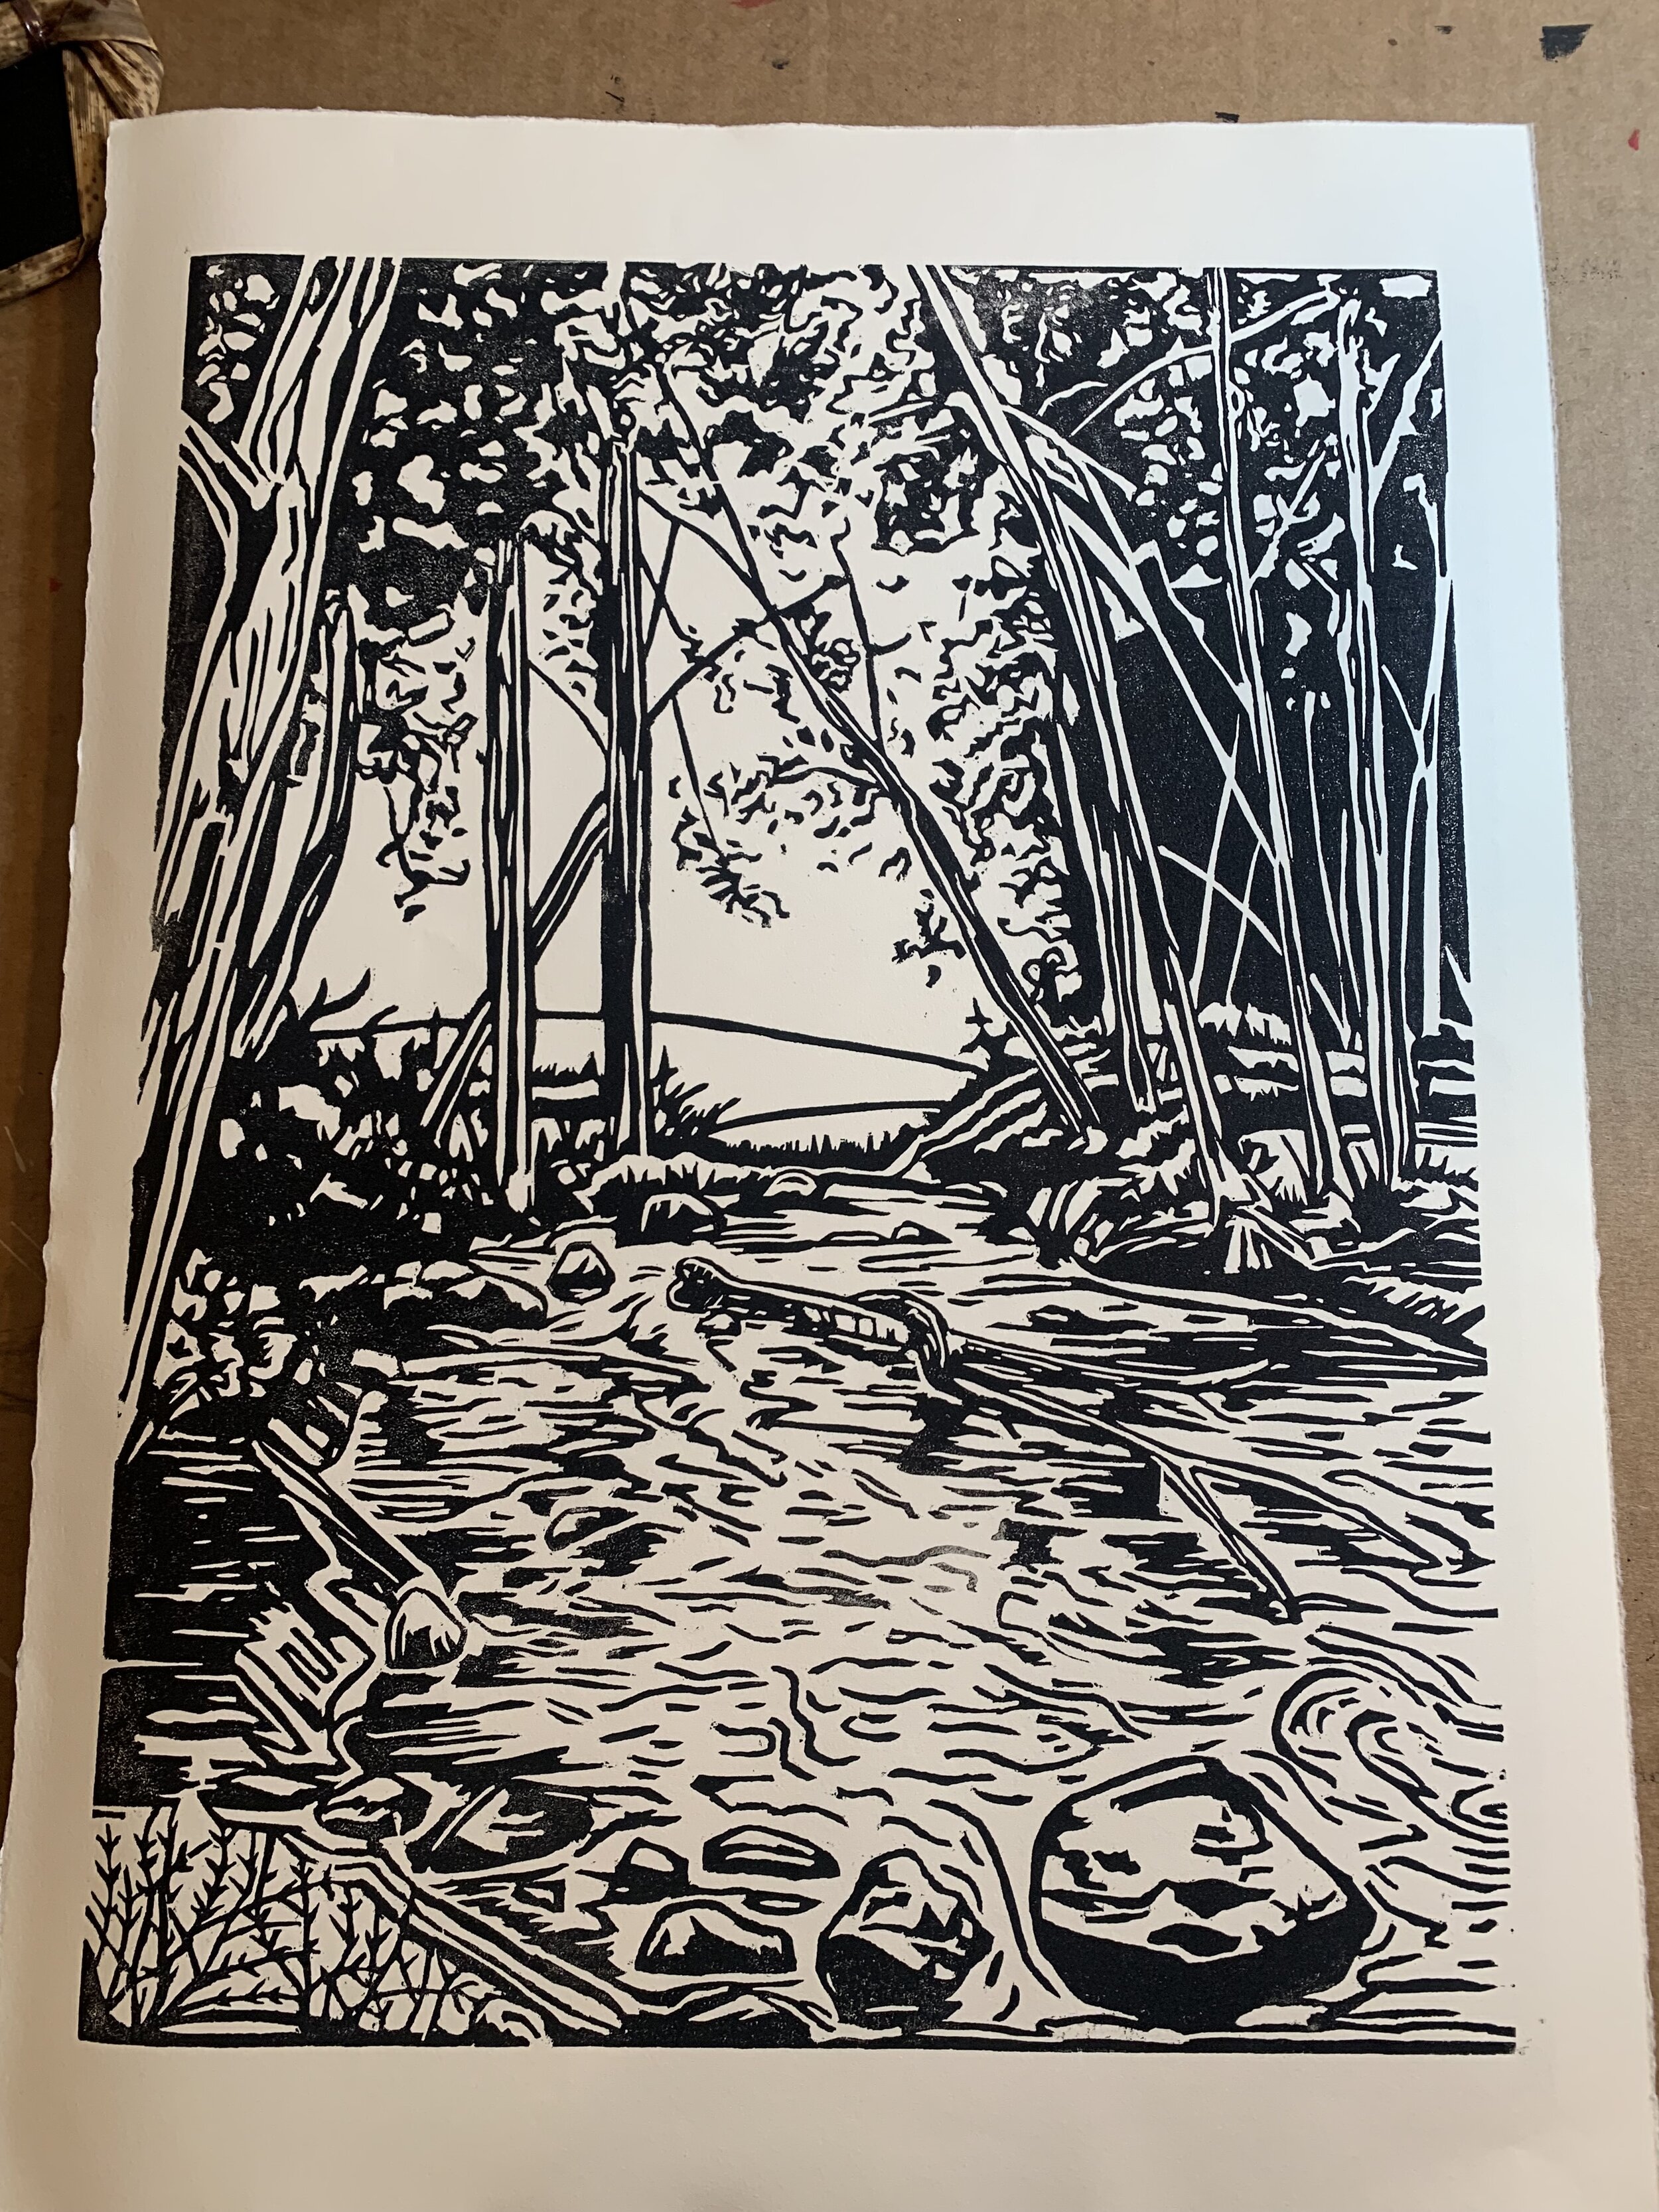
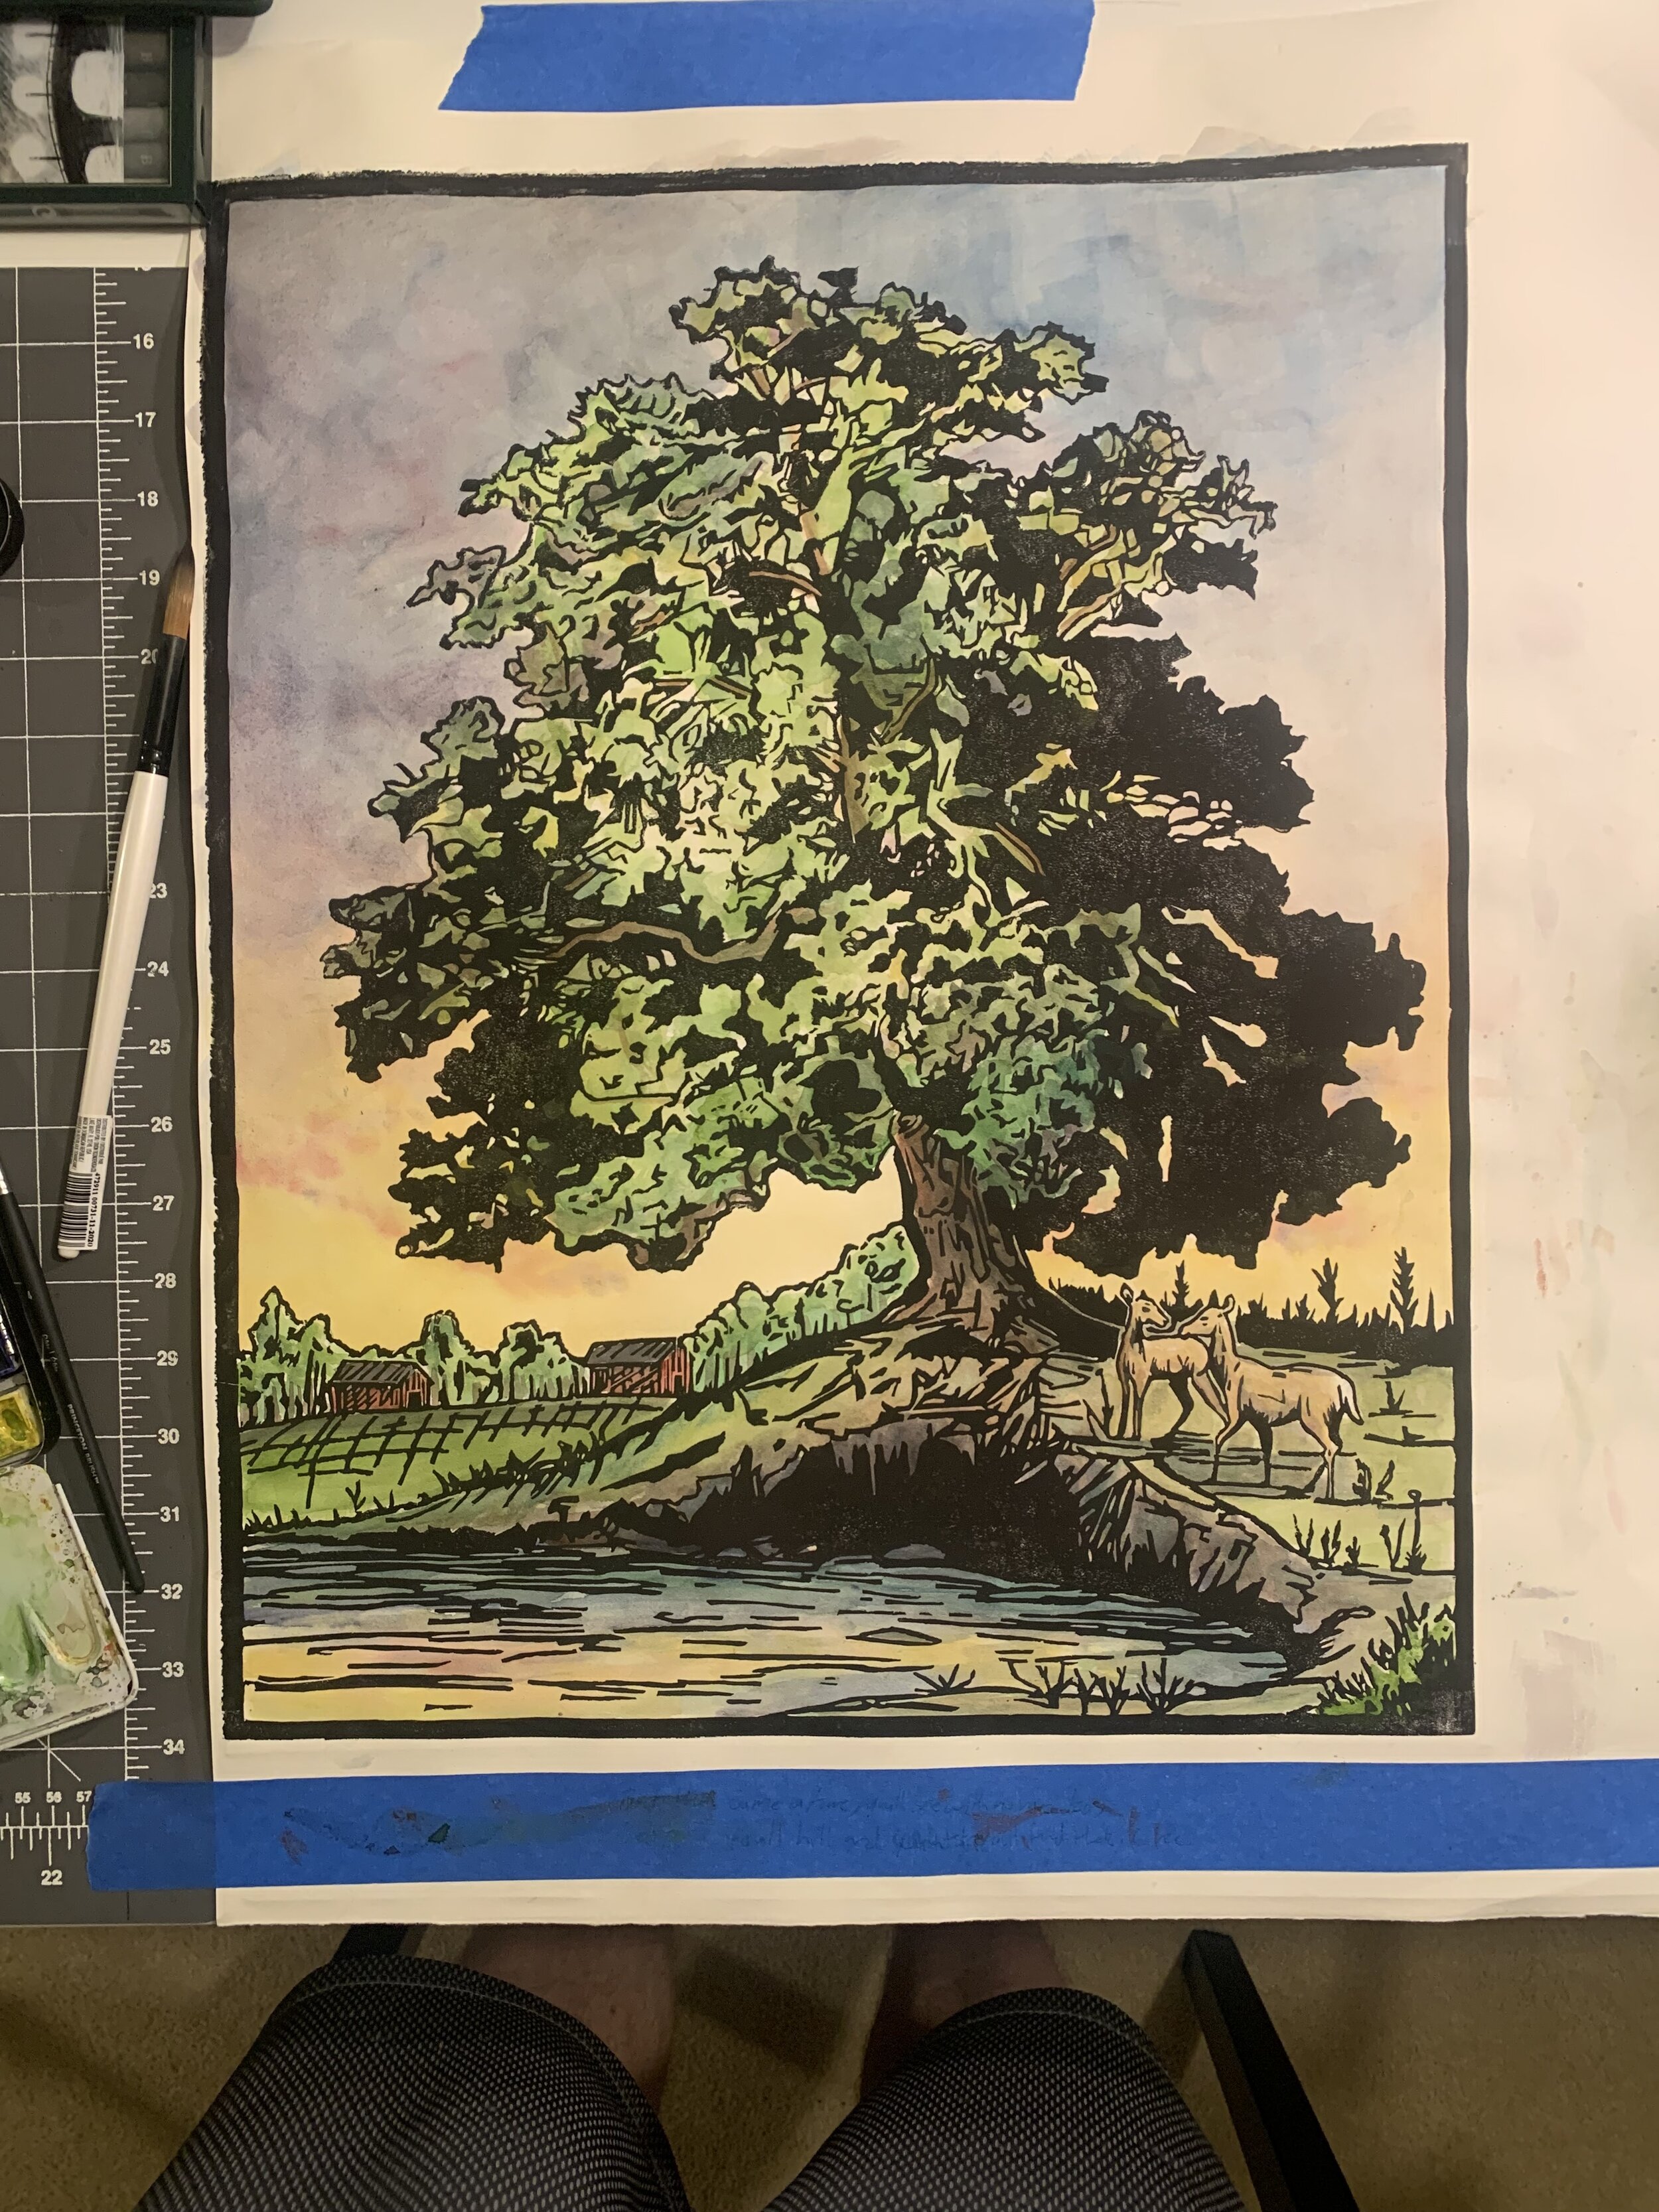
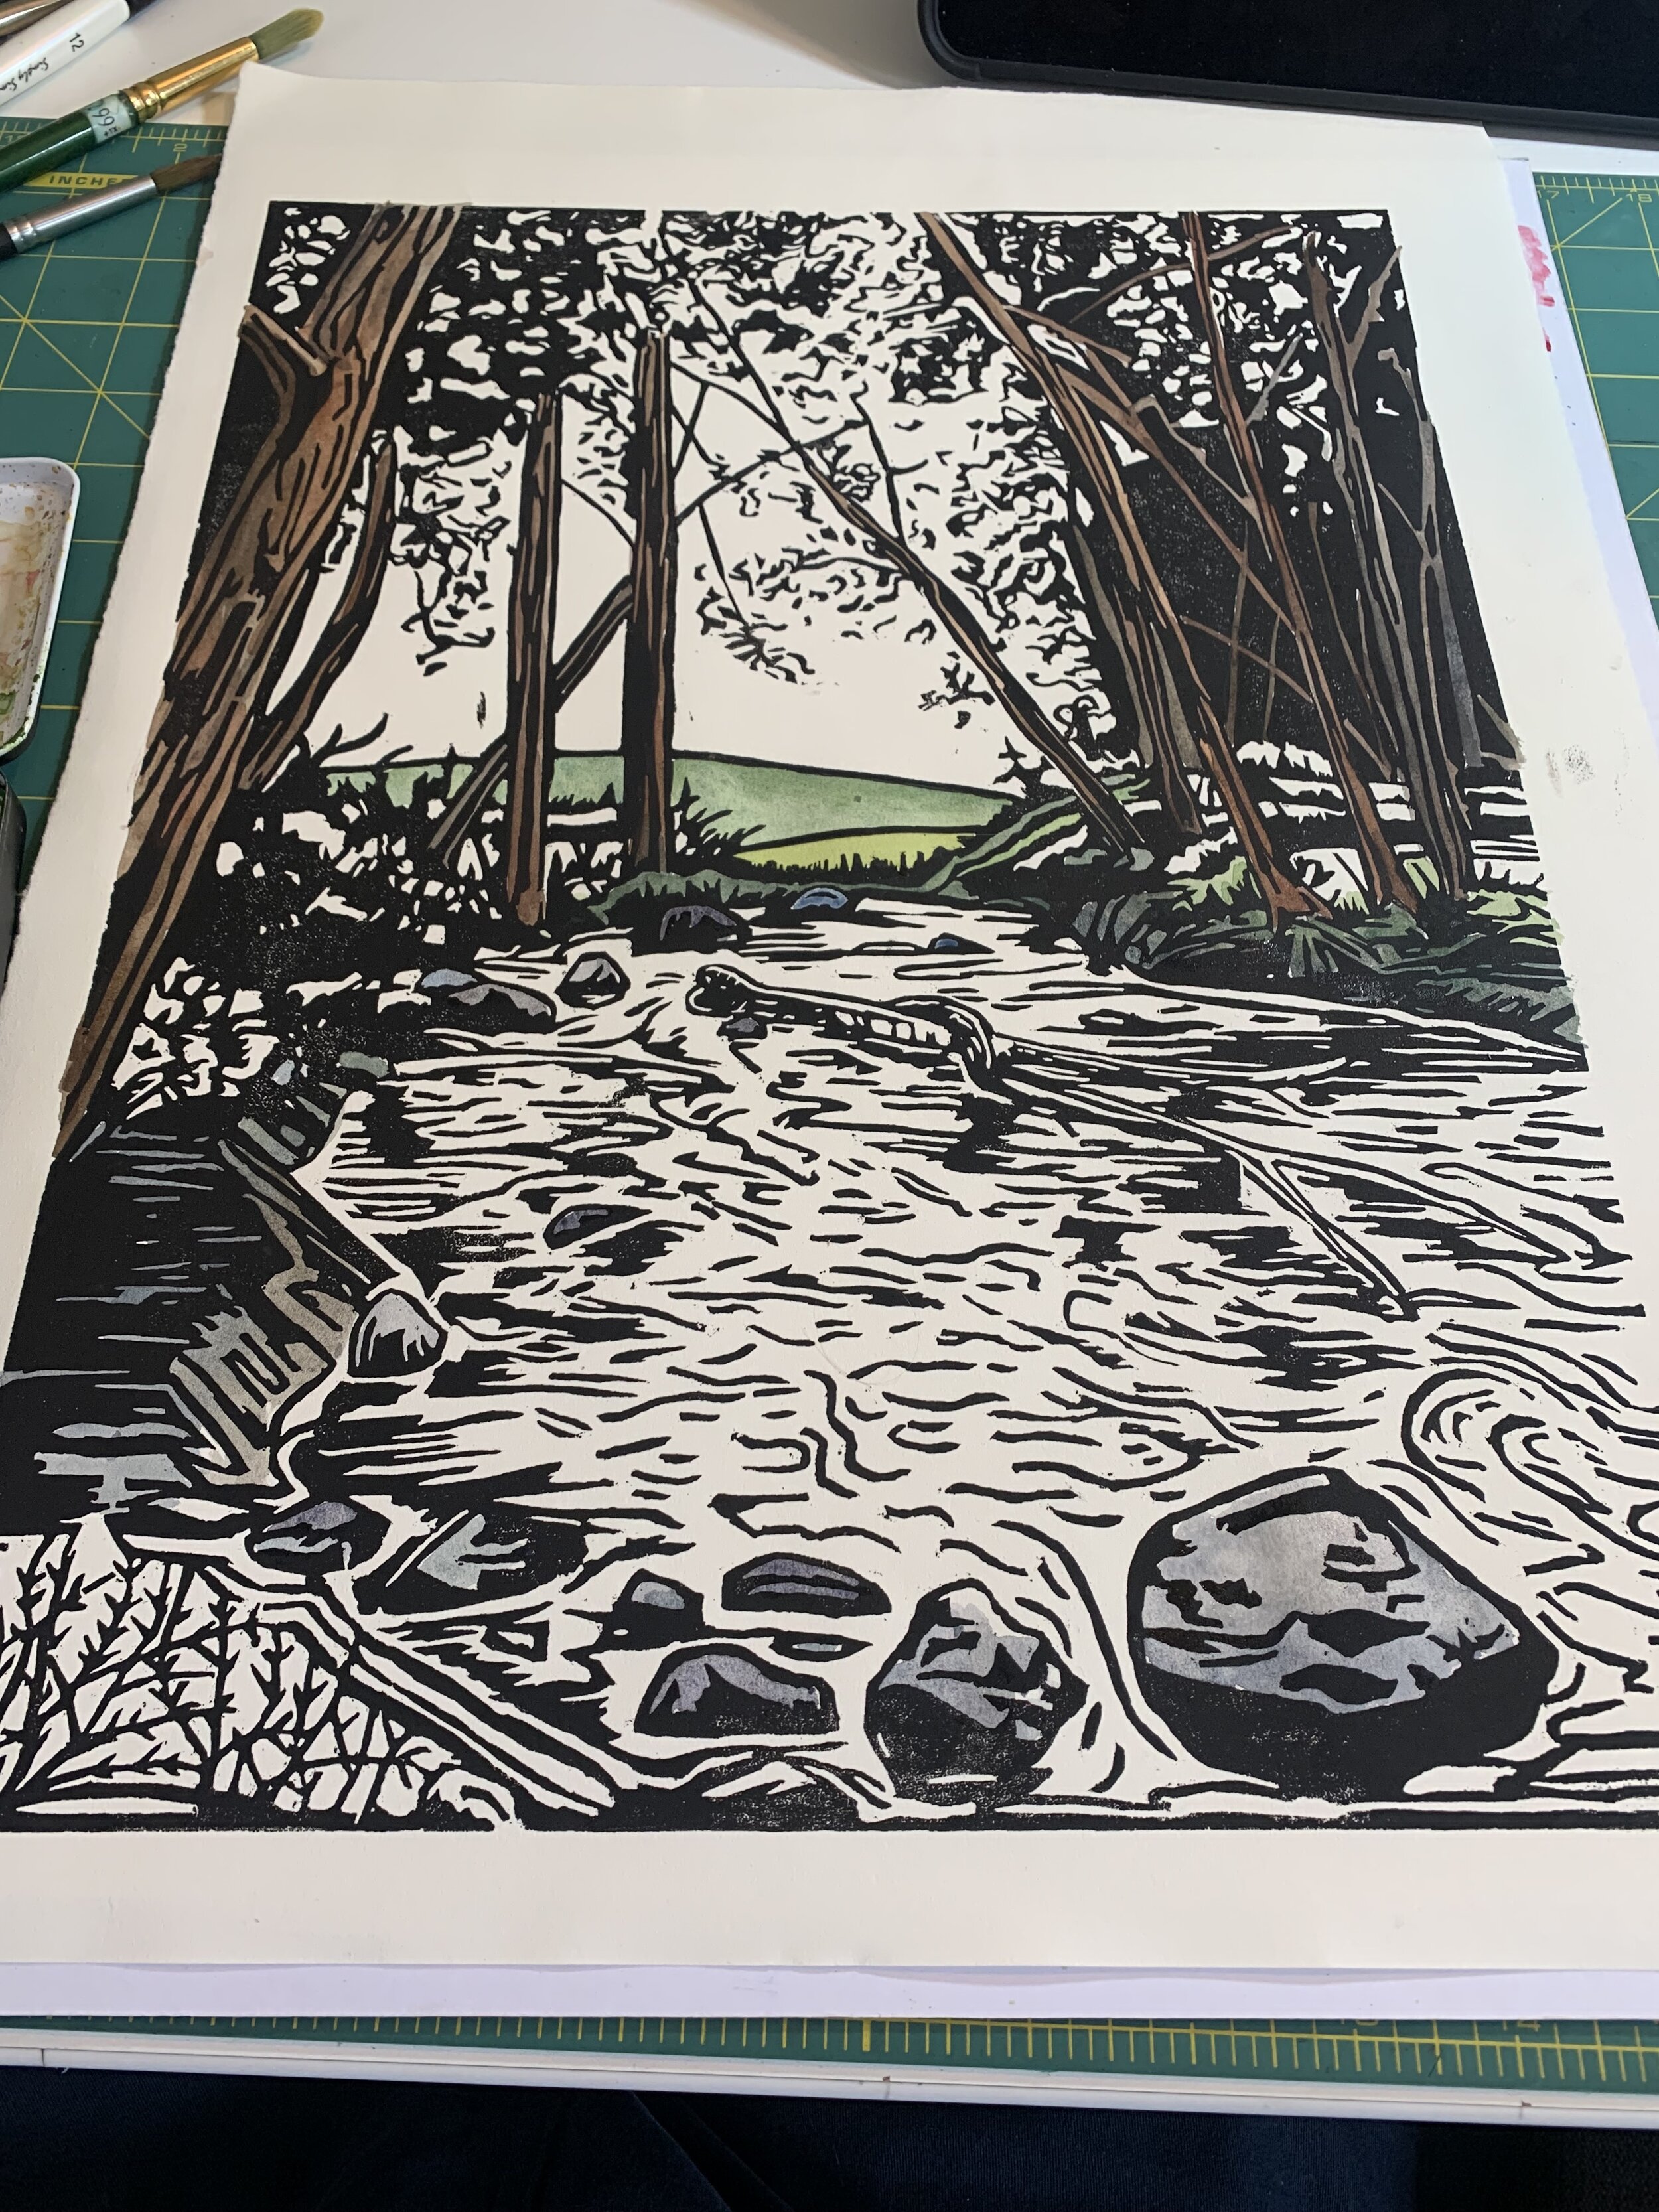
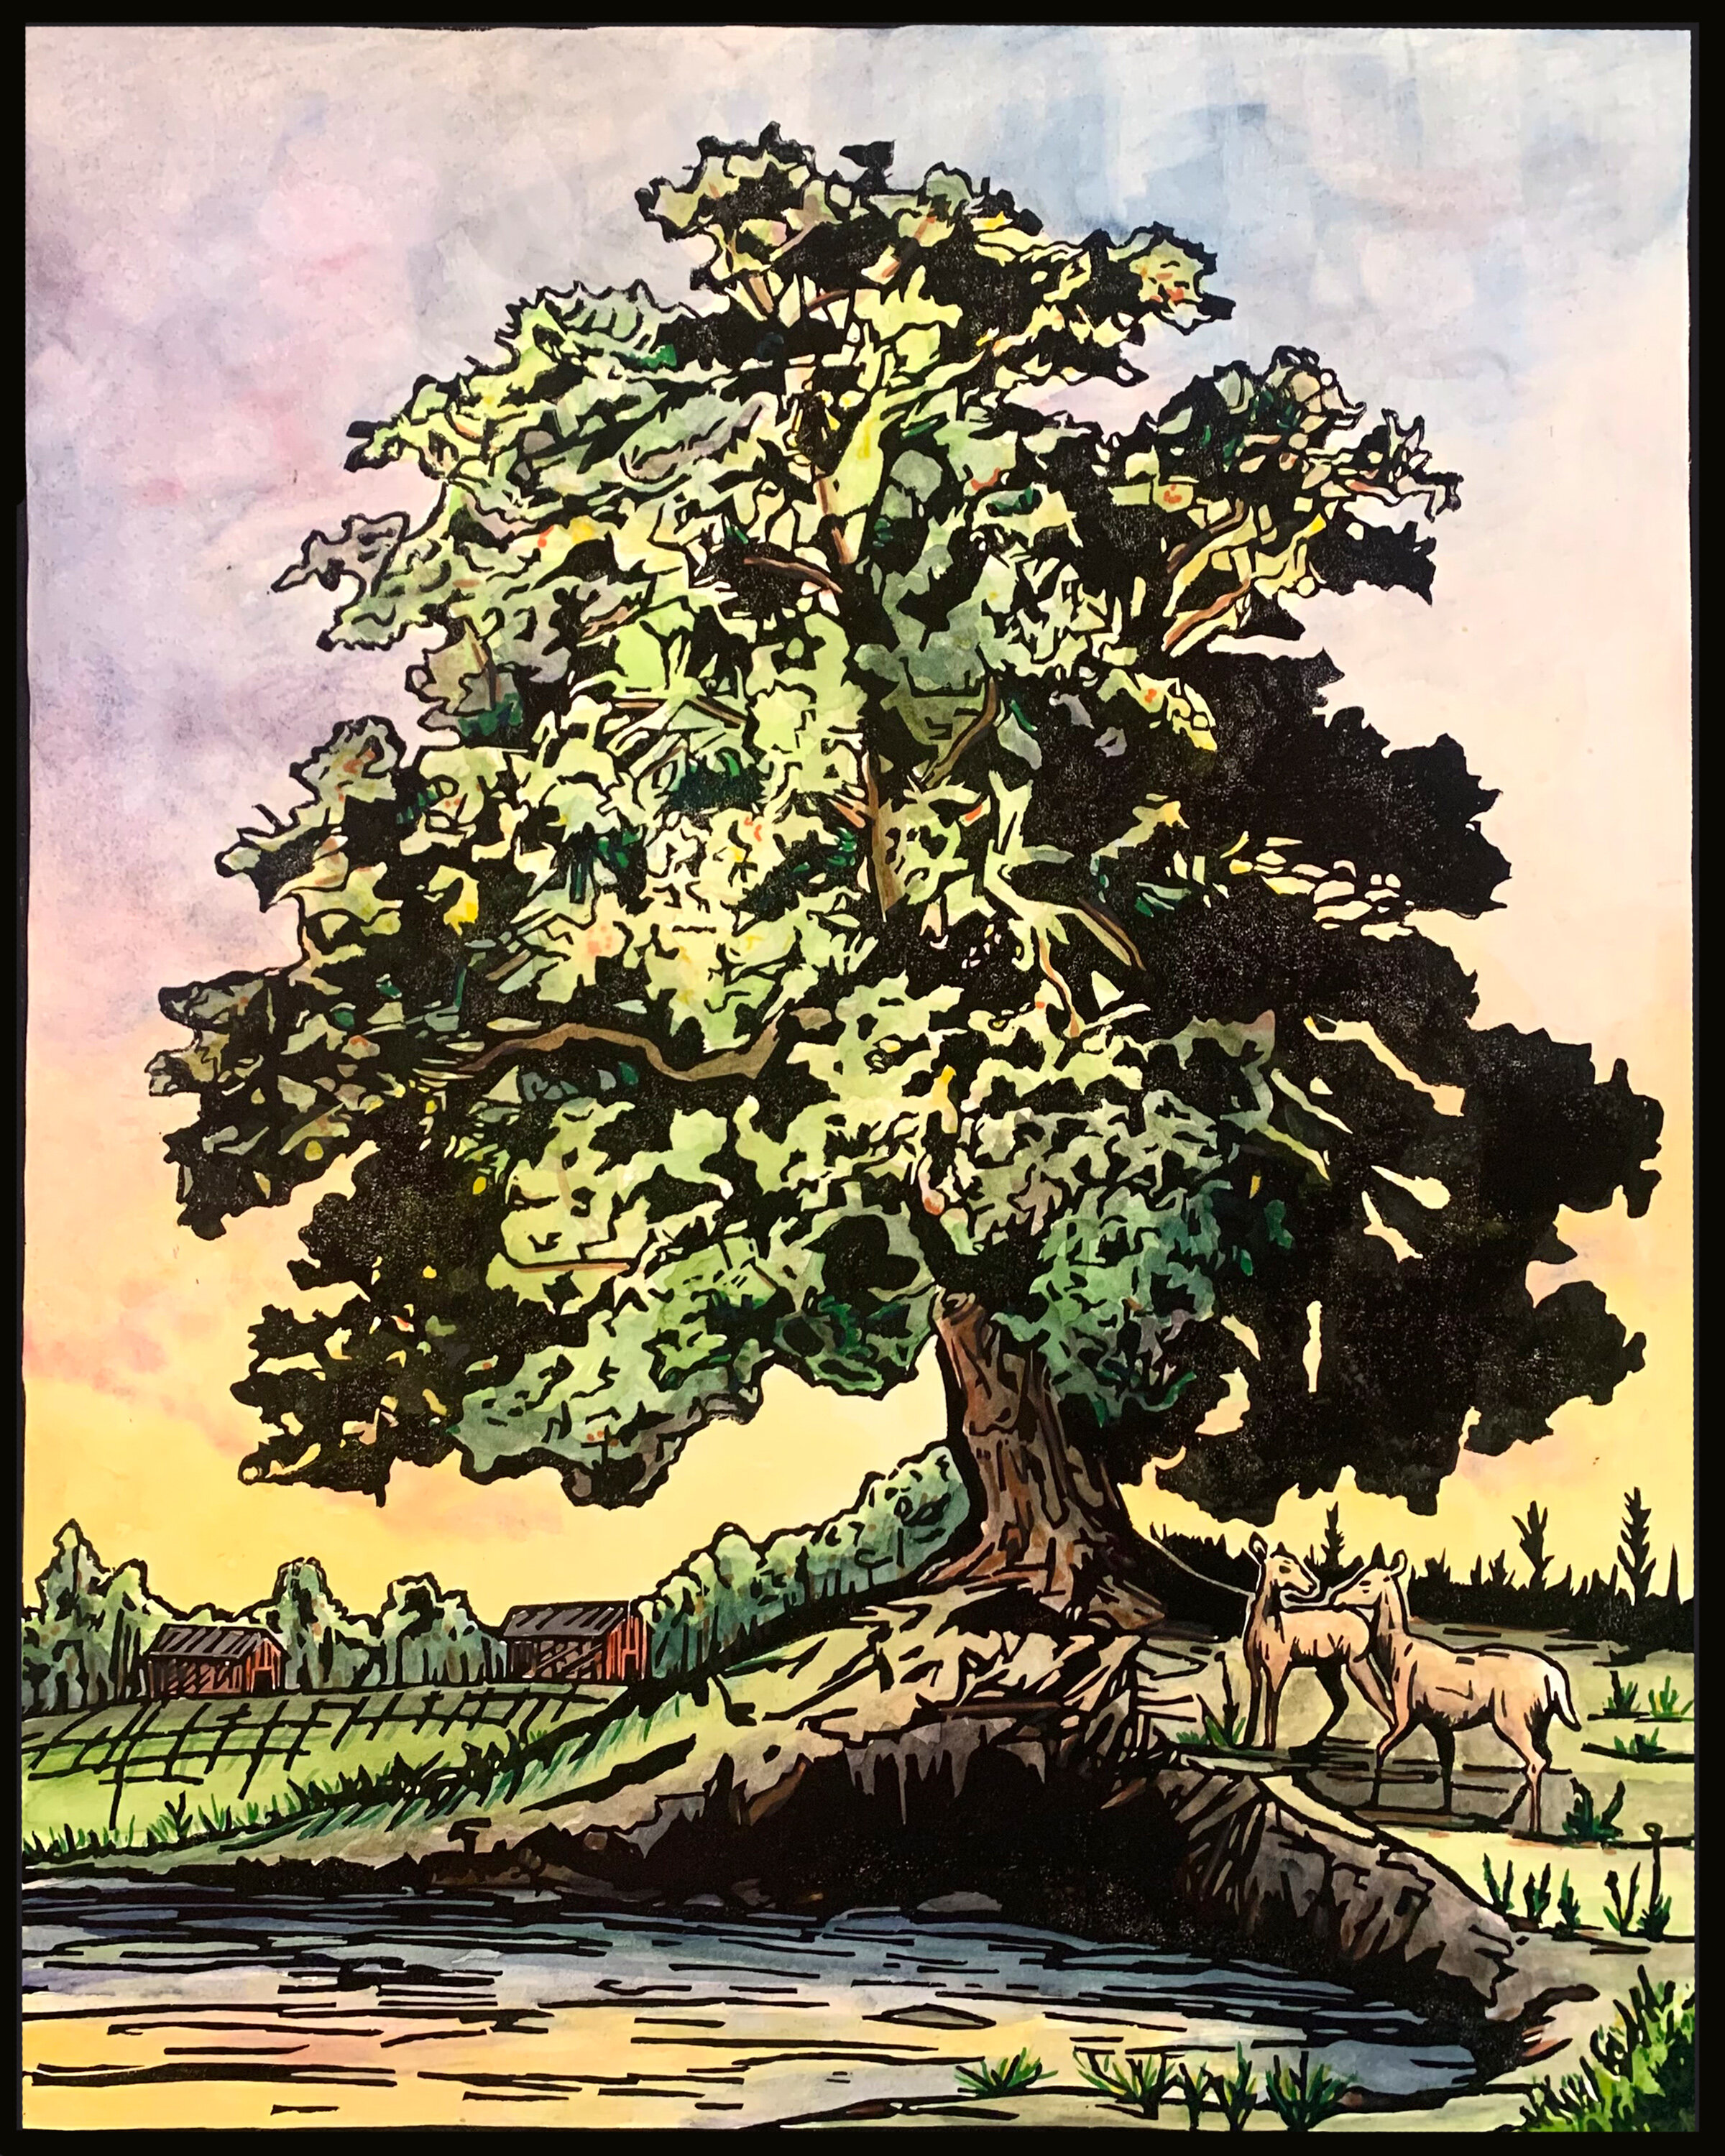
Hello Everyone! Hope everyone is doing well! I just finished up a big show in Greenwich CT and have about a month to recover and prep for the holiday season. I wanted to share with you the makings of two woodcuts I recently did! The first one was a 16x20 inch wood block (my biggest I’ve done to date) of a big oak tree and New England scene, the second woodcut is a 12x16 inch print inspired of by a hike.
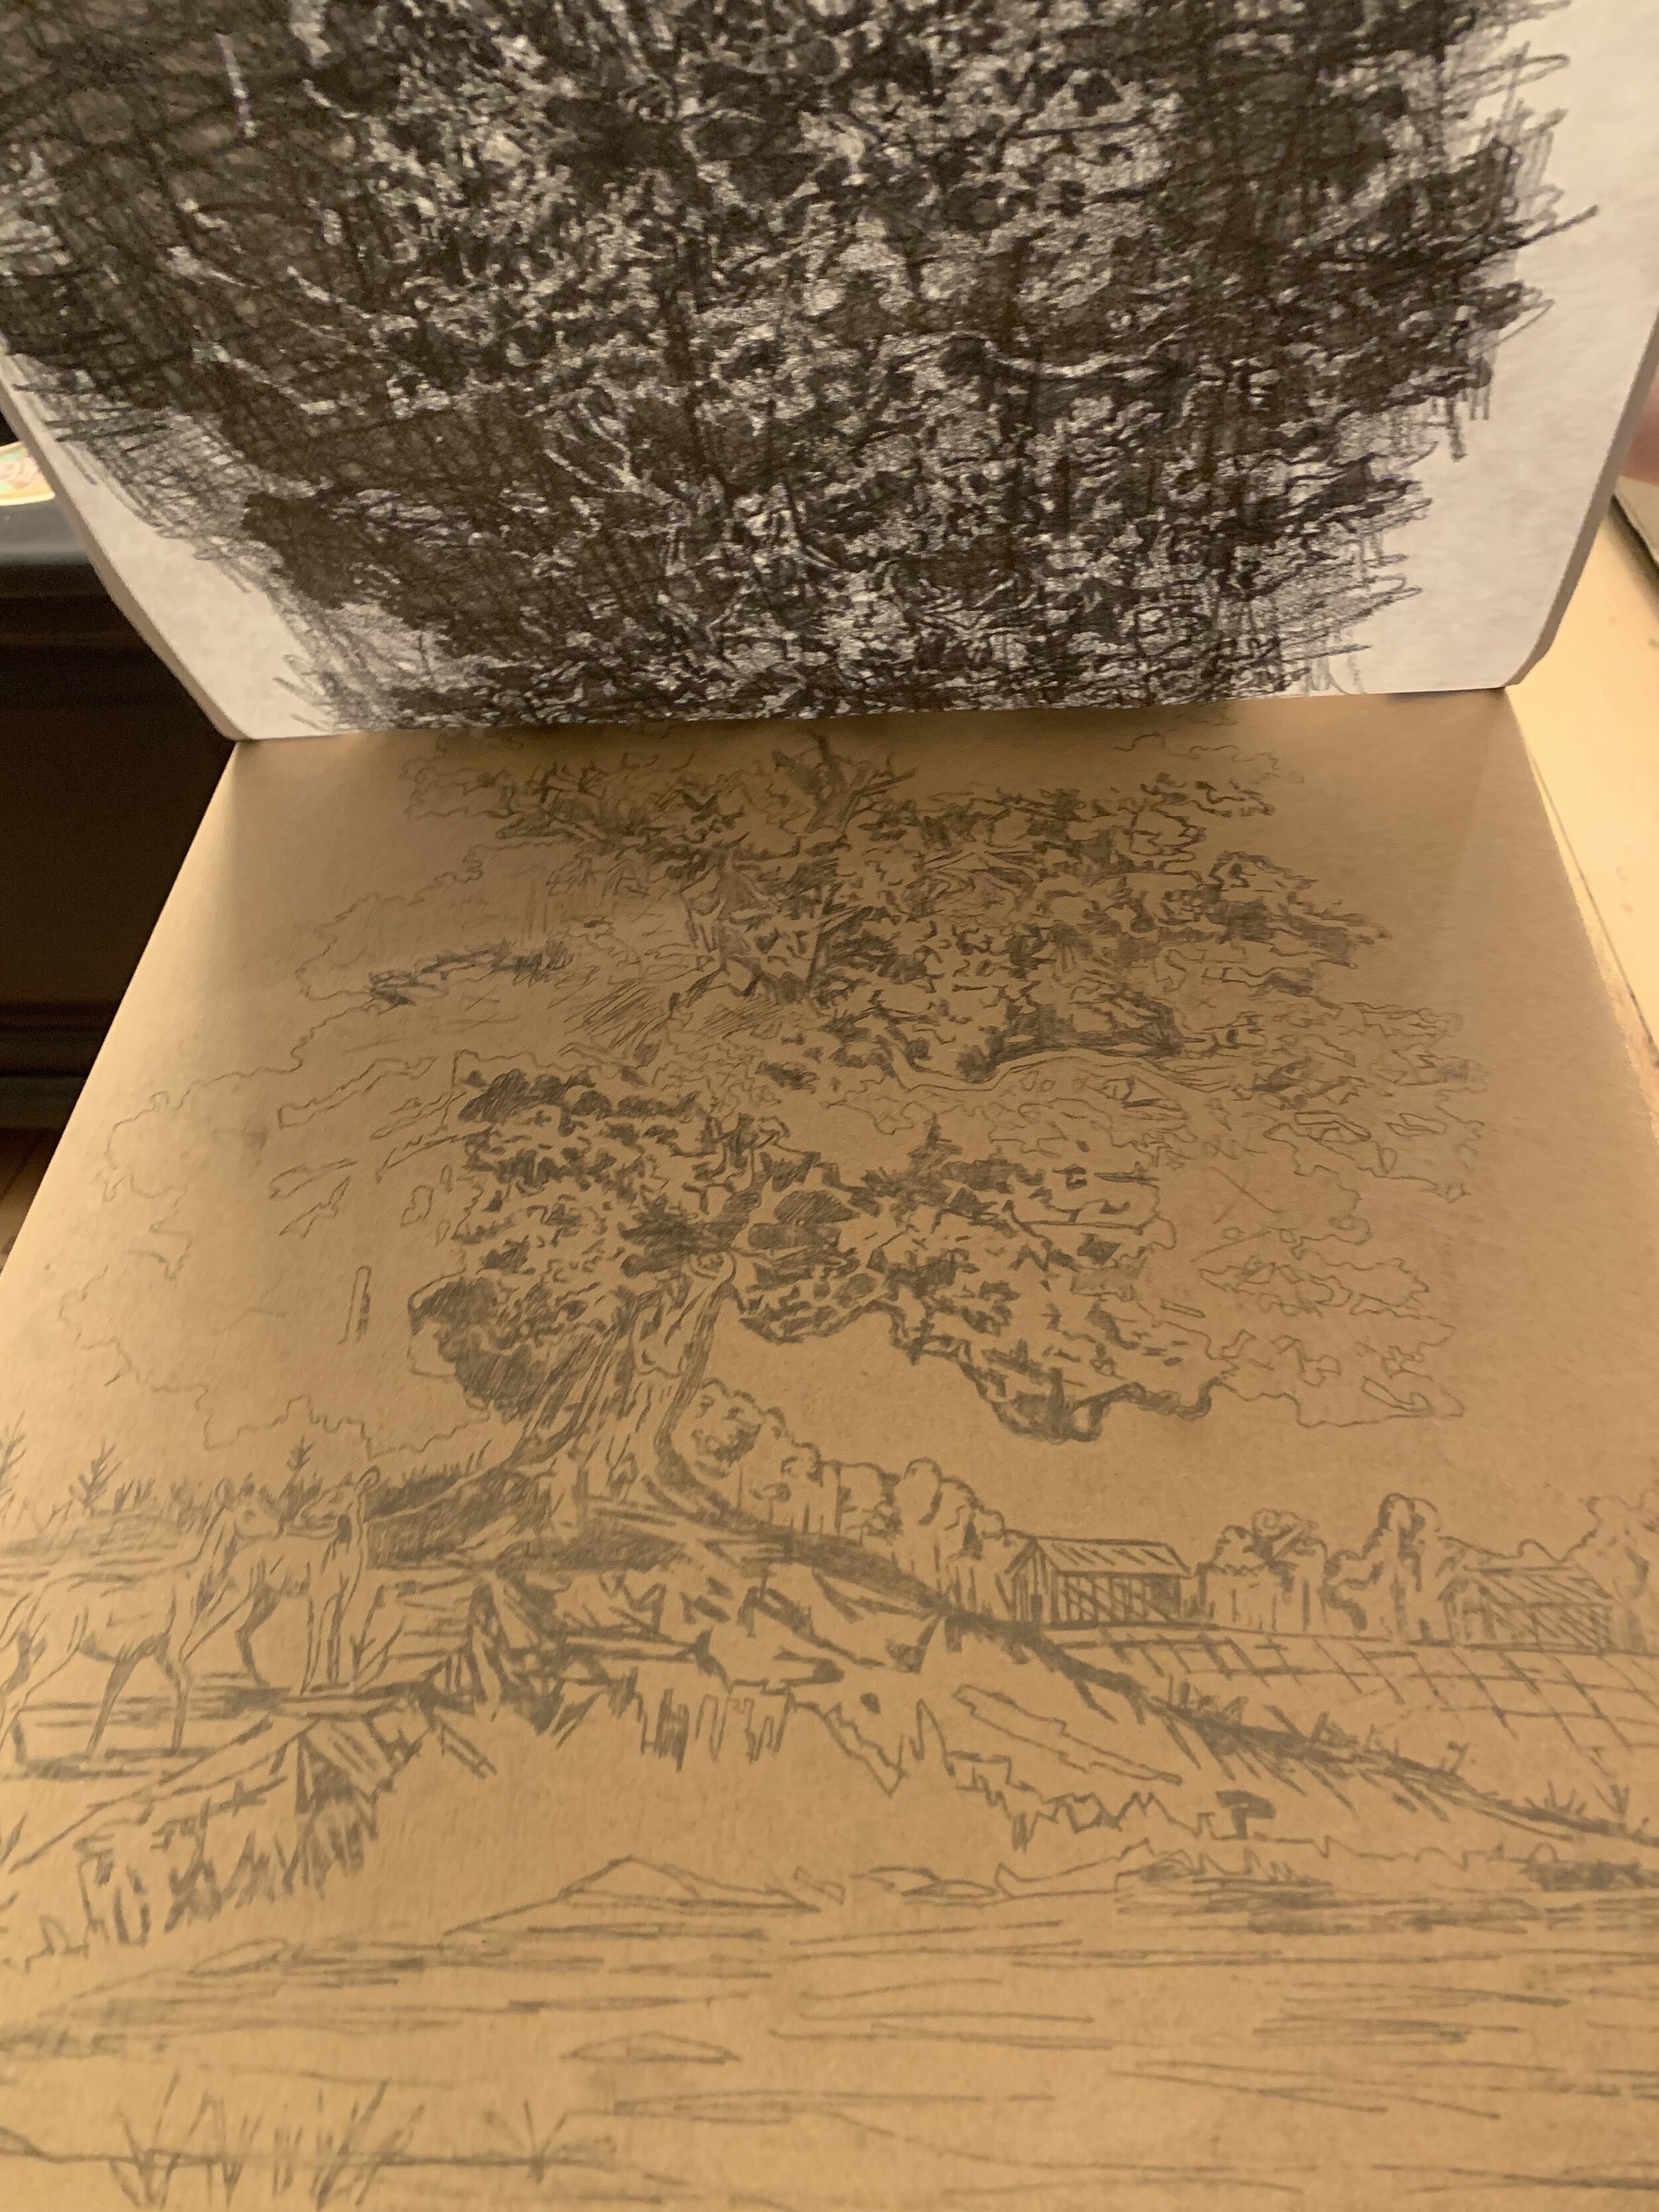
Sketching the design.
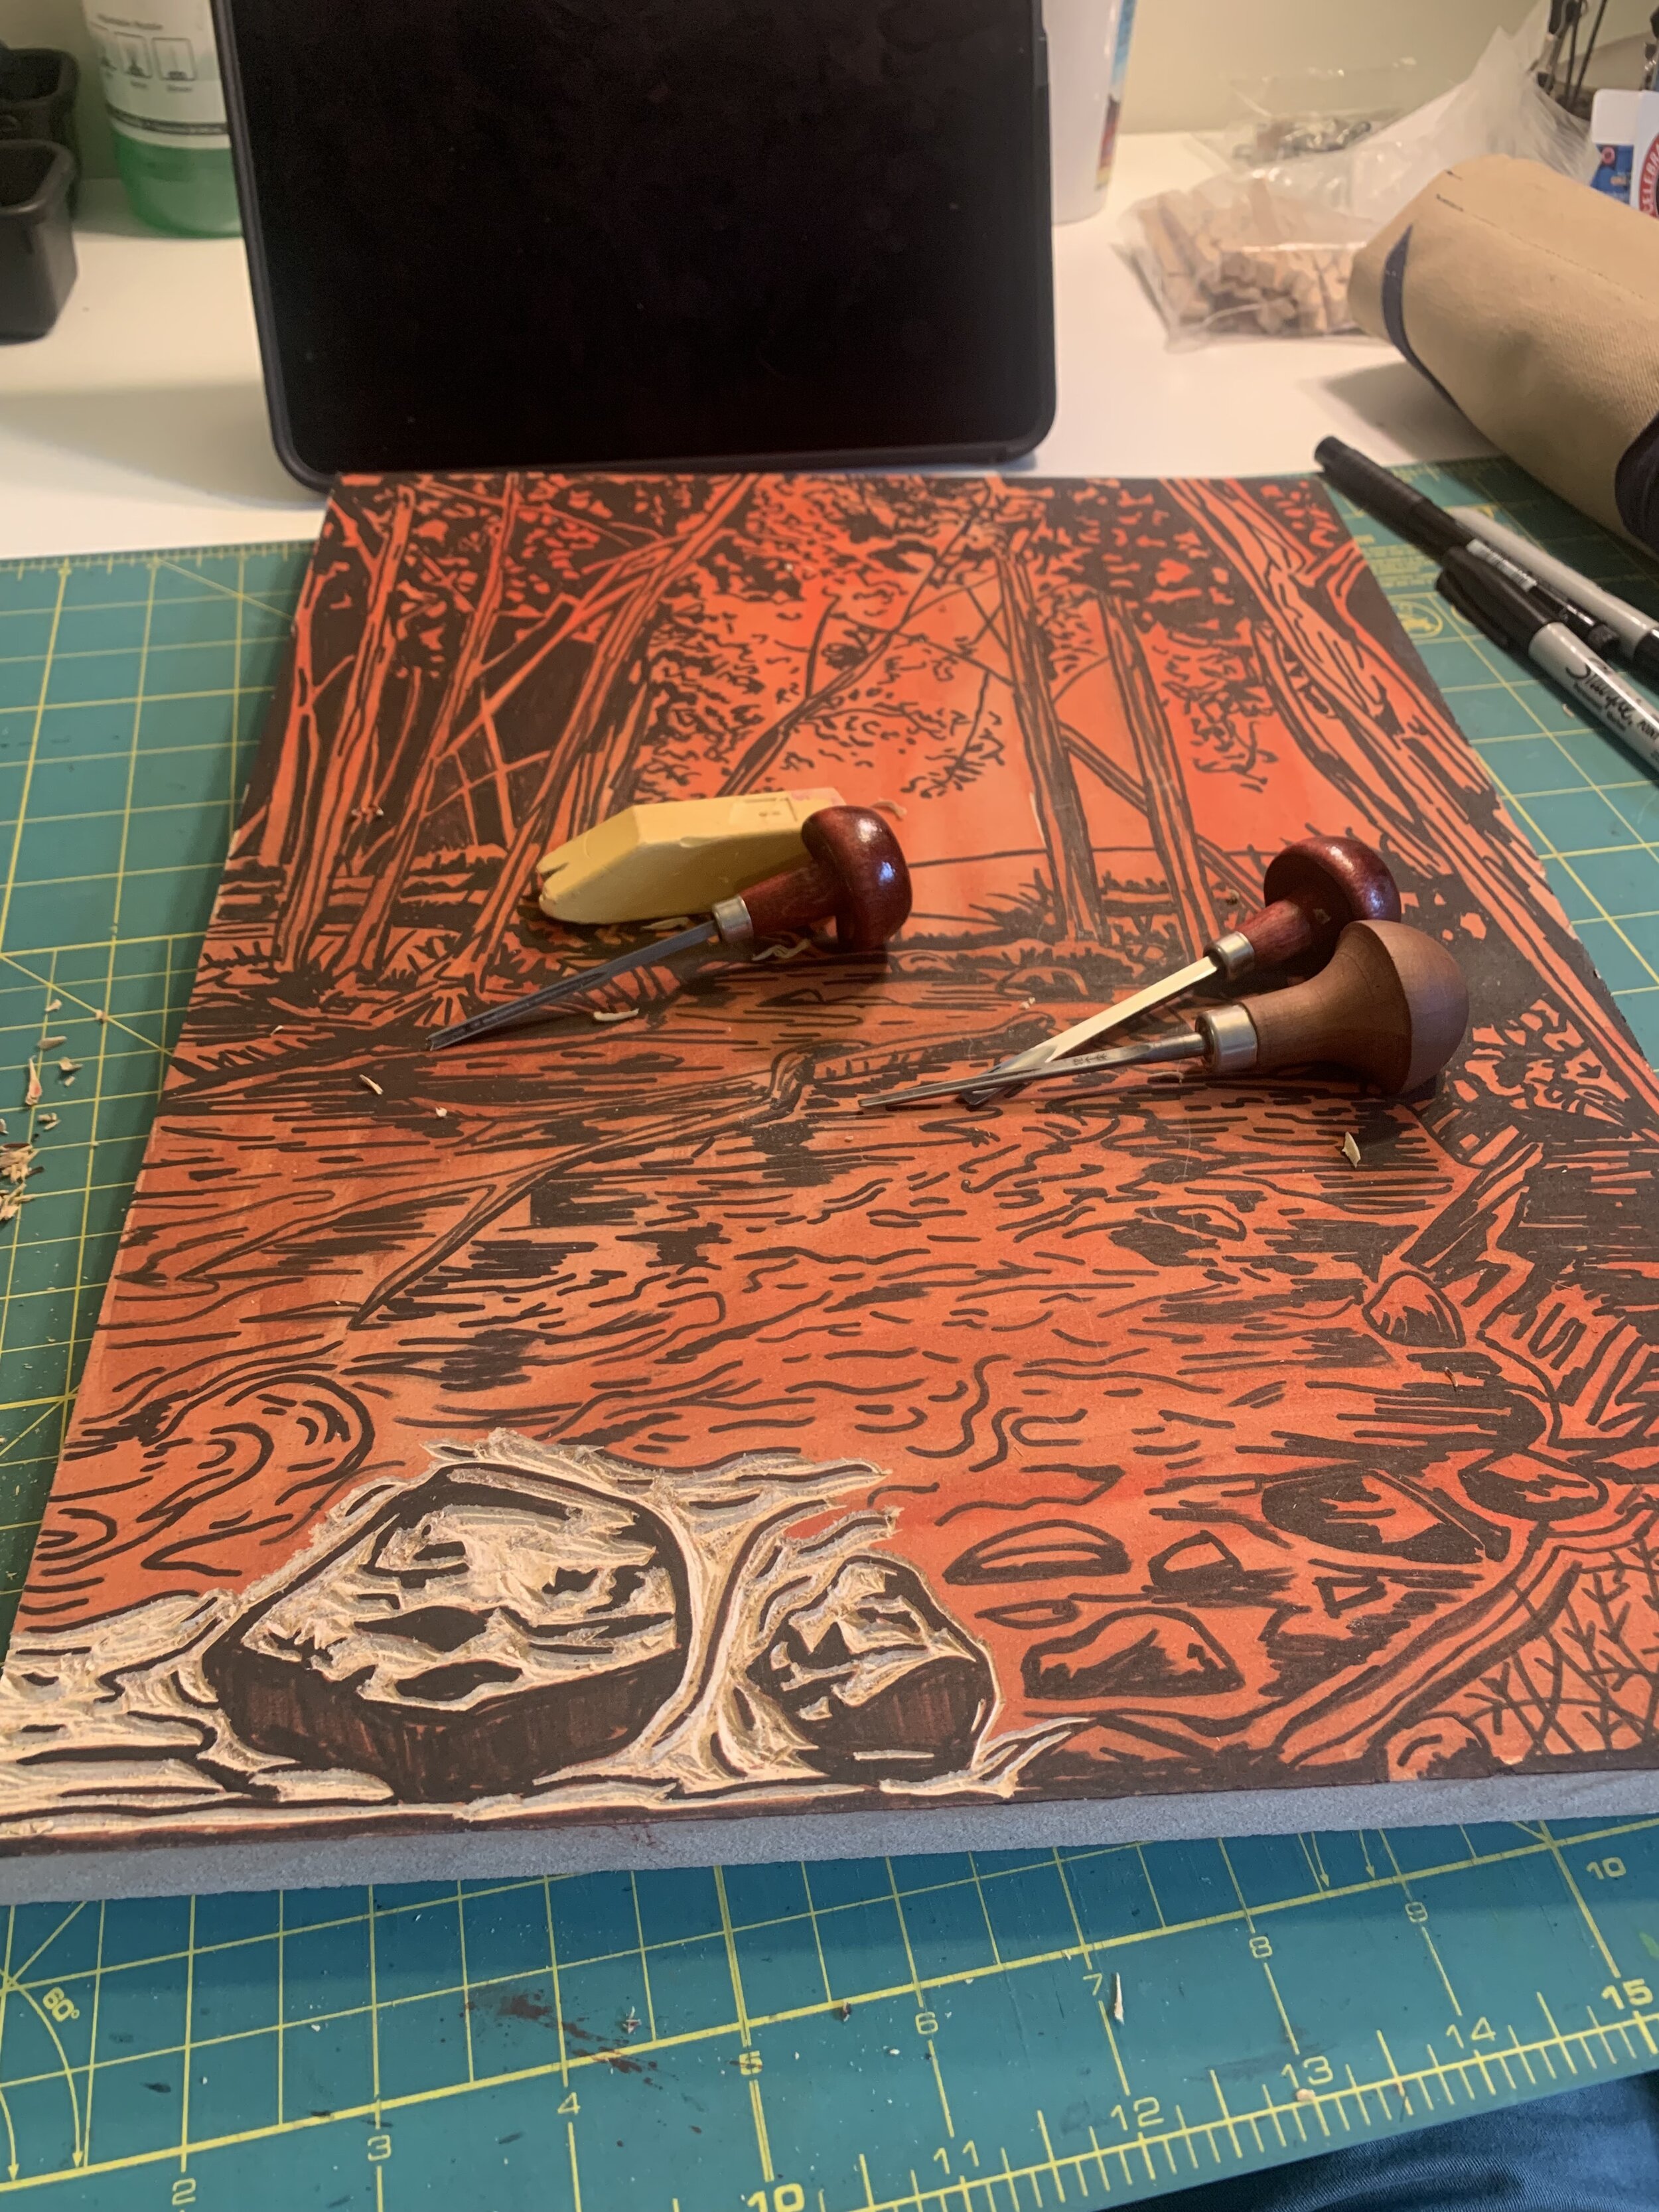
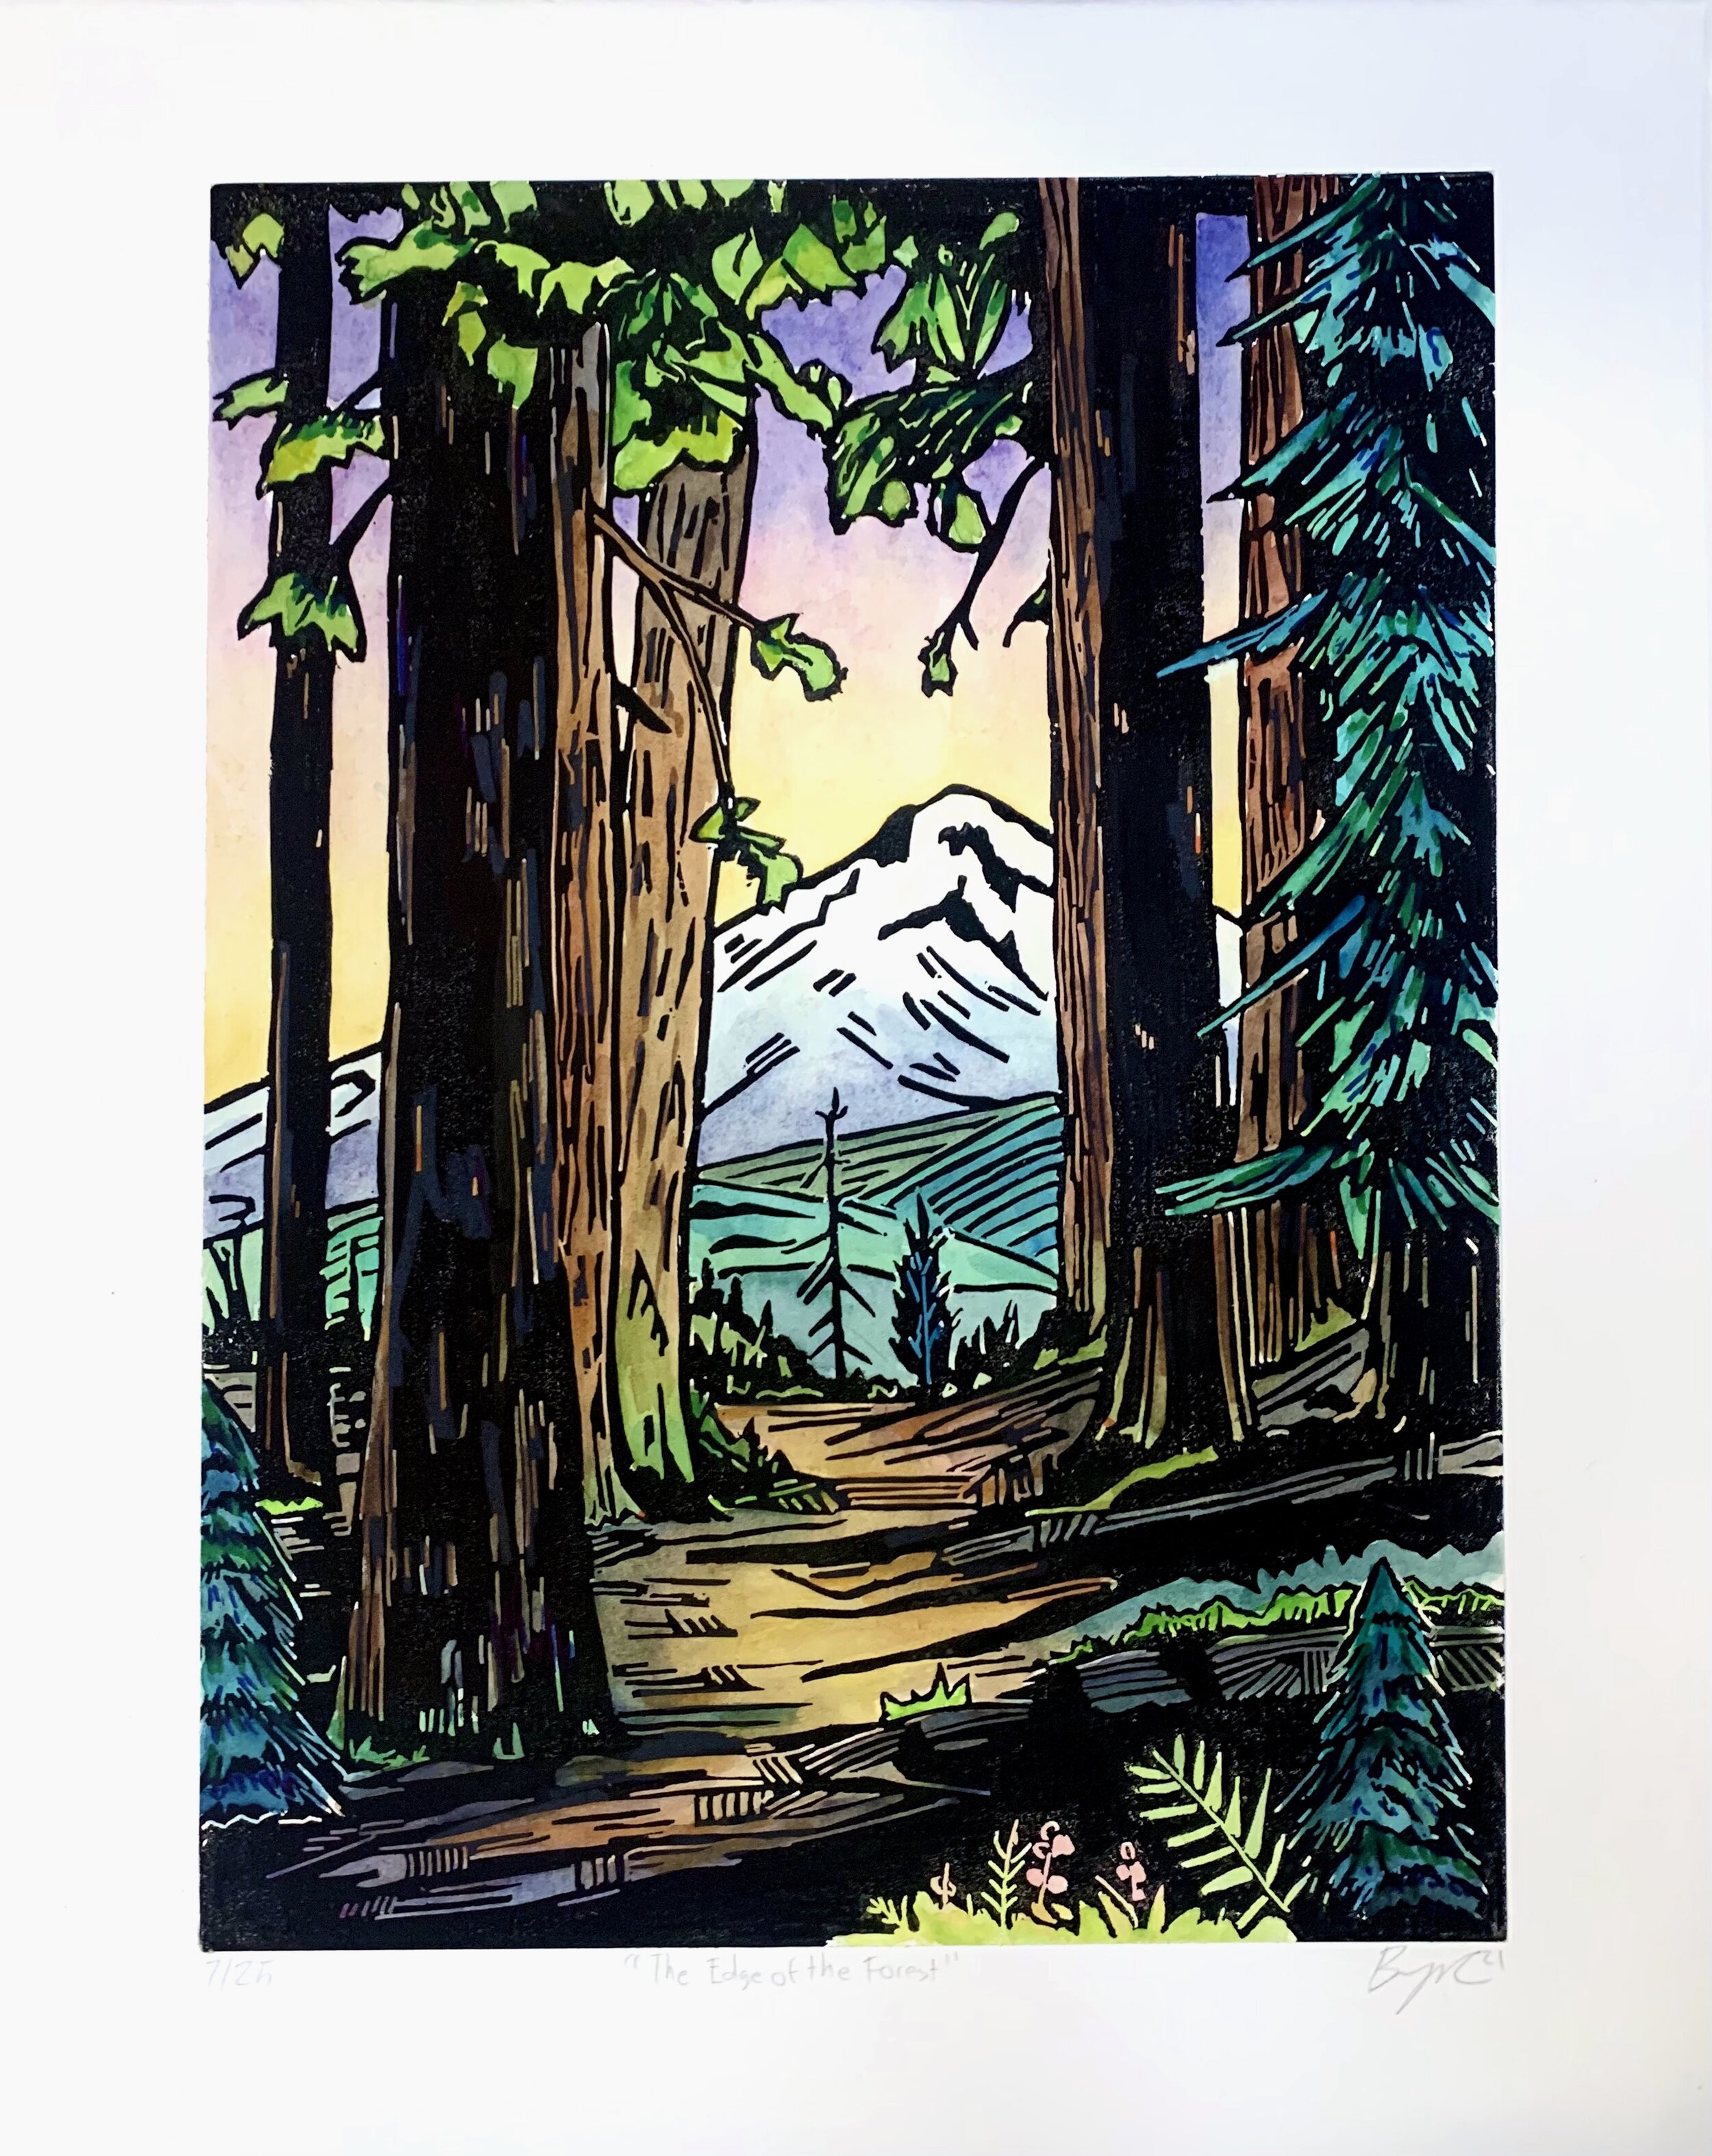
With all my block prints the first step is making a design. I usually brain storm different ideas or have a list of prints I would like to make. Both of these sketches were made by drawing on my iPad using the Procreate app. I have really started using it a lot, even for block print sketches. For the big tree print, I knew I wanted to do a big print for an upcoming show in July. Going back to around Mothers day (May 2021) I started working on a sketch, I was inspired by some wall paper my parents put up. This sketch took me a long time to figure out and went through a lot of stages, but I ended up with a big oak tree overlooking an idealic New England Landscape. For the brook print, I was working from some photos I took on a hike I did in August. This print came from looking at the big tree print and another 12x16 landscape print I did in 2019 together. I felt like an additional print would work really well as a trio together. When making these sketches I’m thinking about the positive and negative space, the negative is what I will be carving. You have to convey the scene to the viewer using only positive and negative space, the design has to have enough contrast and balance for the for the viewer to read the scene. This can be tricky, and often times revisions are made to achieve the right design.
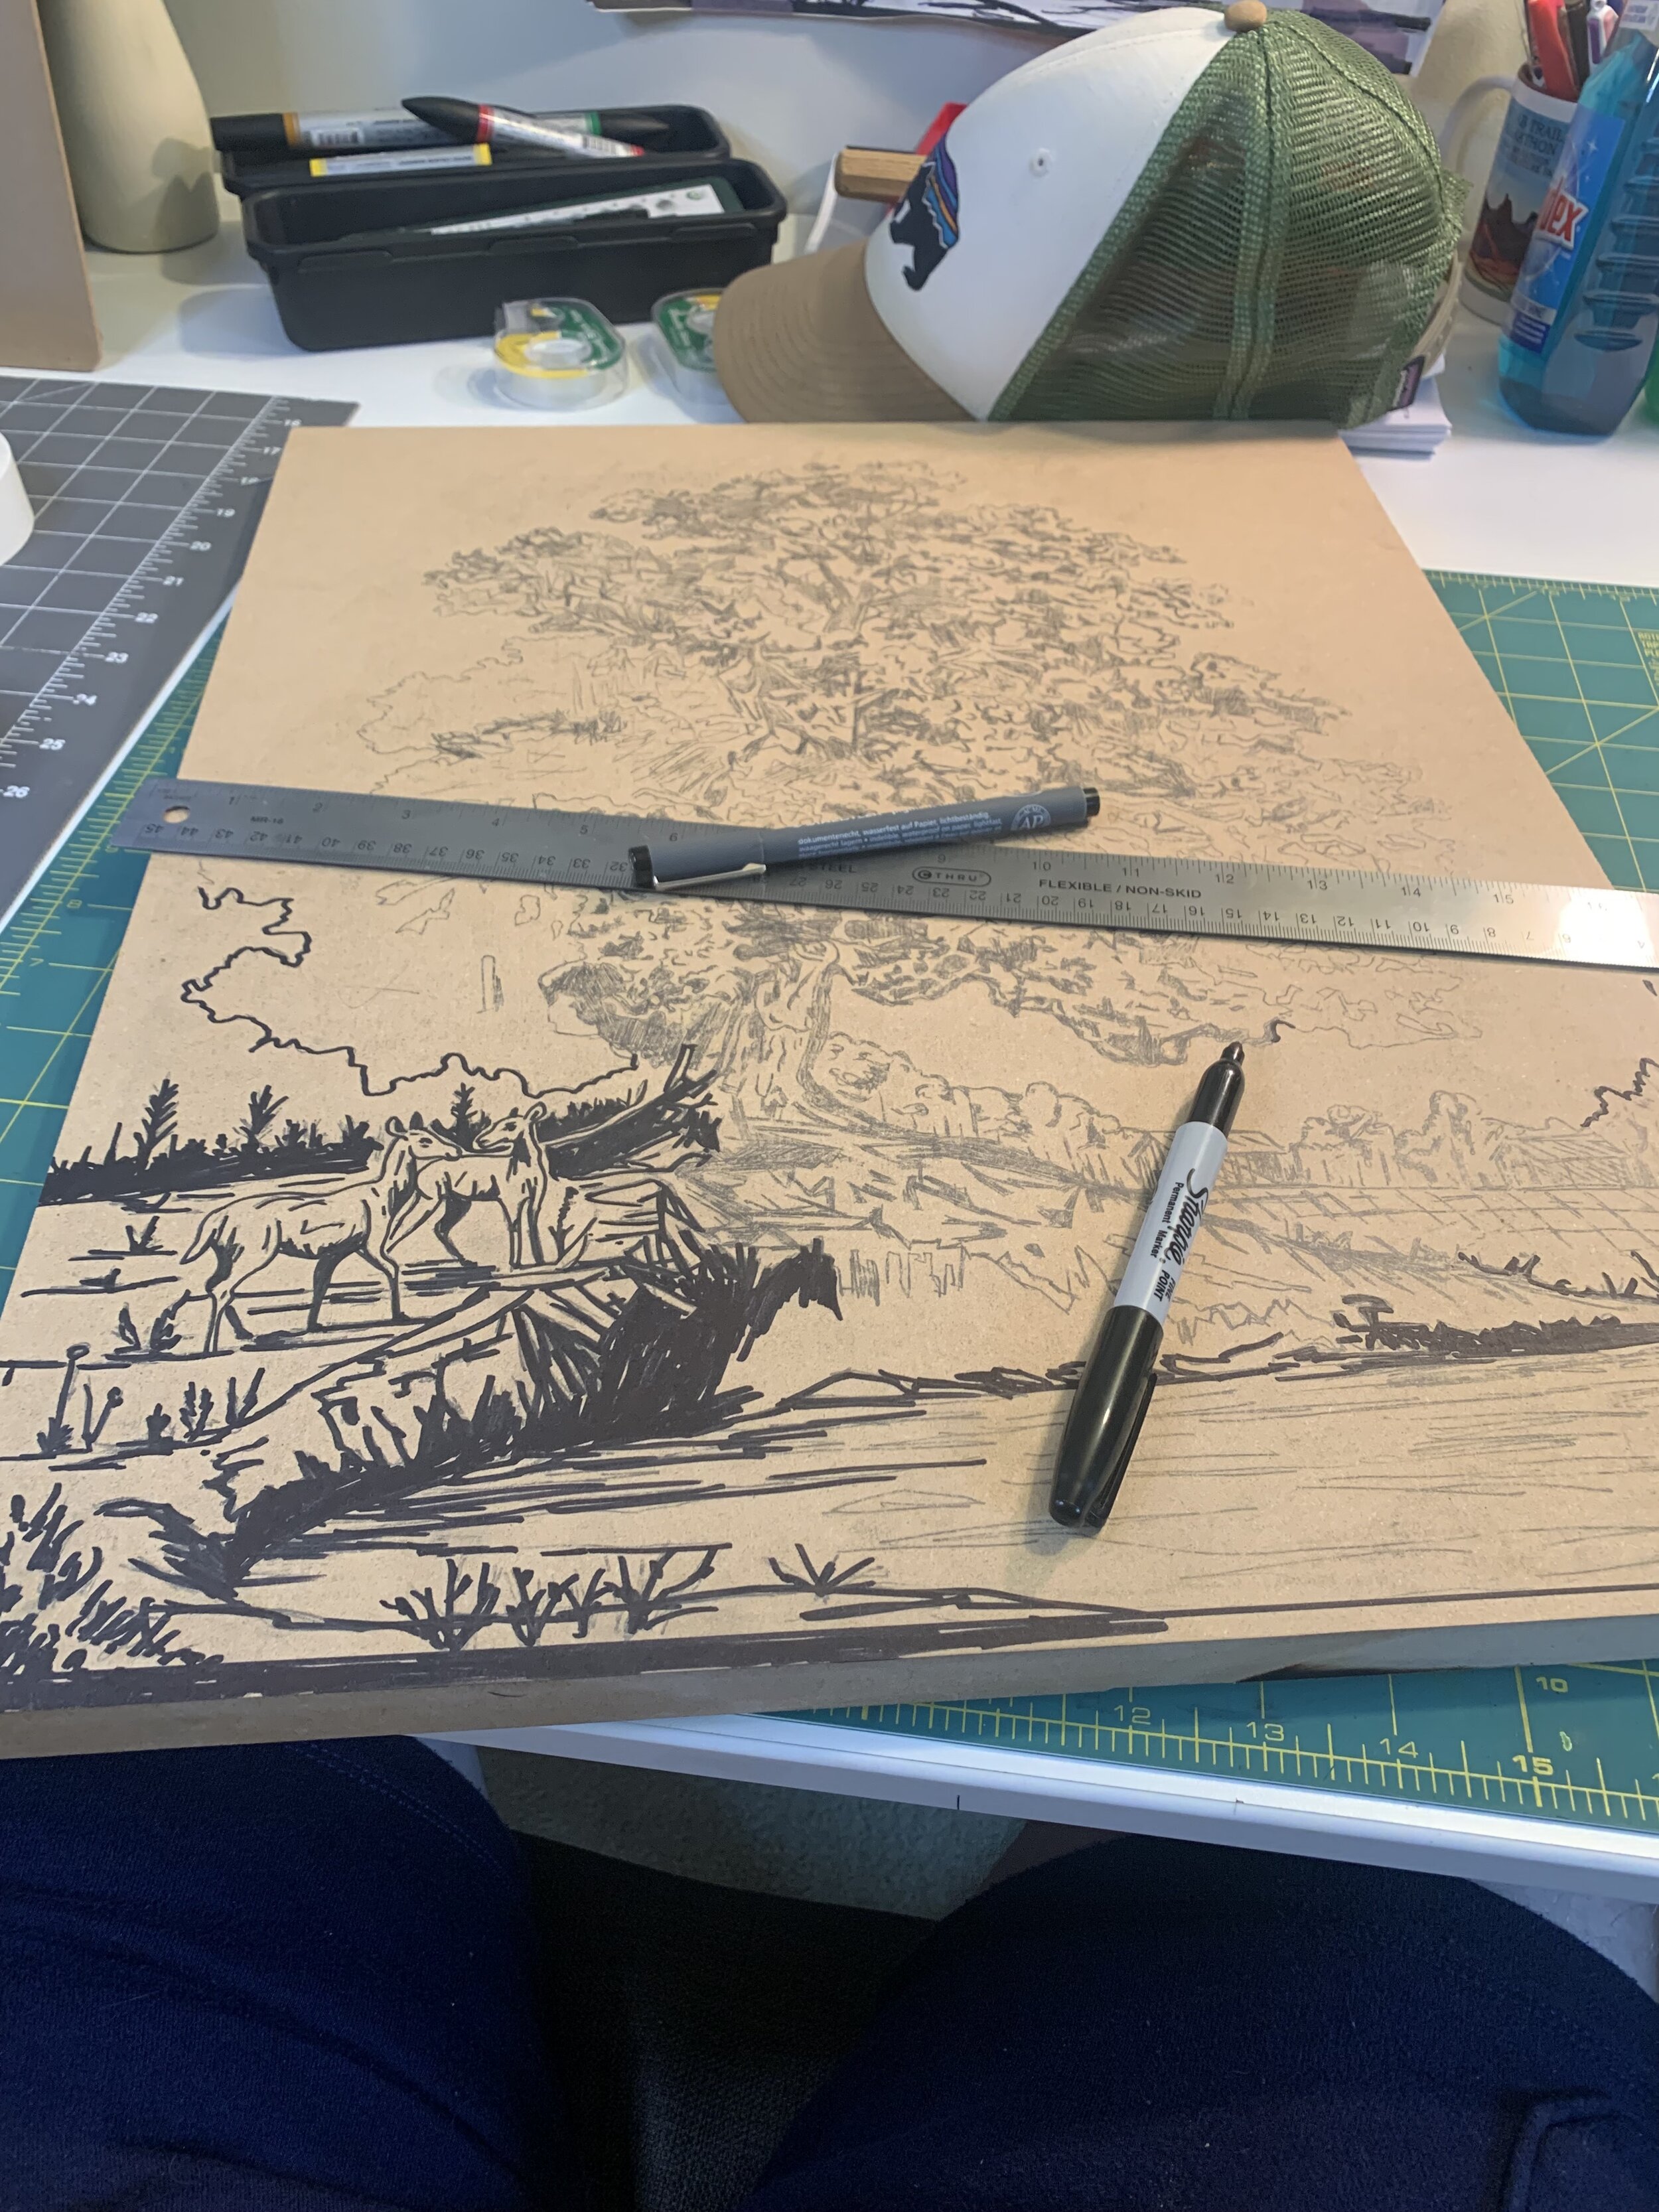
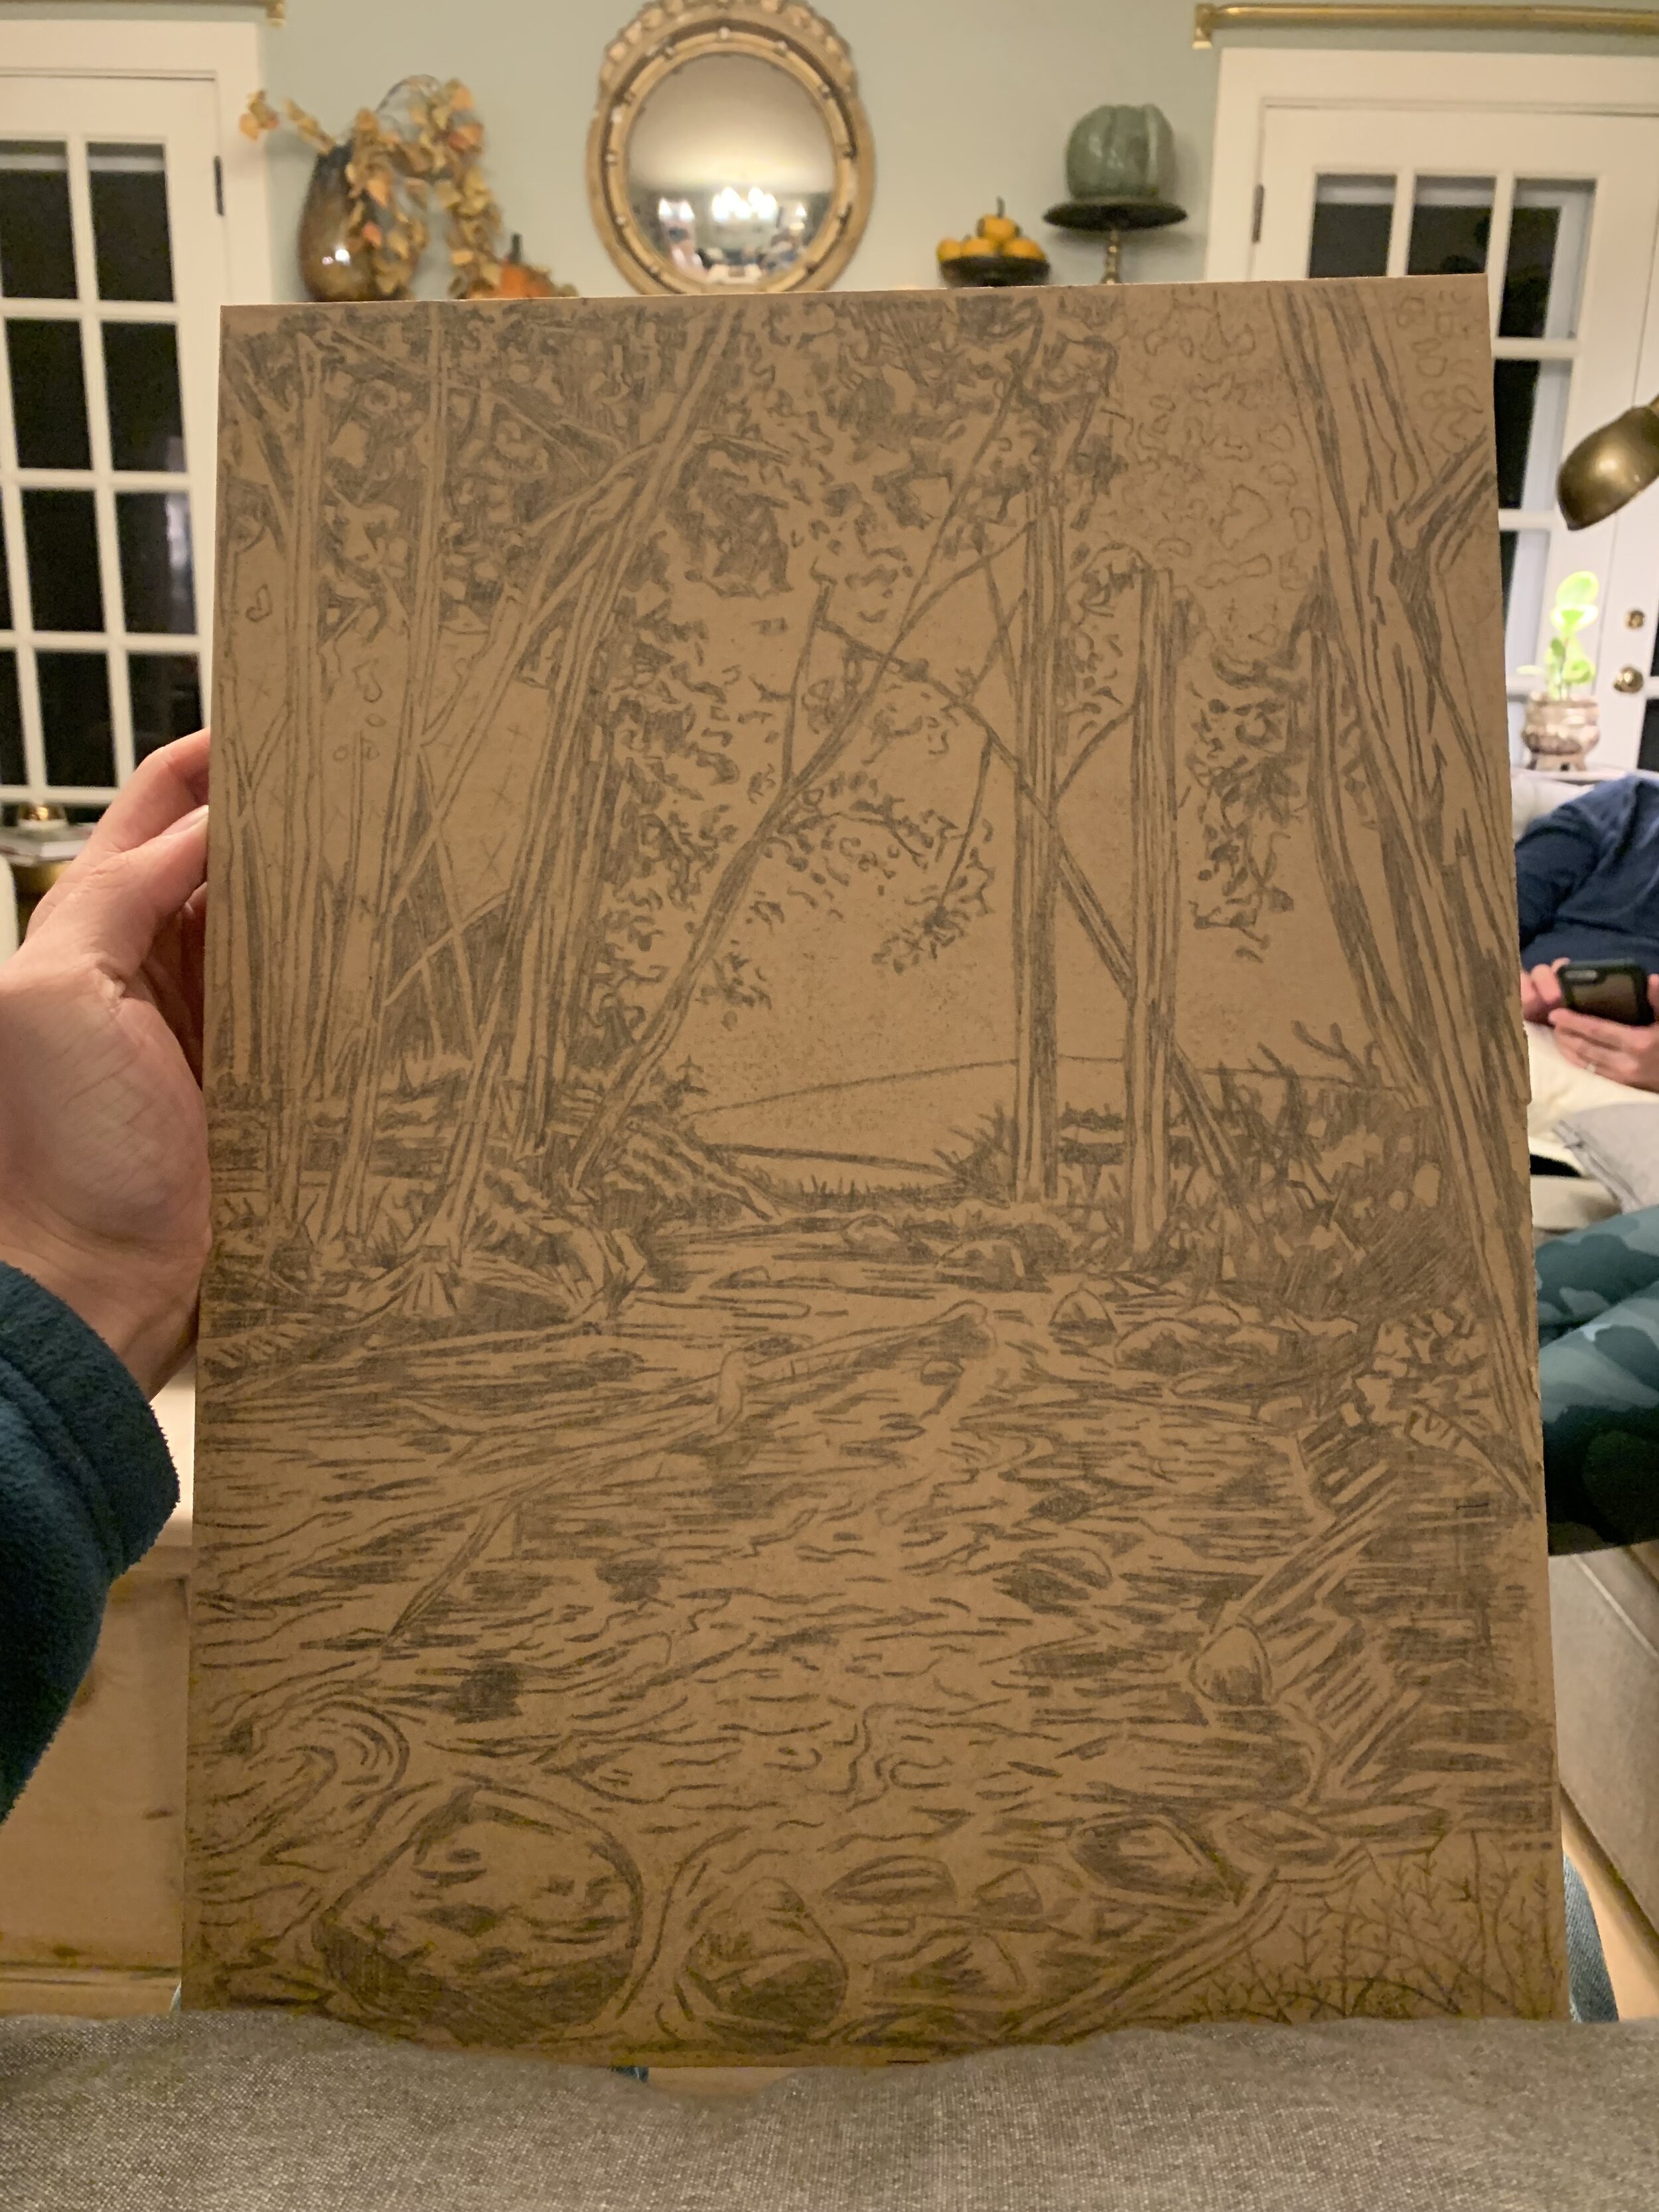
Transferring the sketch onto the wood.
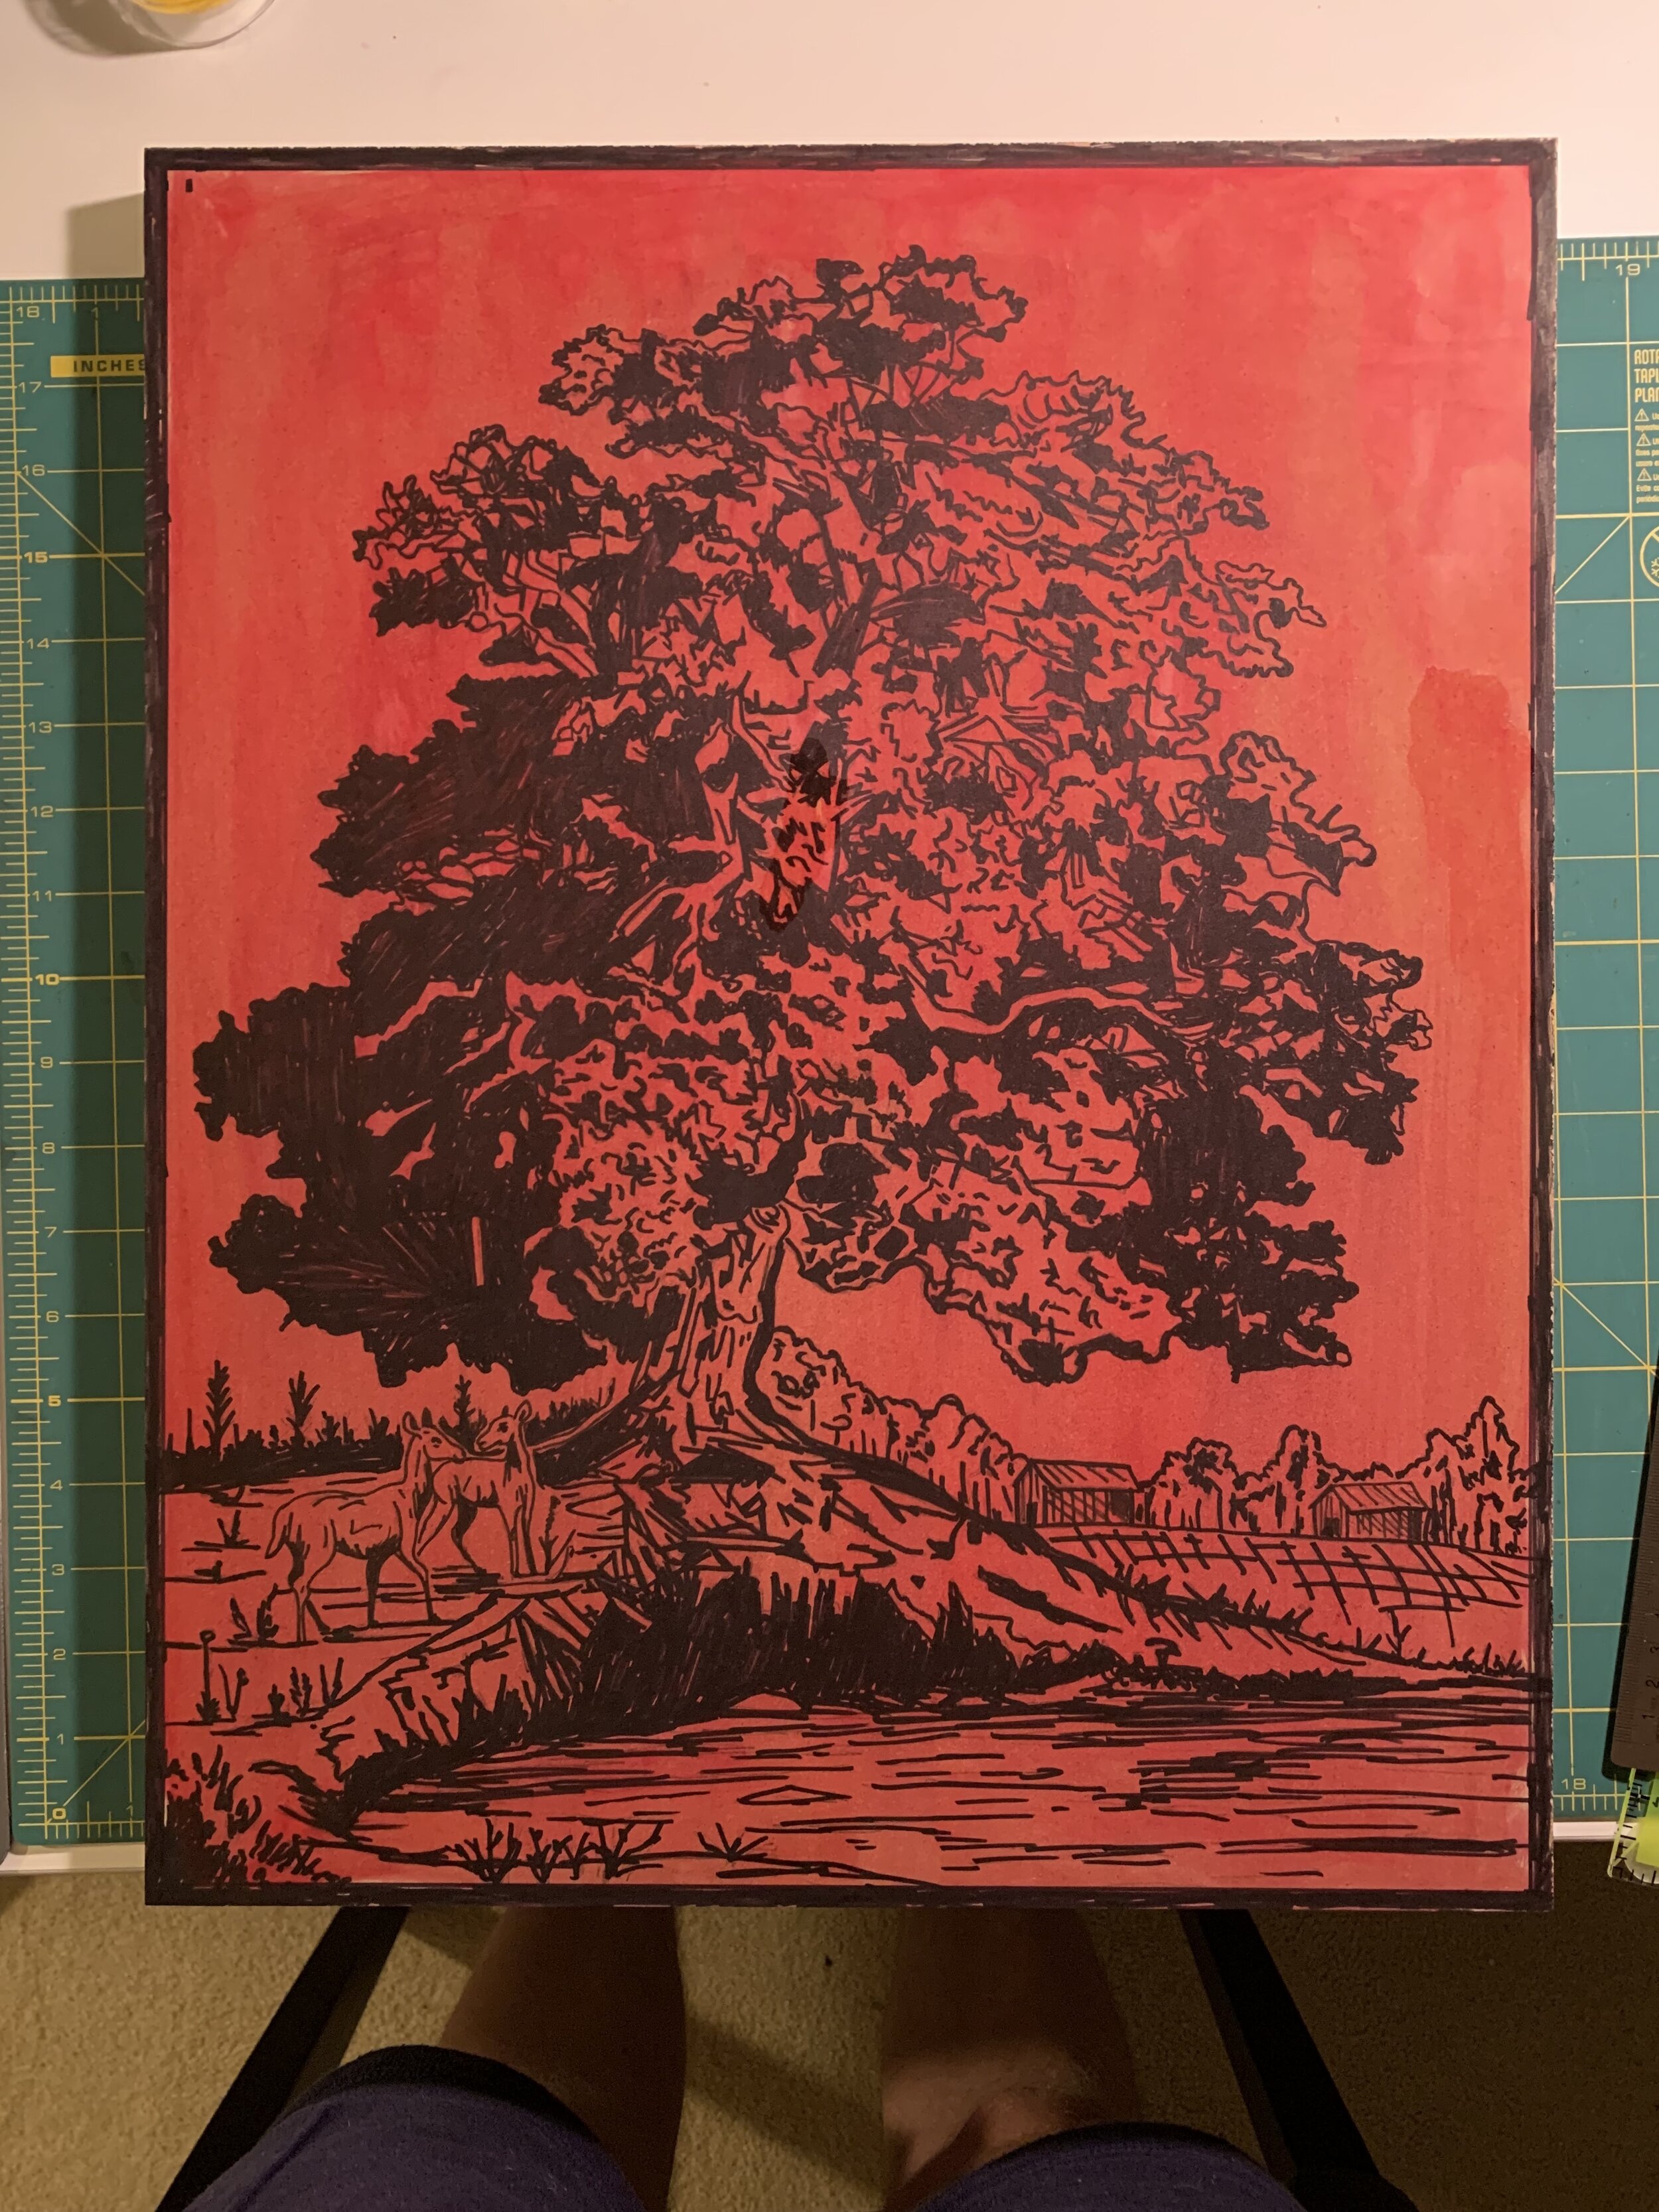
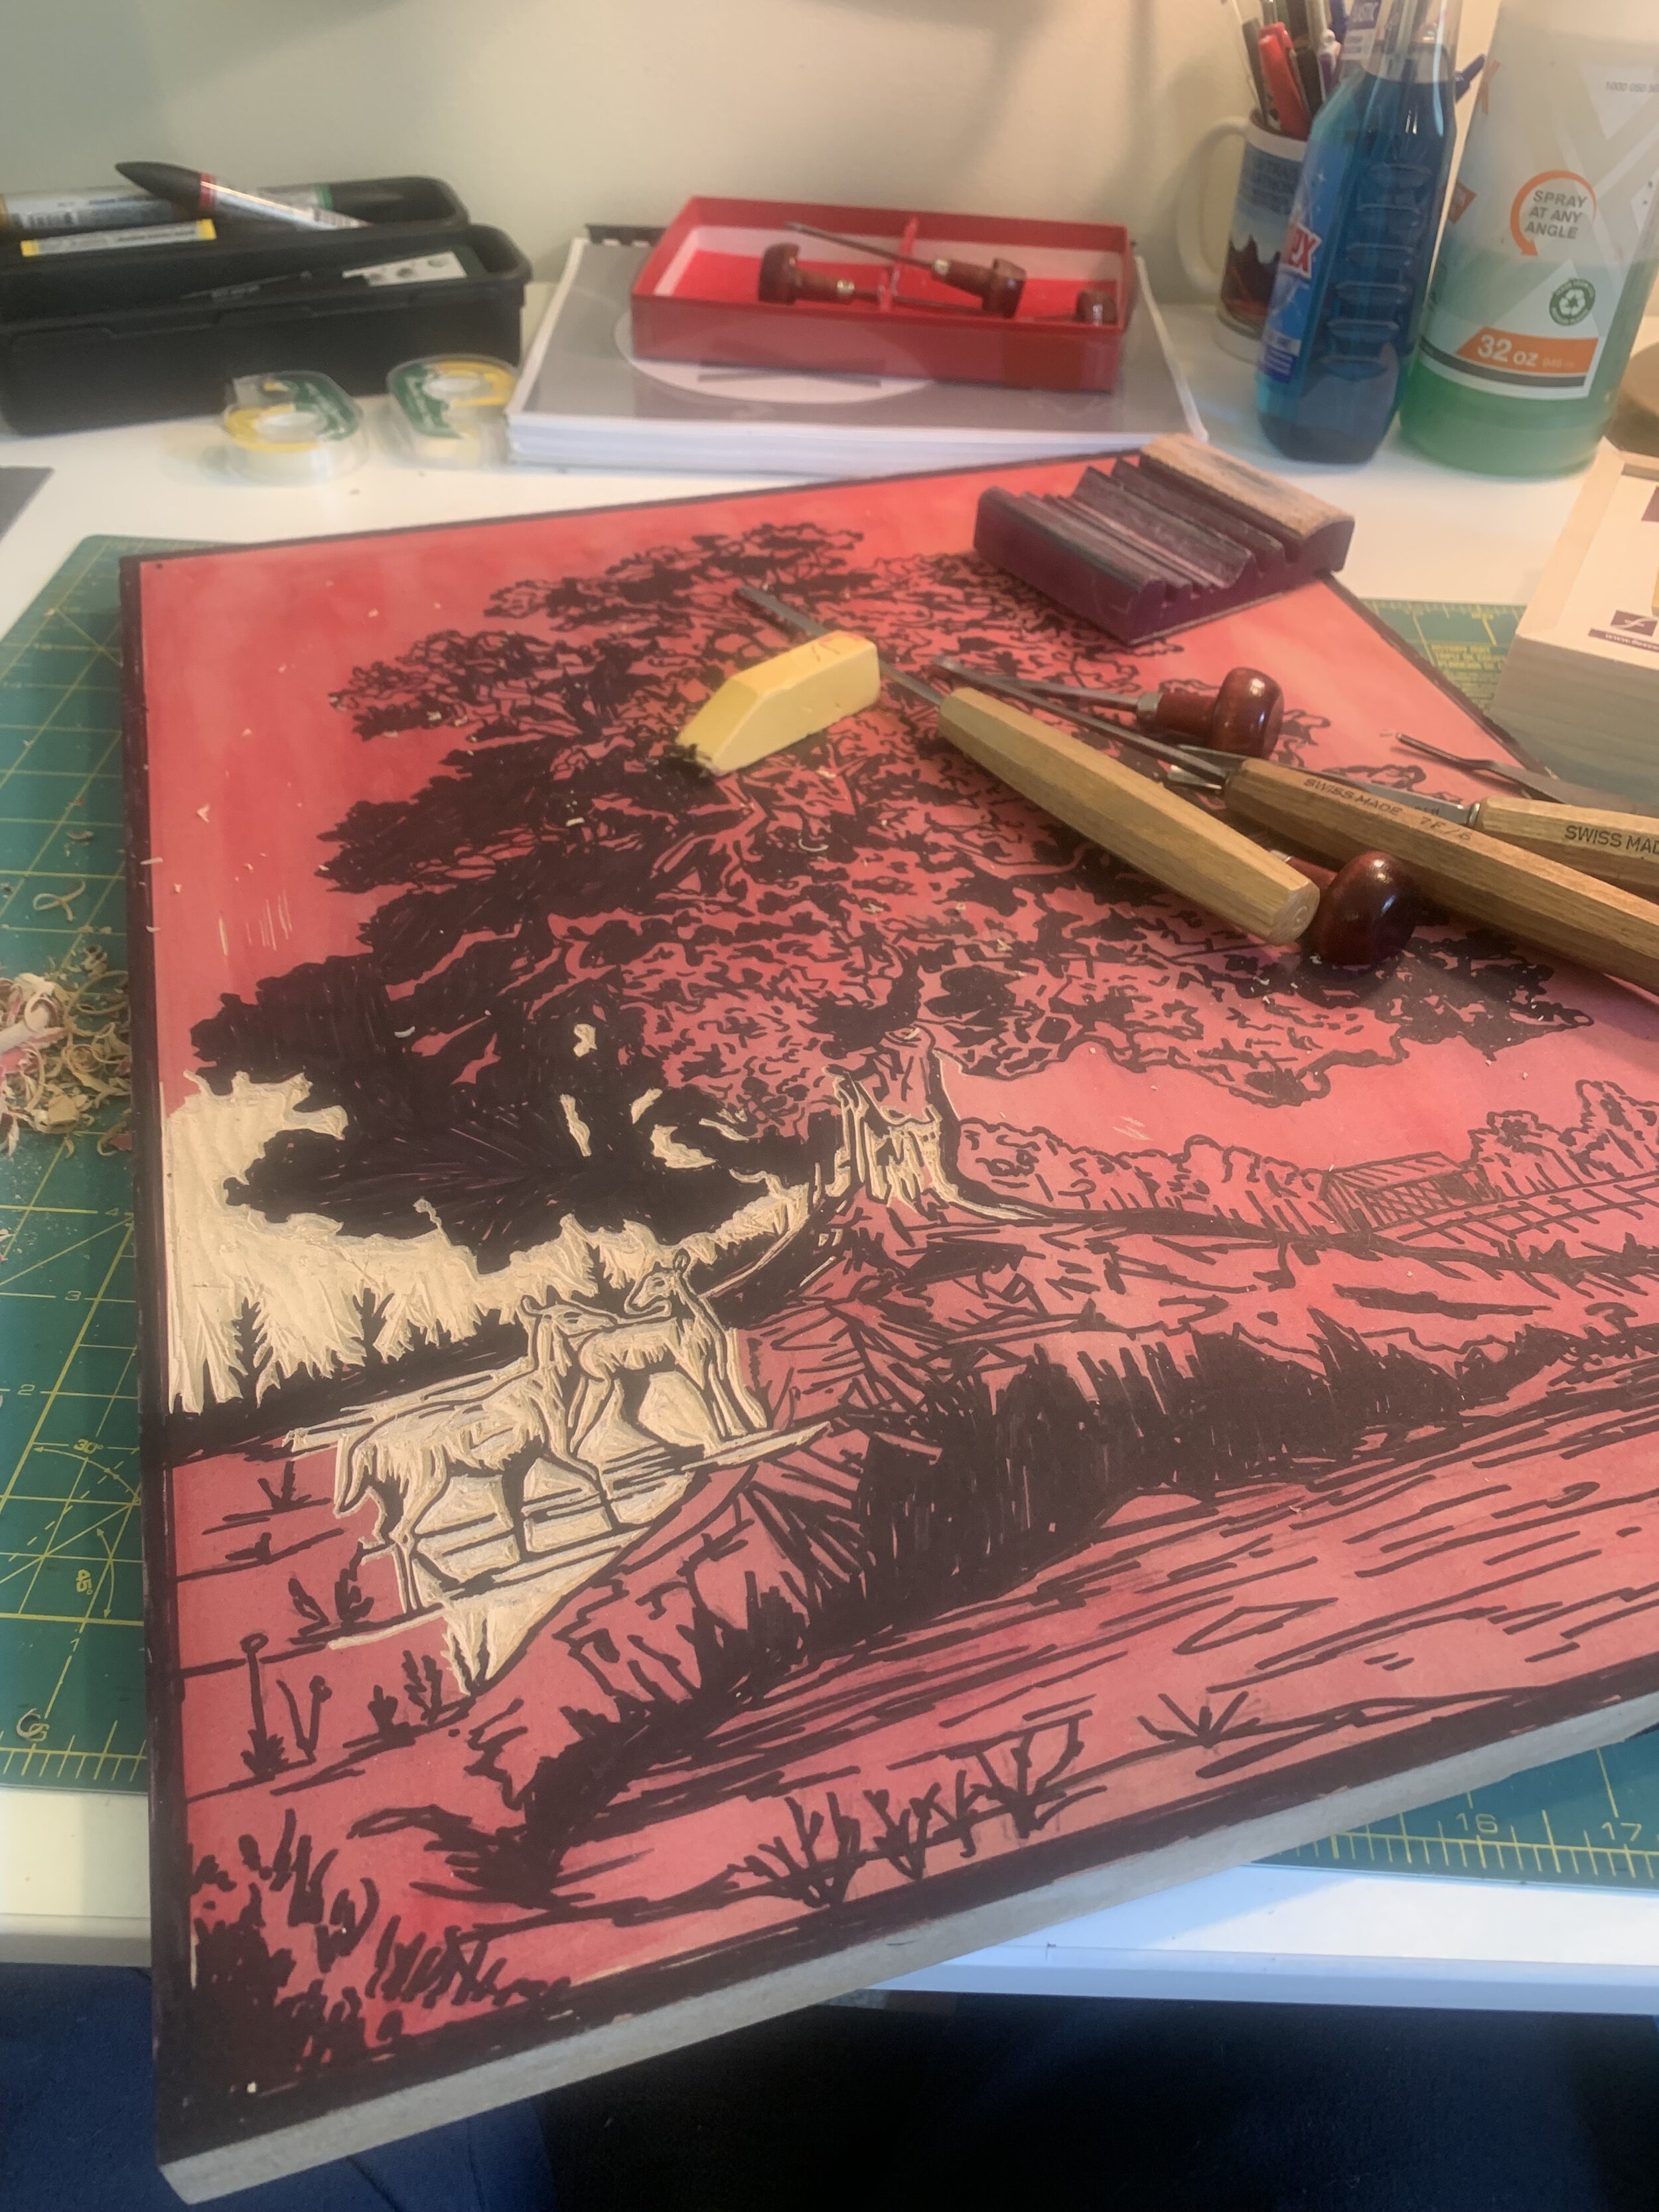
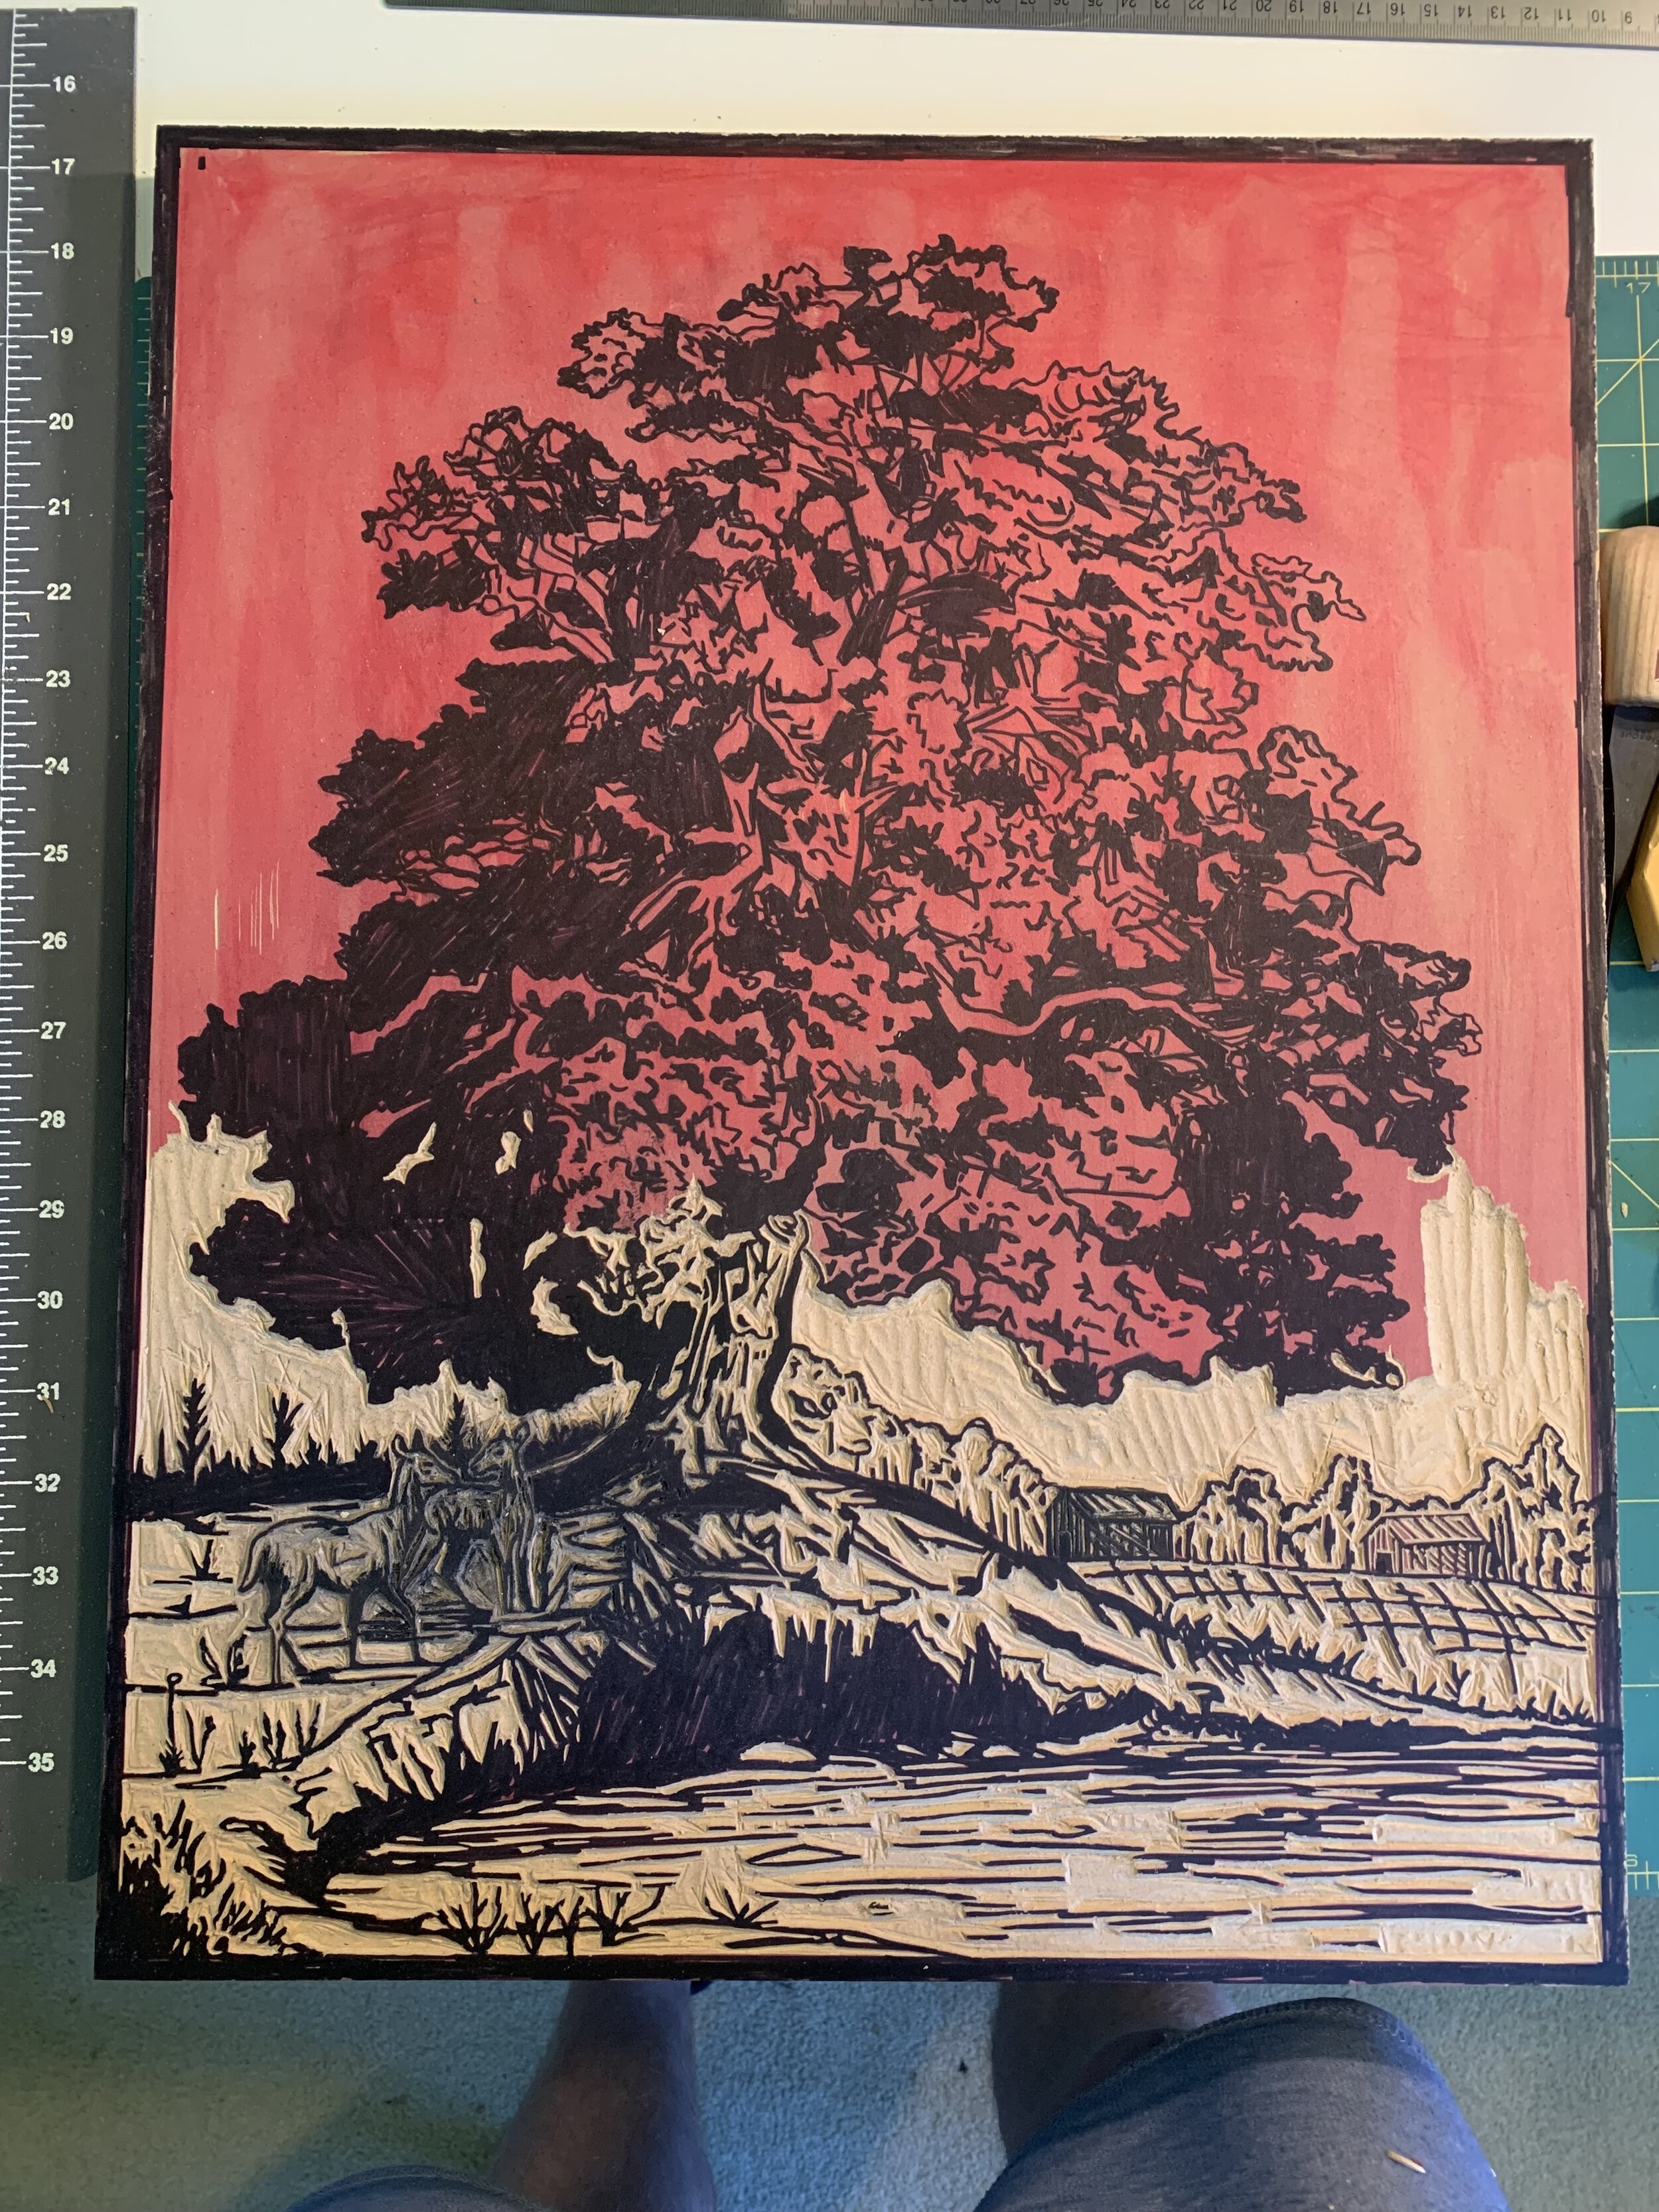
After the sketching is done and I have a final image for the print. I go print a few copies for the sketch to prepare for the the transfer process. It is important that you print you image in reverse so that when you print your block the image comes out how you designed it. I like to print two copies one to use for the transfer and one to use for reference while I carve. Now there are several ways to get a transfer, but for these prints since they are pretty big I did a graphite transfer. This is probably the easiest way to transfer a sketch to a block, but also one of the longest. I start by flipping the print over and using a graphite stick,(preferably a 4B or bigger) I cover the back side in graphite. Once that is done I flip it over and place the sketch on top of the block, and tape it to the wood. Then begin the long process of tracing the print using a pen. Using the pen you color over all the positive shapes(all the black on the print). This transfer the graphite onto the wood. Once your done you have a graphite image of your sketch on the block. Now the graphite can smudge while carving and you can lose your sketch, so I take a sharpie and go back and sharpie over all the graphite. Now when I carve I will not lose my drawing. Final step! I take some liquid acrylic and make a wash over the entire block. Using a bright color like red, this helps when carving know what you carved. You will basically carve out everything thats red. These steps can take a long time! specially when they’re big blocks! You are essentially drawing your image three times. Once as a design, once to transfer, and once to go over the transfer in permeant marker.
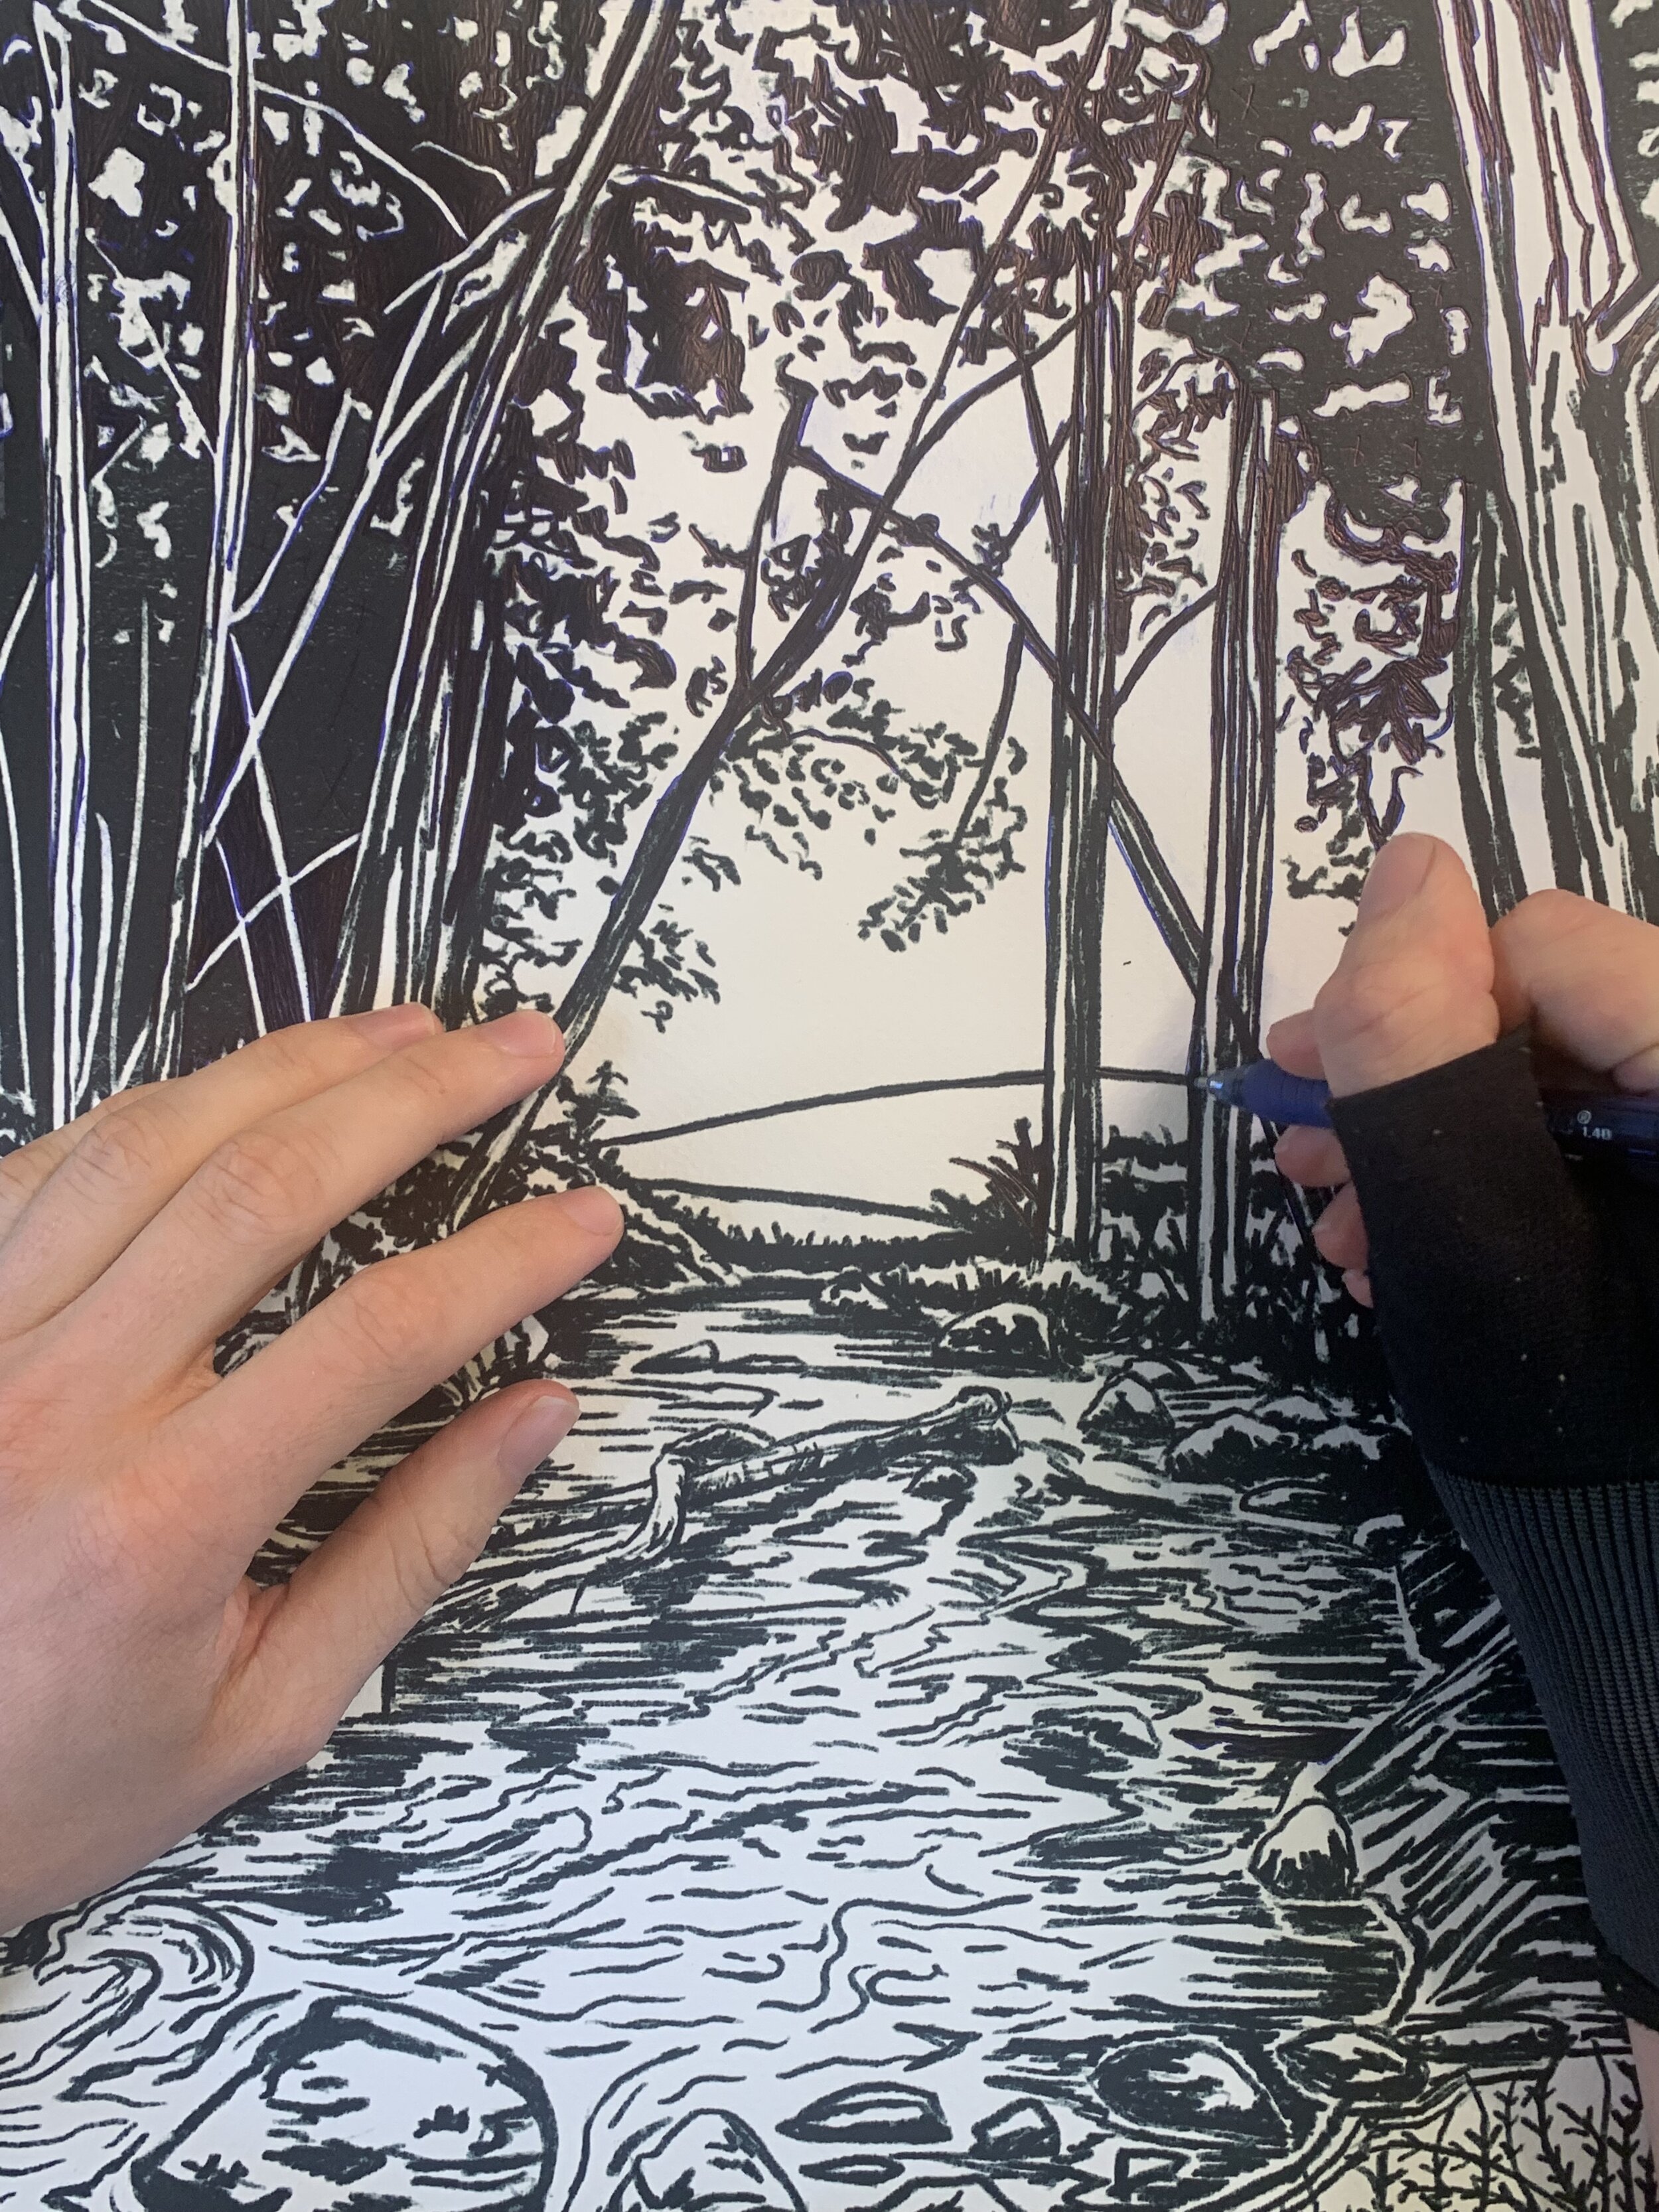

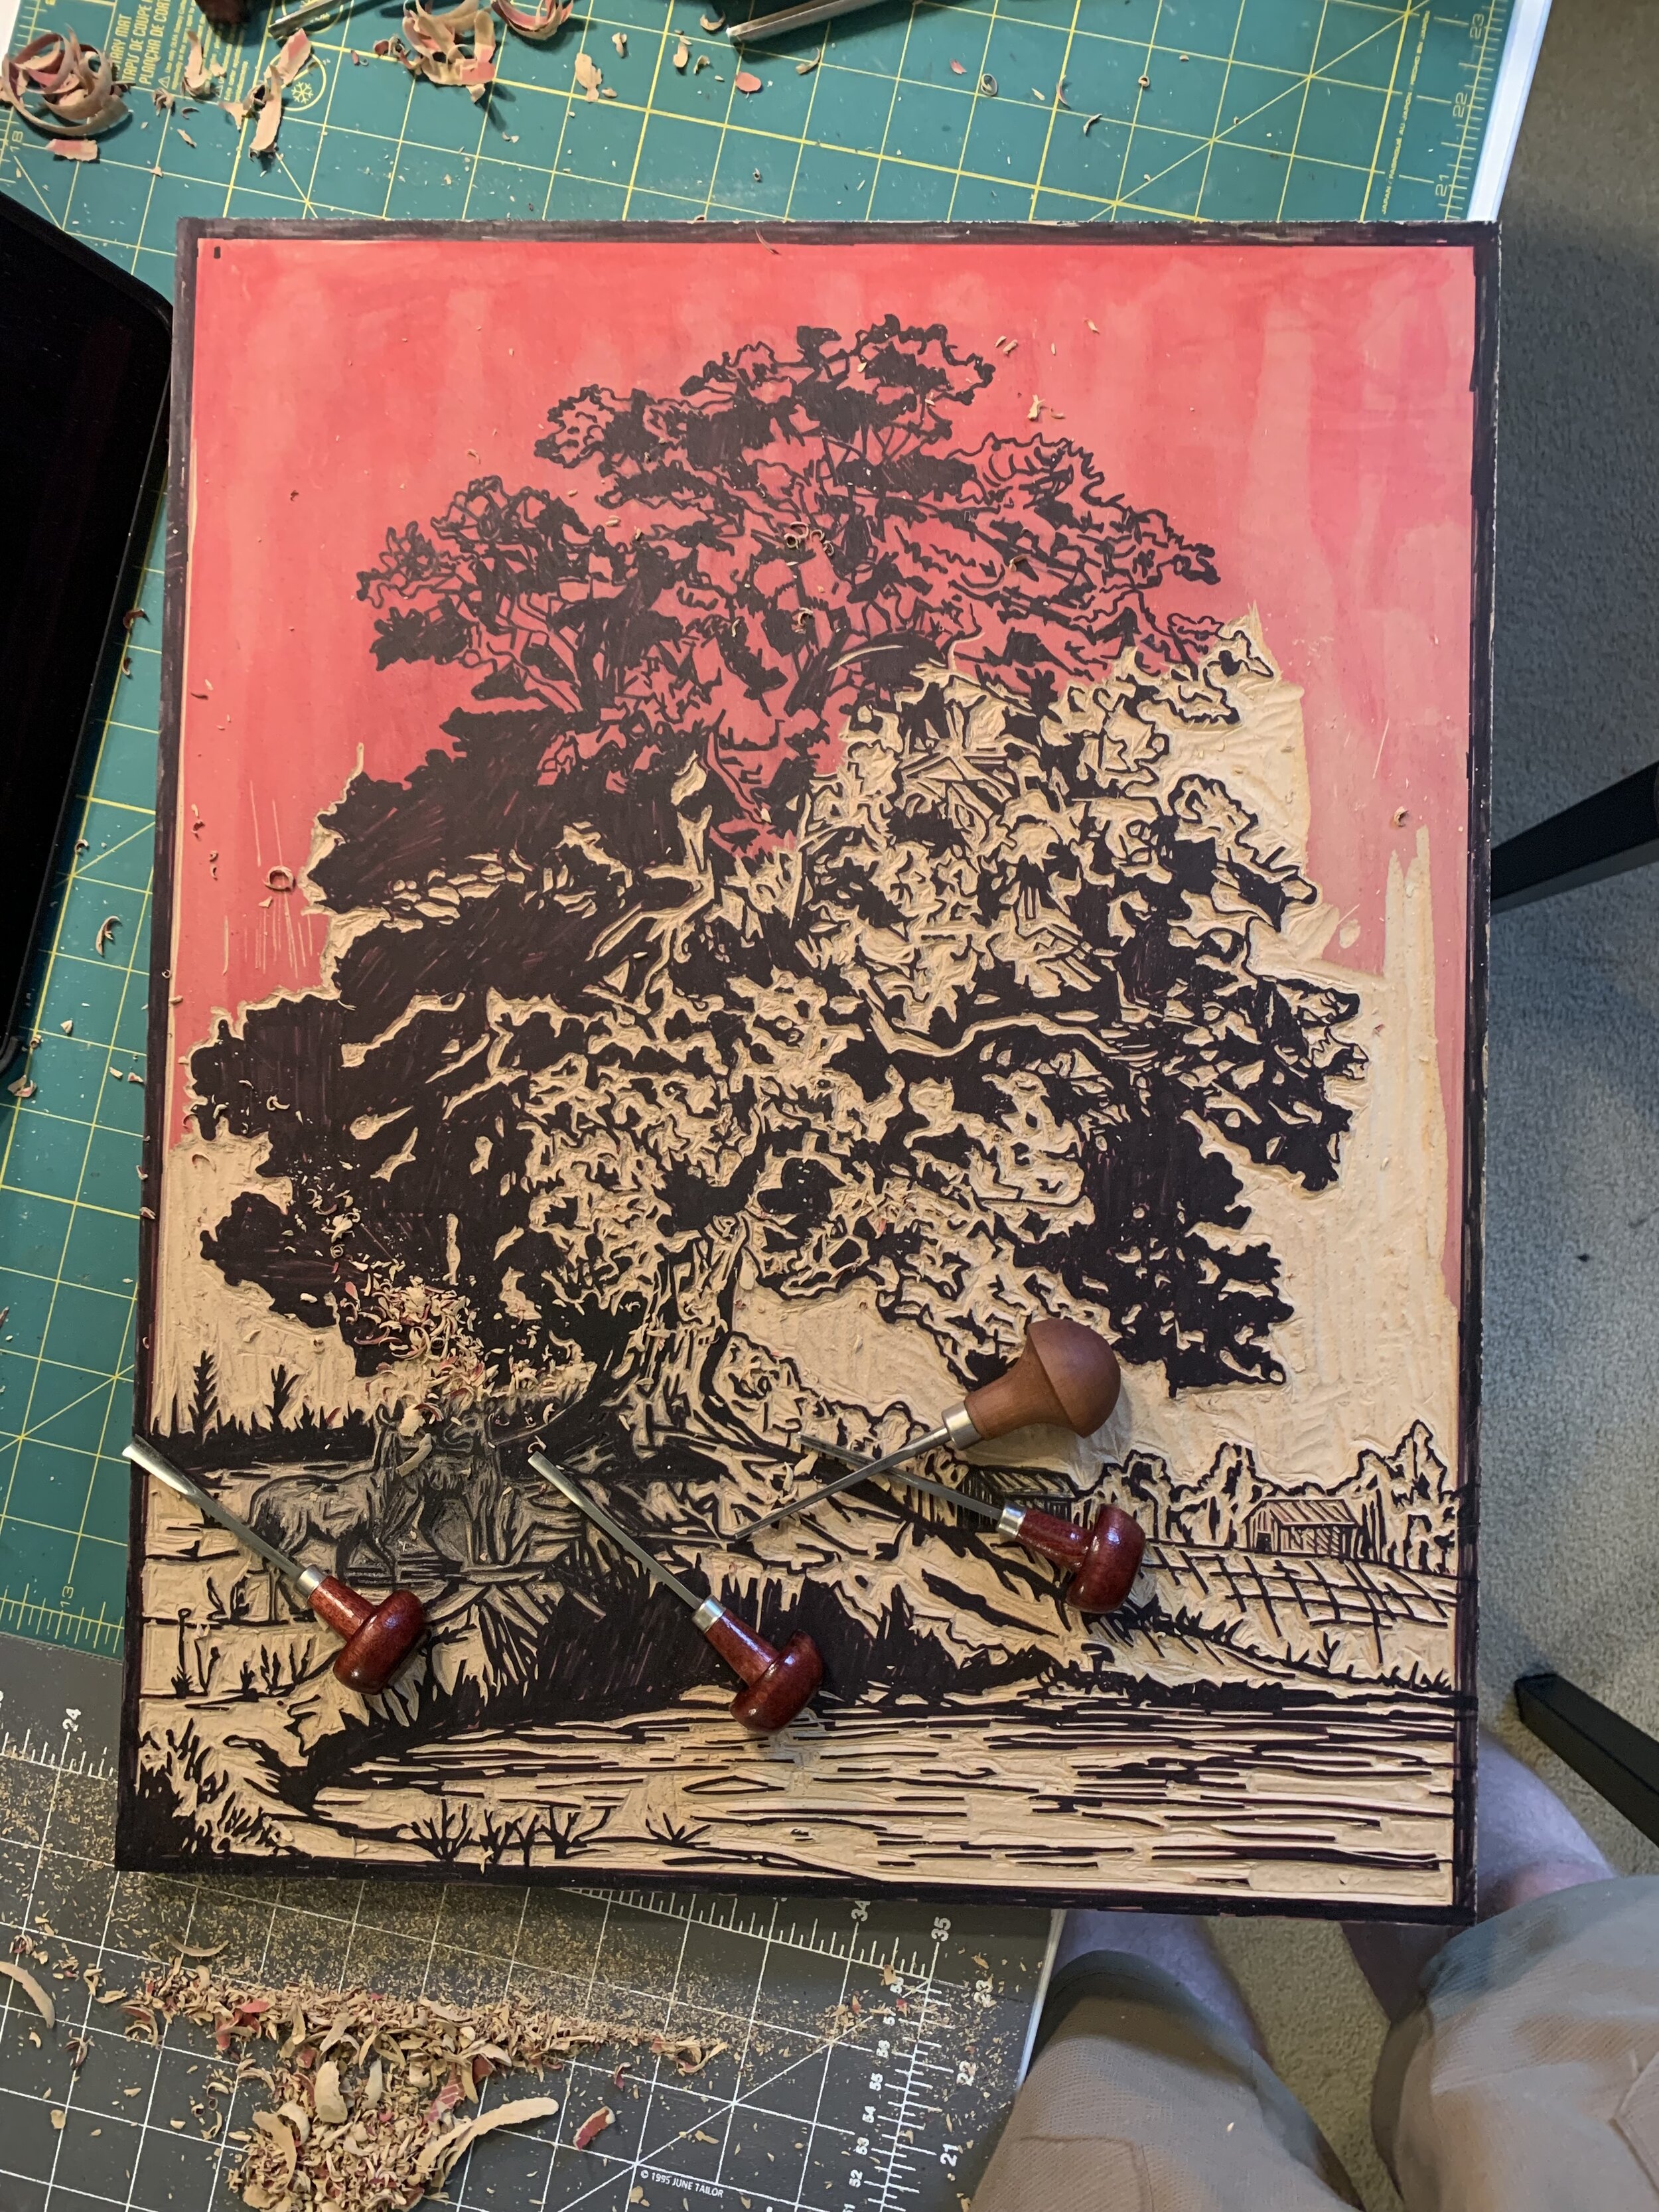
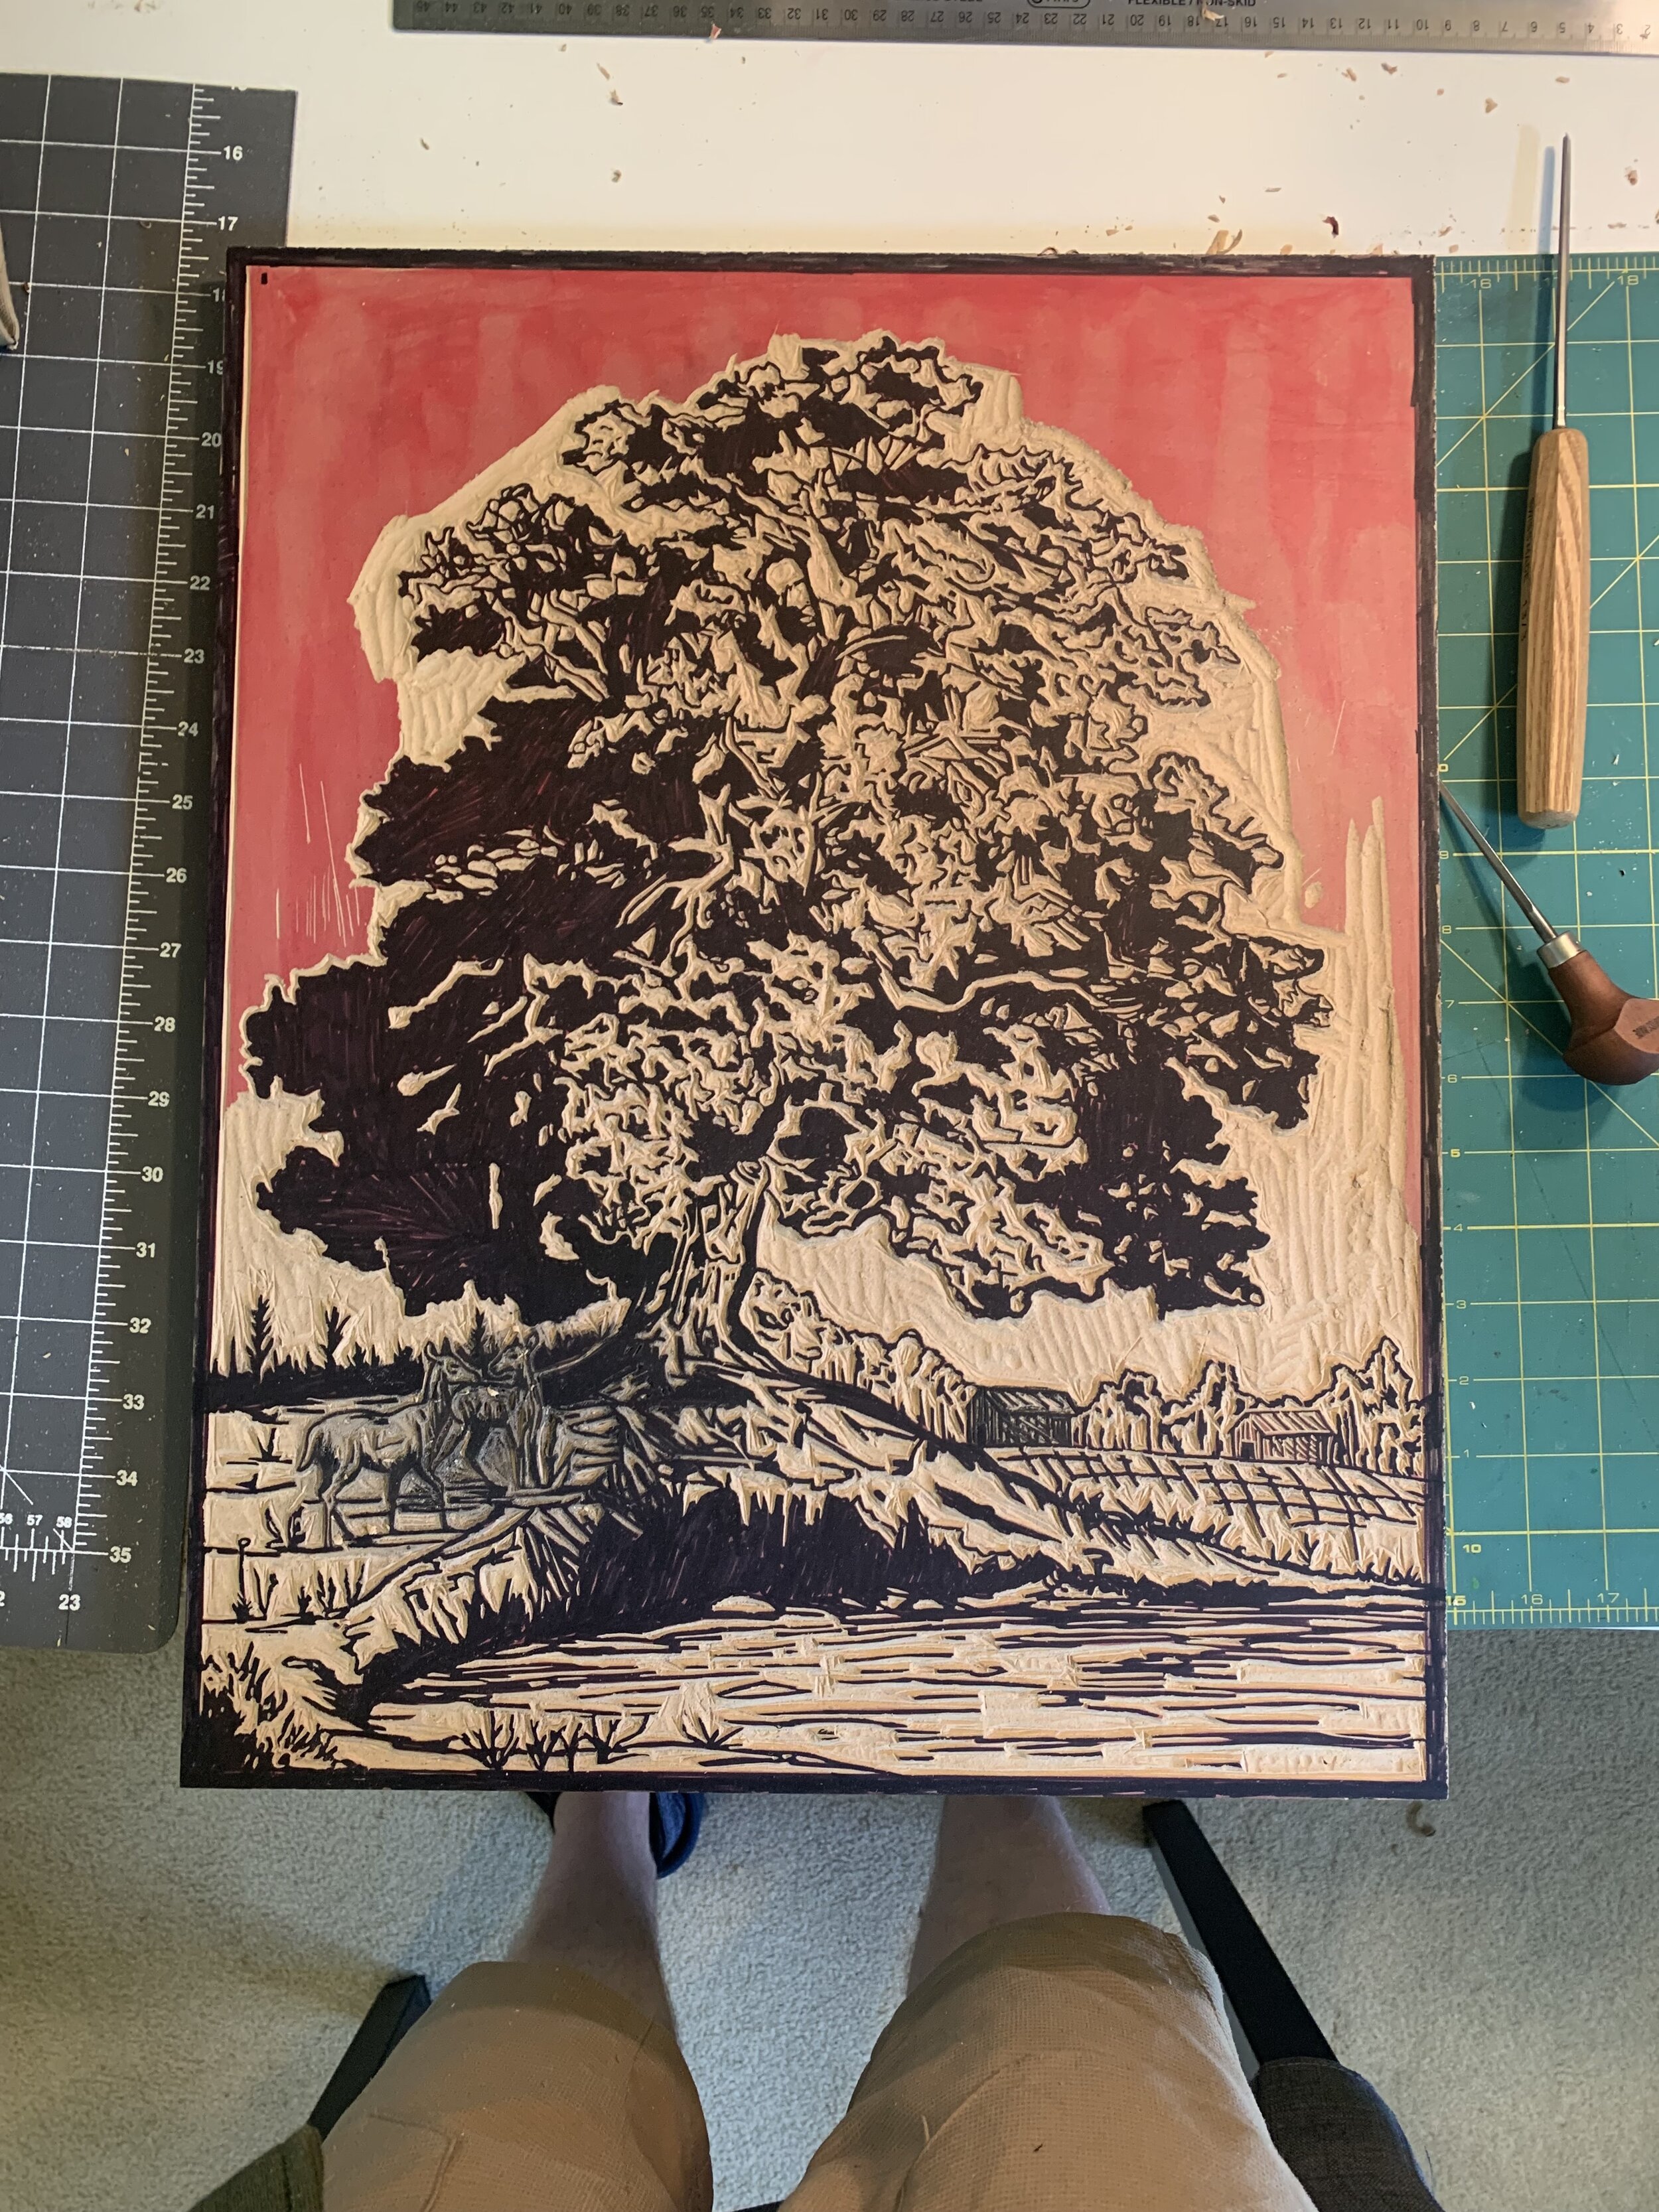
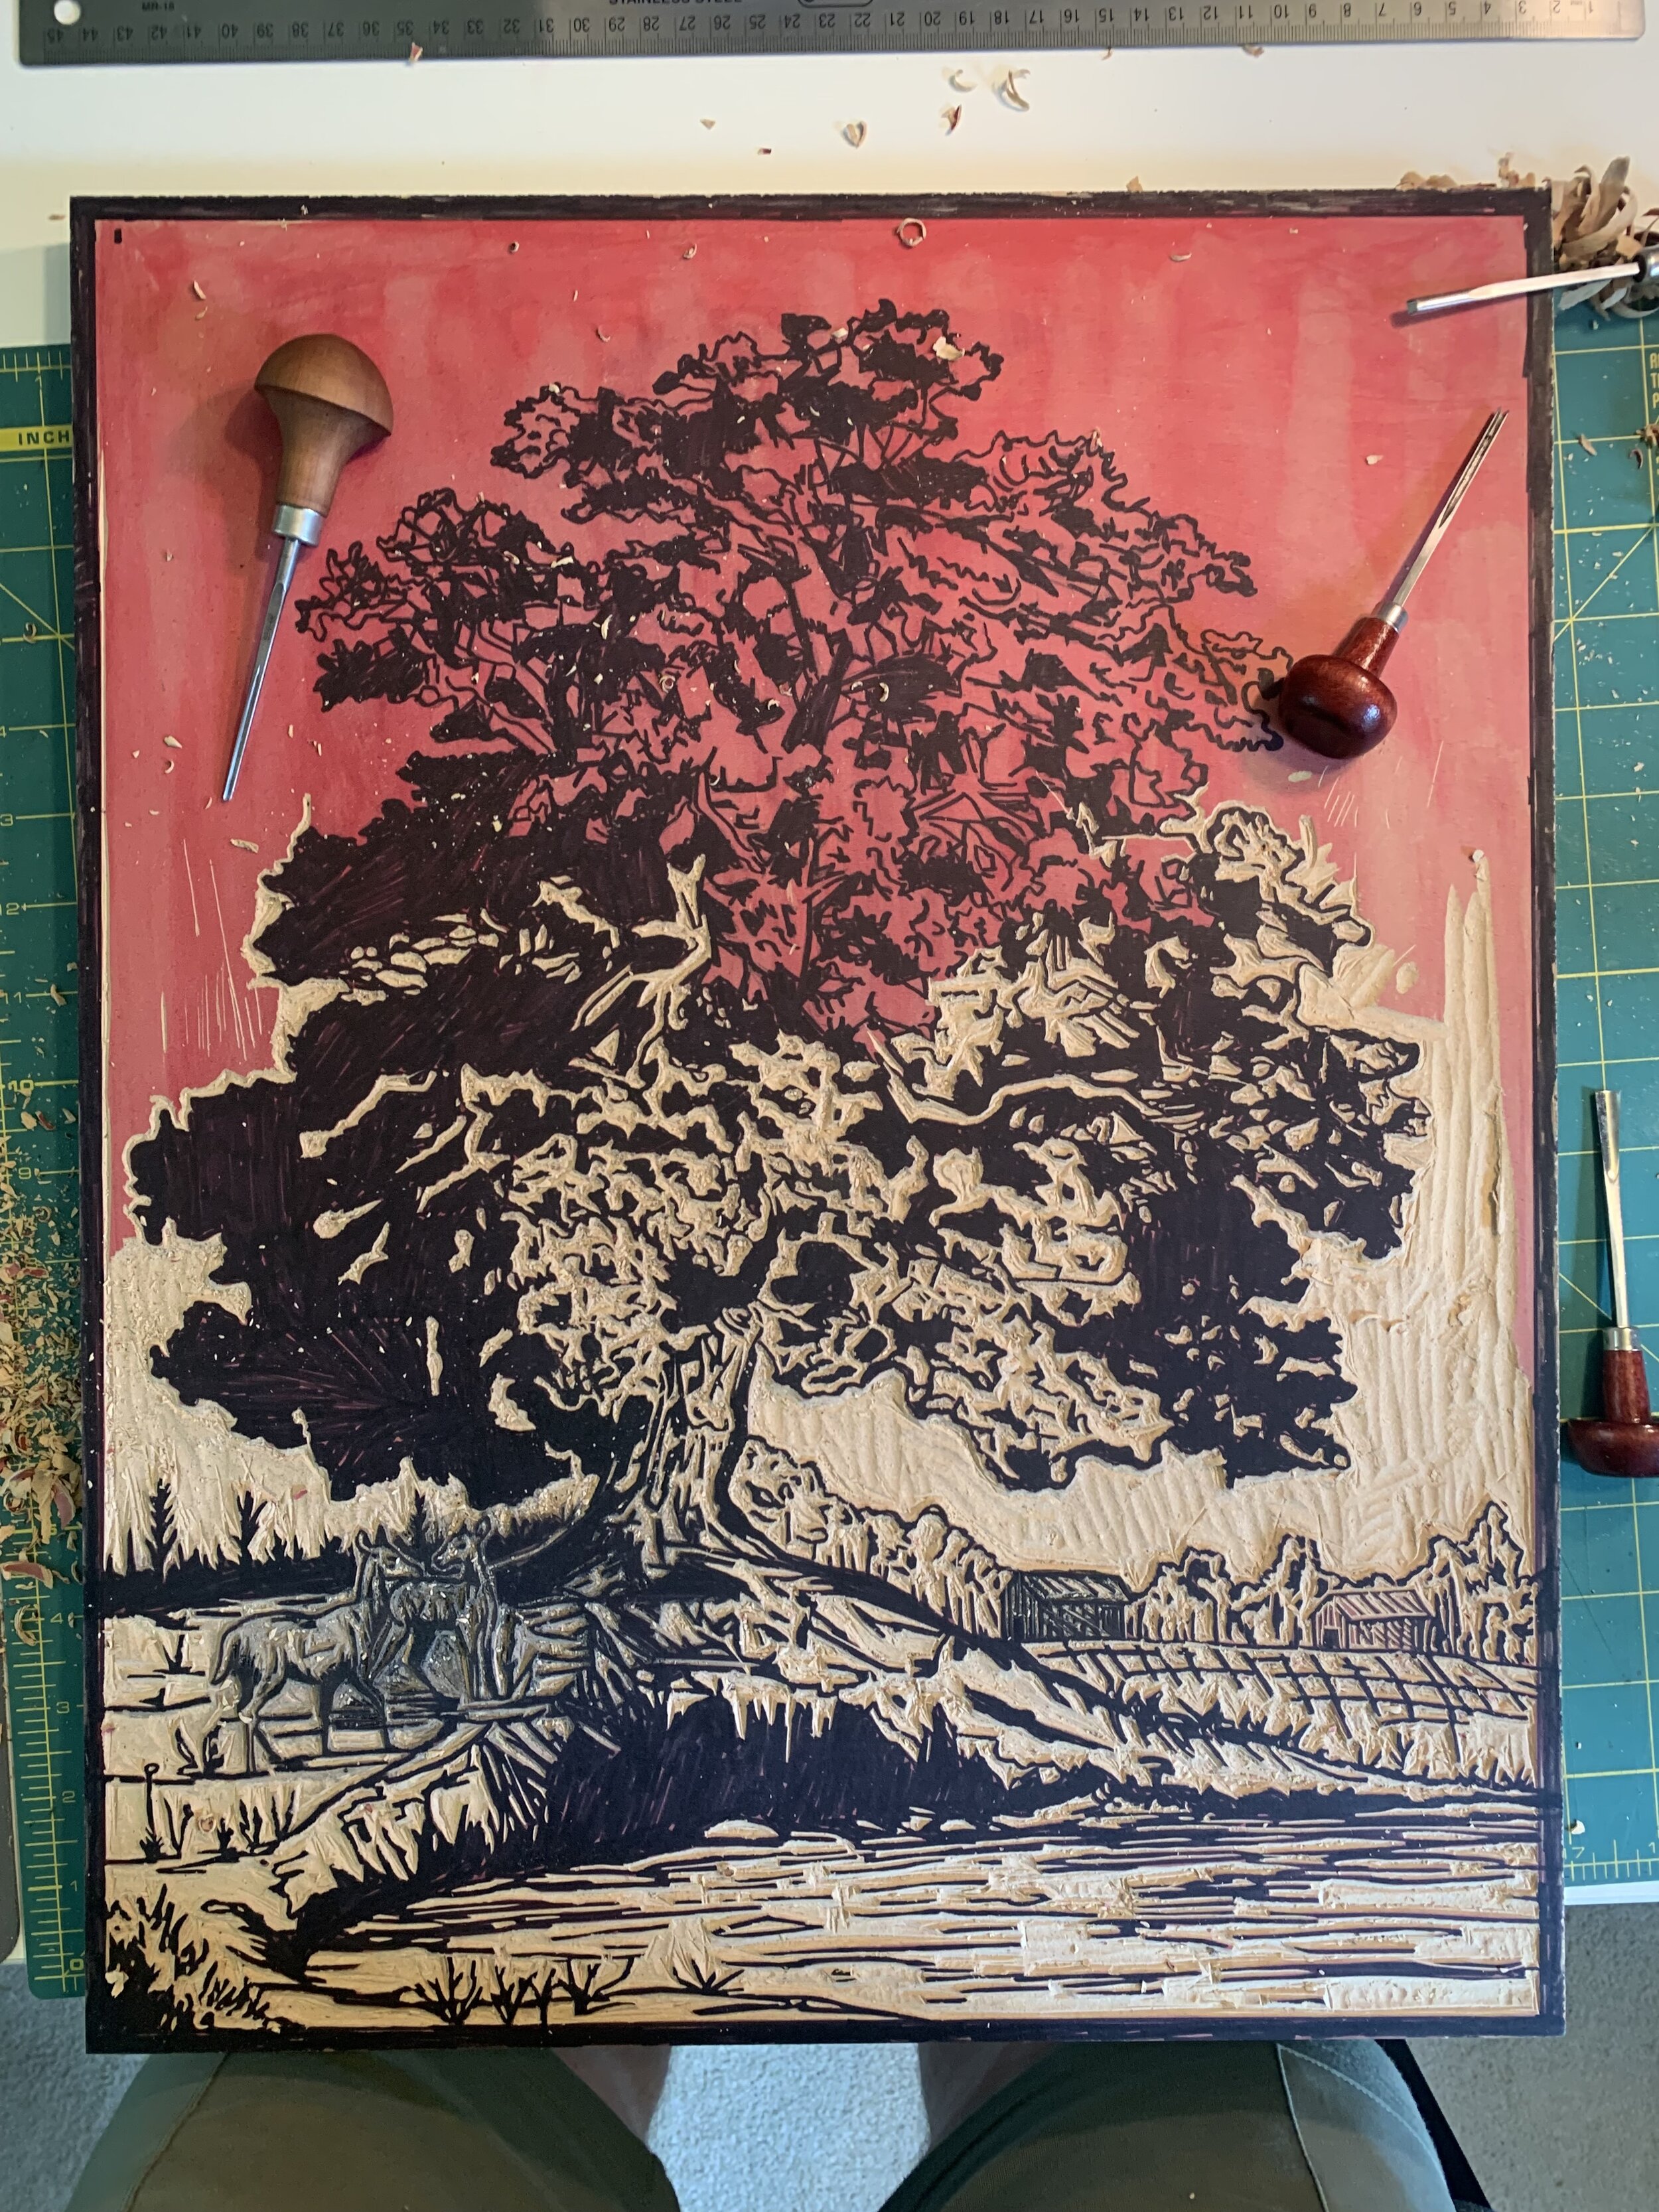
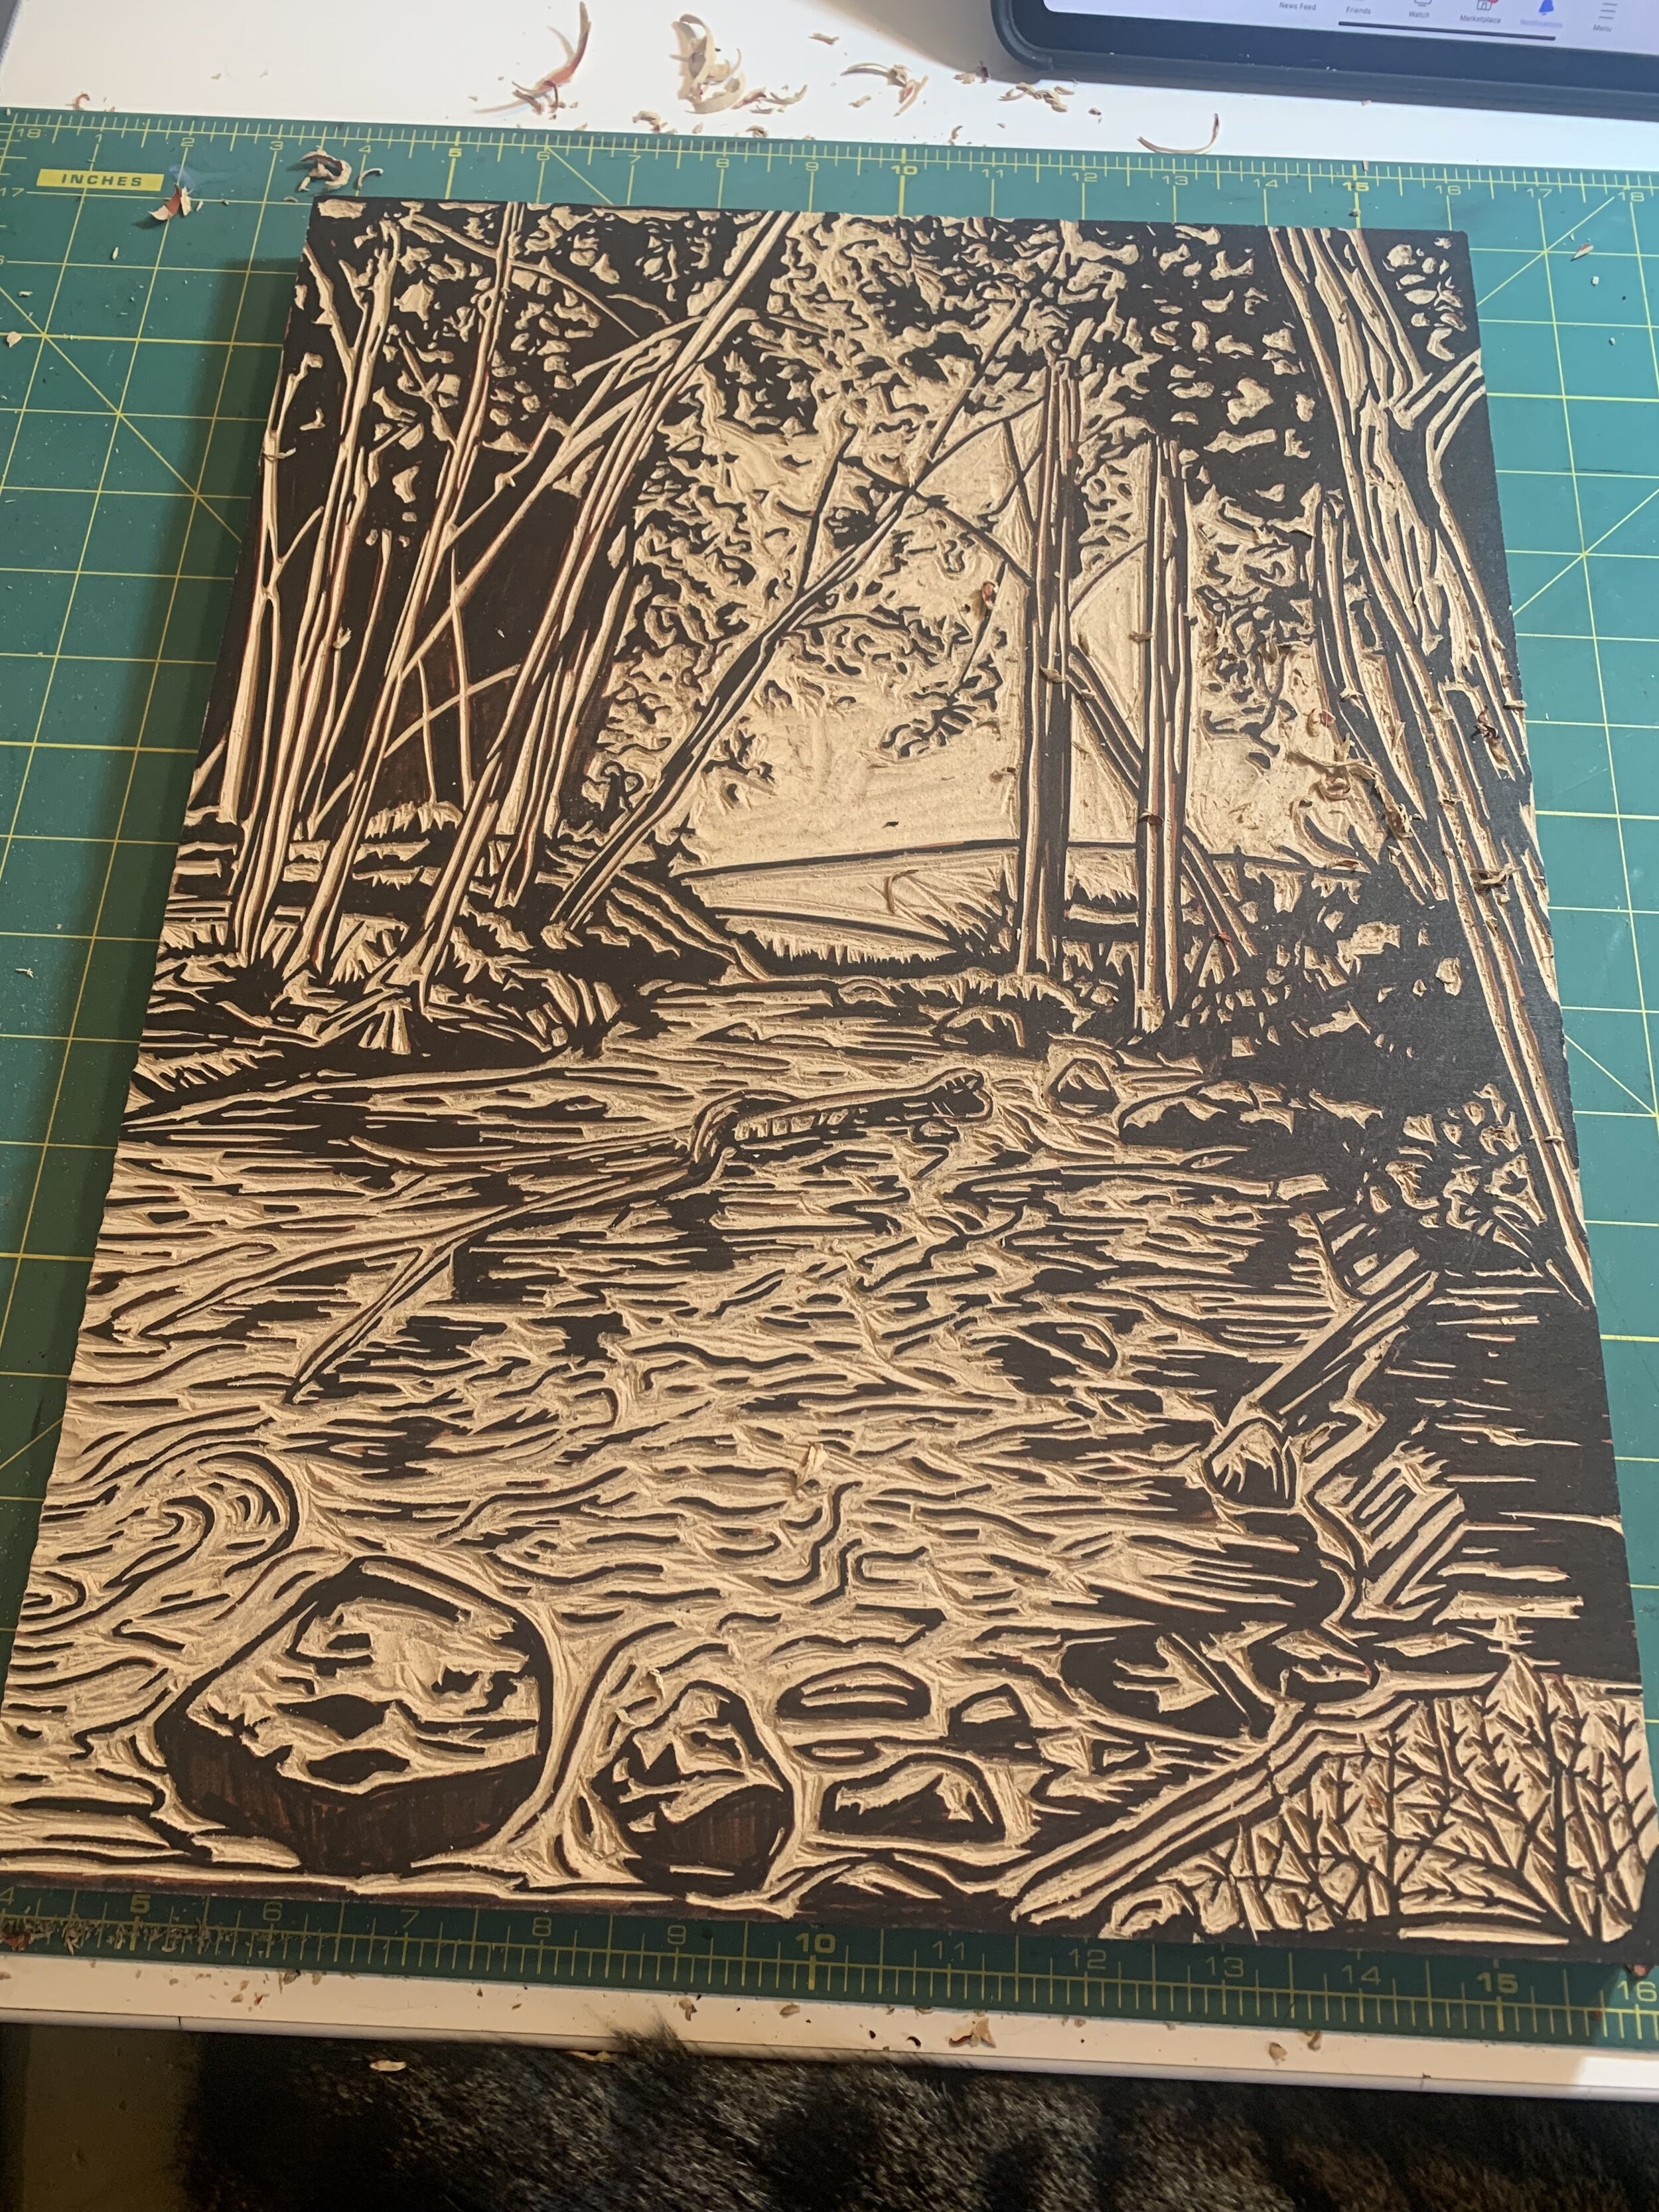
Carving the block.
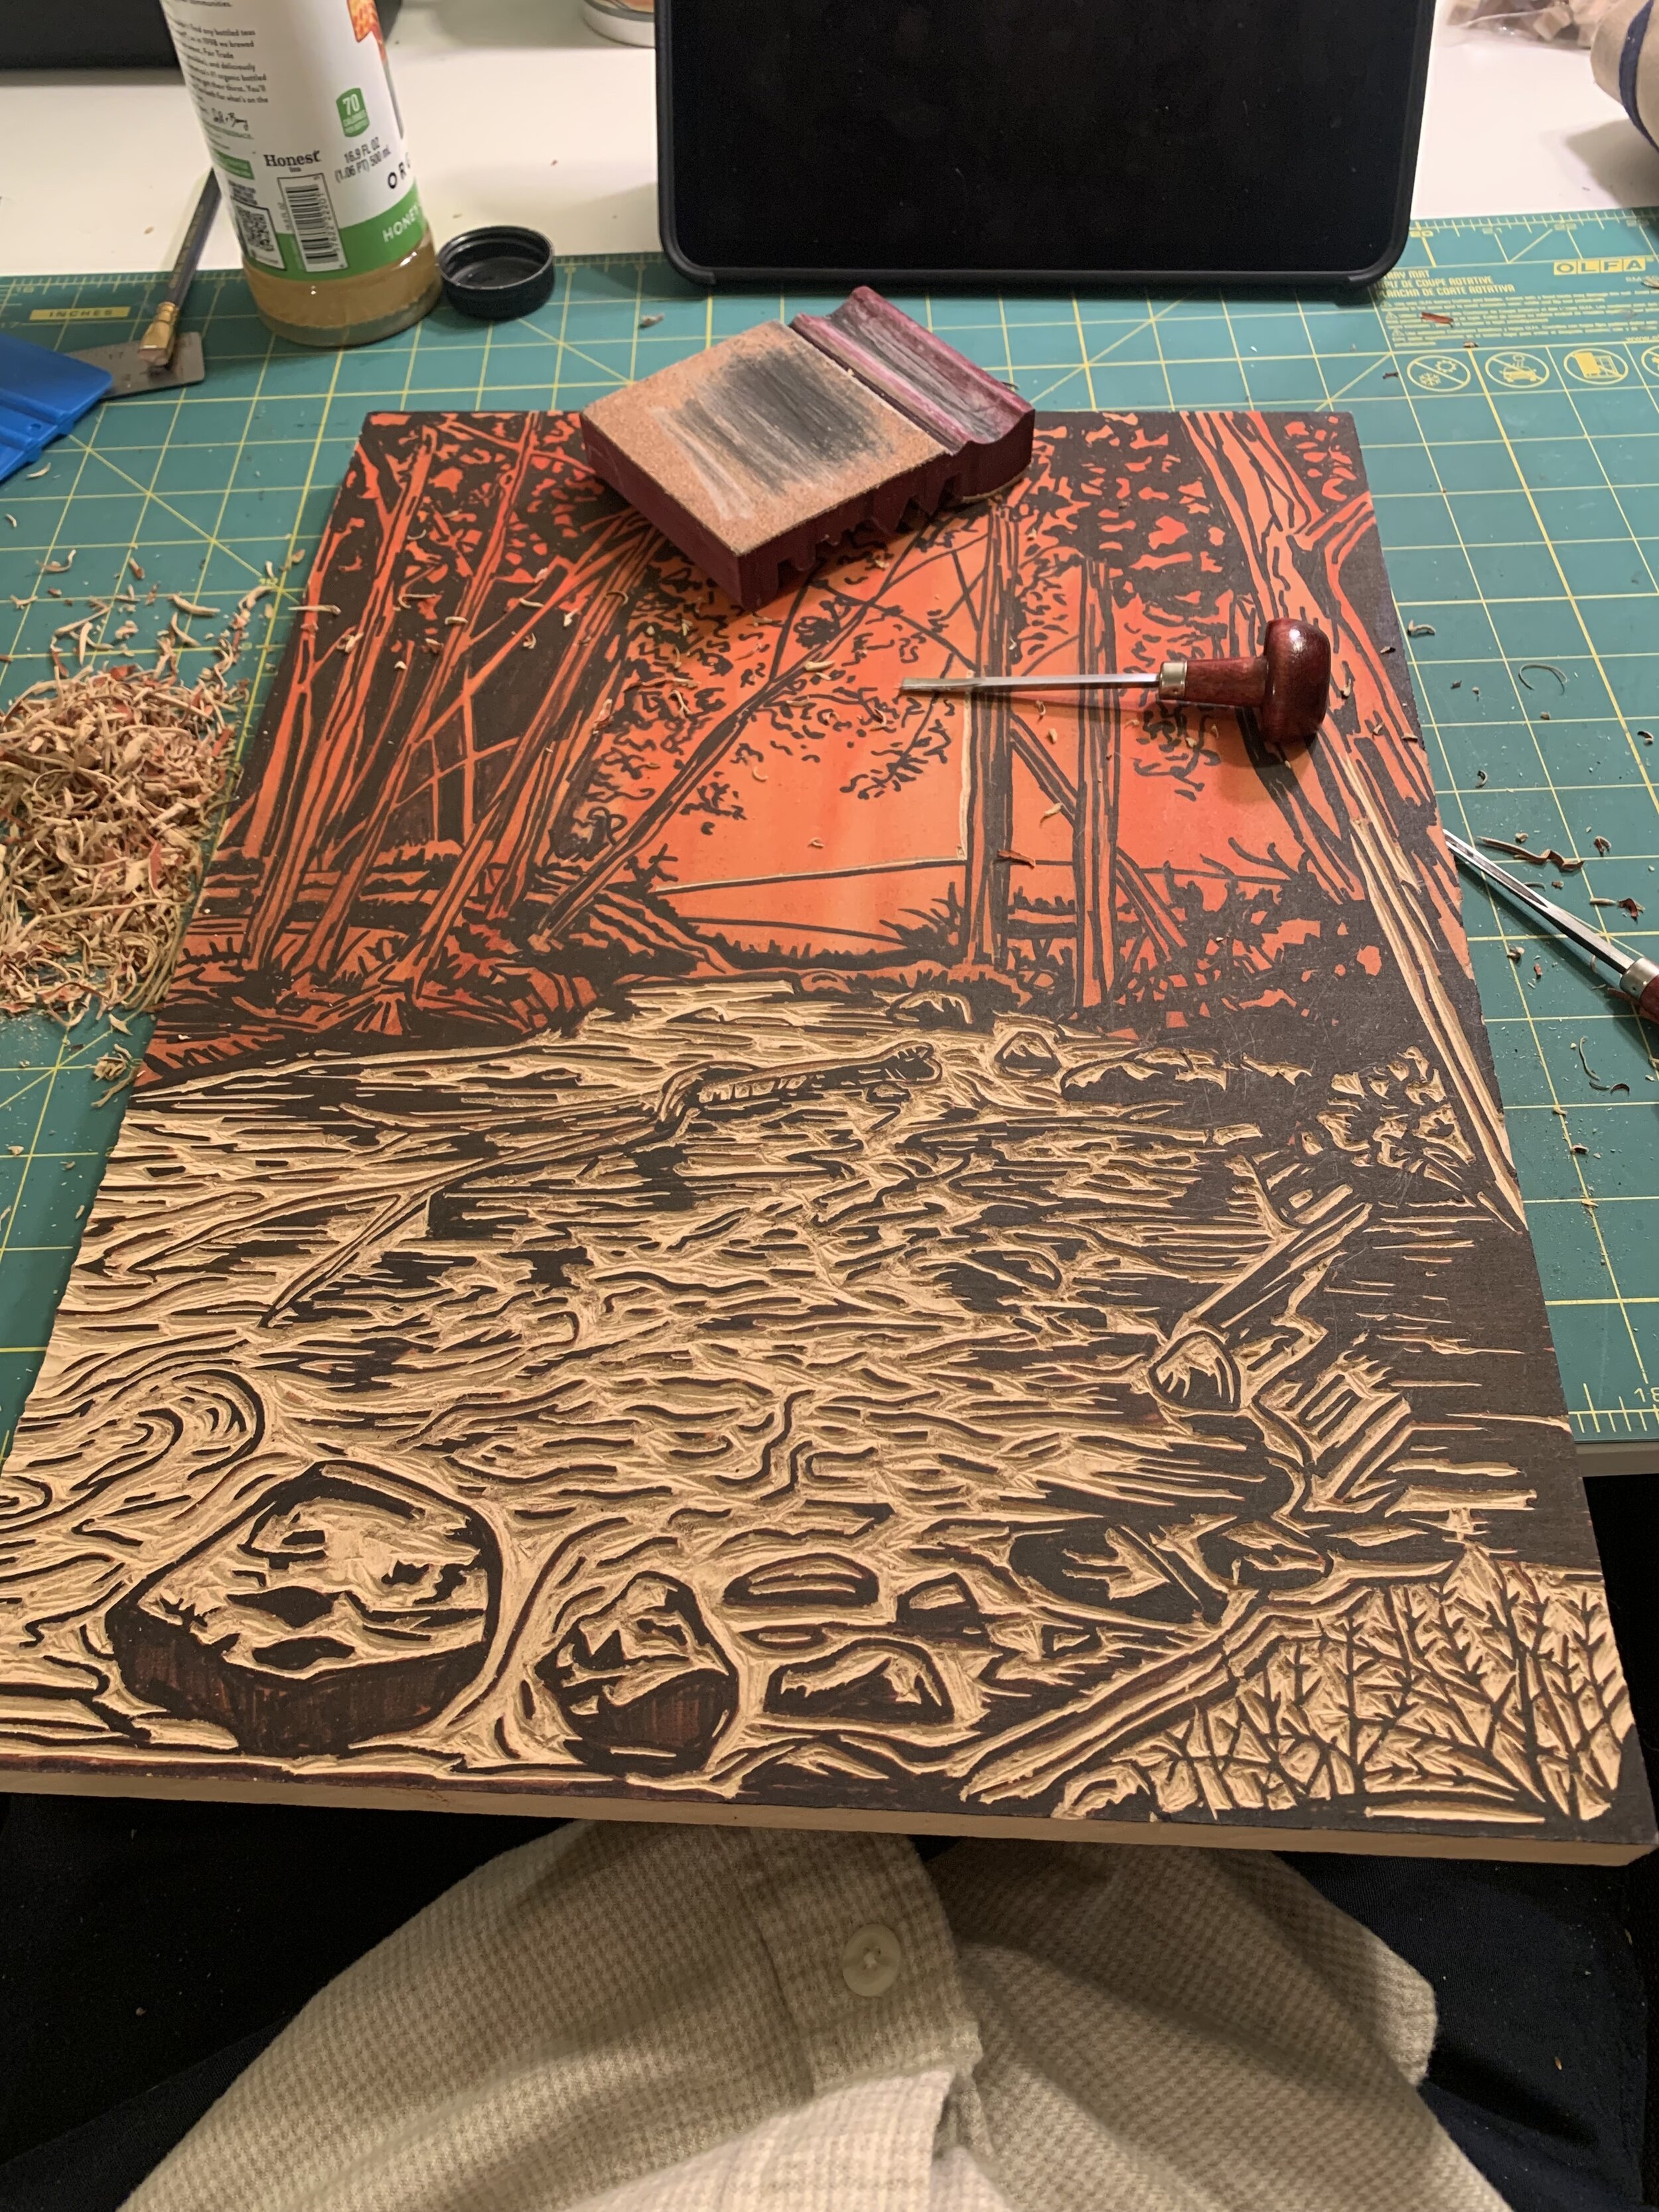
This is the most straight forward step of the block printing process. Simply carve out the negative space on your block until you finish. The task can be straight forward but executing it out can be long, tricky, and tedious. It simply takes a long time to carve, and there is no rushing this step. Once a section is carved there is no putting it back. Now mistakes happen and sometimes the carving tool slips, It happens to me too. I have always been able to just roll with and make micro adjustments to accommodate for them. This is where it becomes a block print and not a rendition of your drawing. Now carving on wood is a little more challenging than linoleum. Make sure your tools are sharp, take lots of breaks (I need to do more of this) and don’t rush! The 16x20 block took me about a month to finish from starting the transfer process on, the other I had a big time crunch and did the whole thing in three weeks (not recommended).

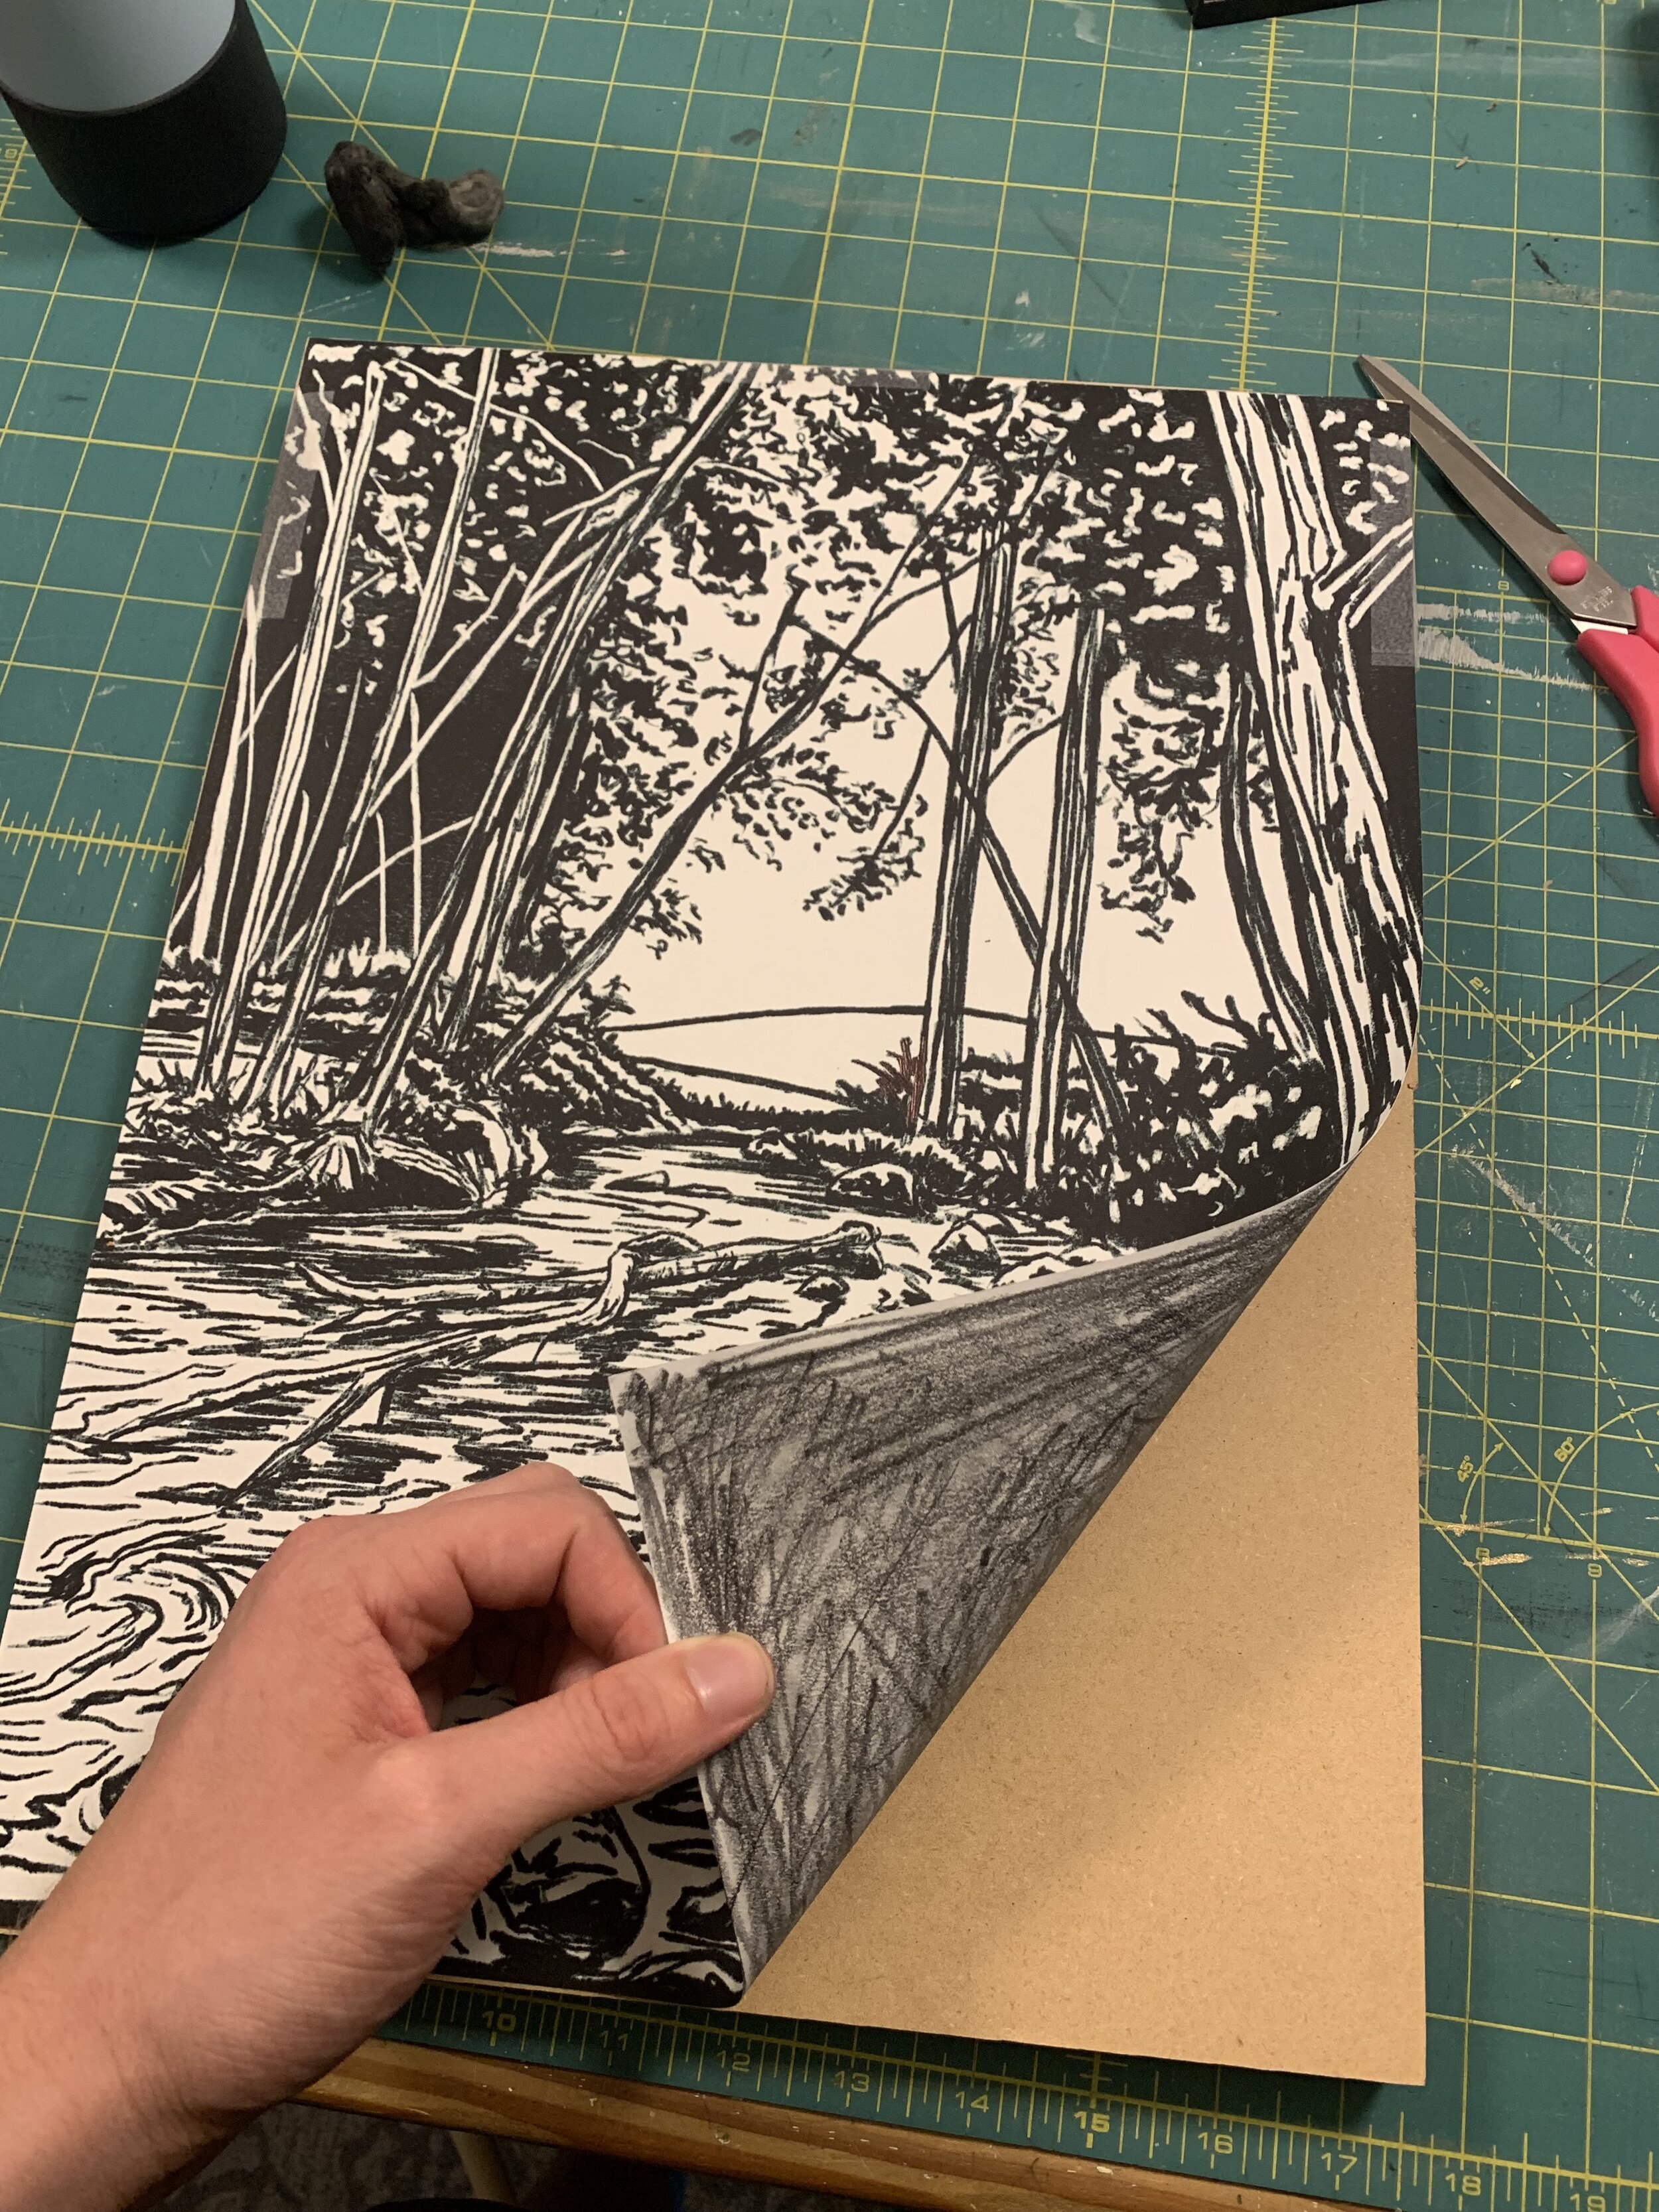
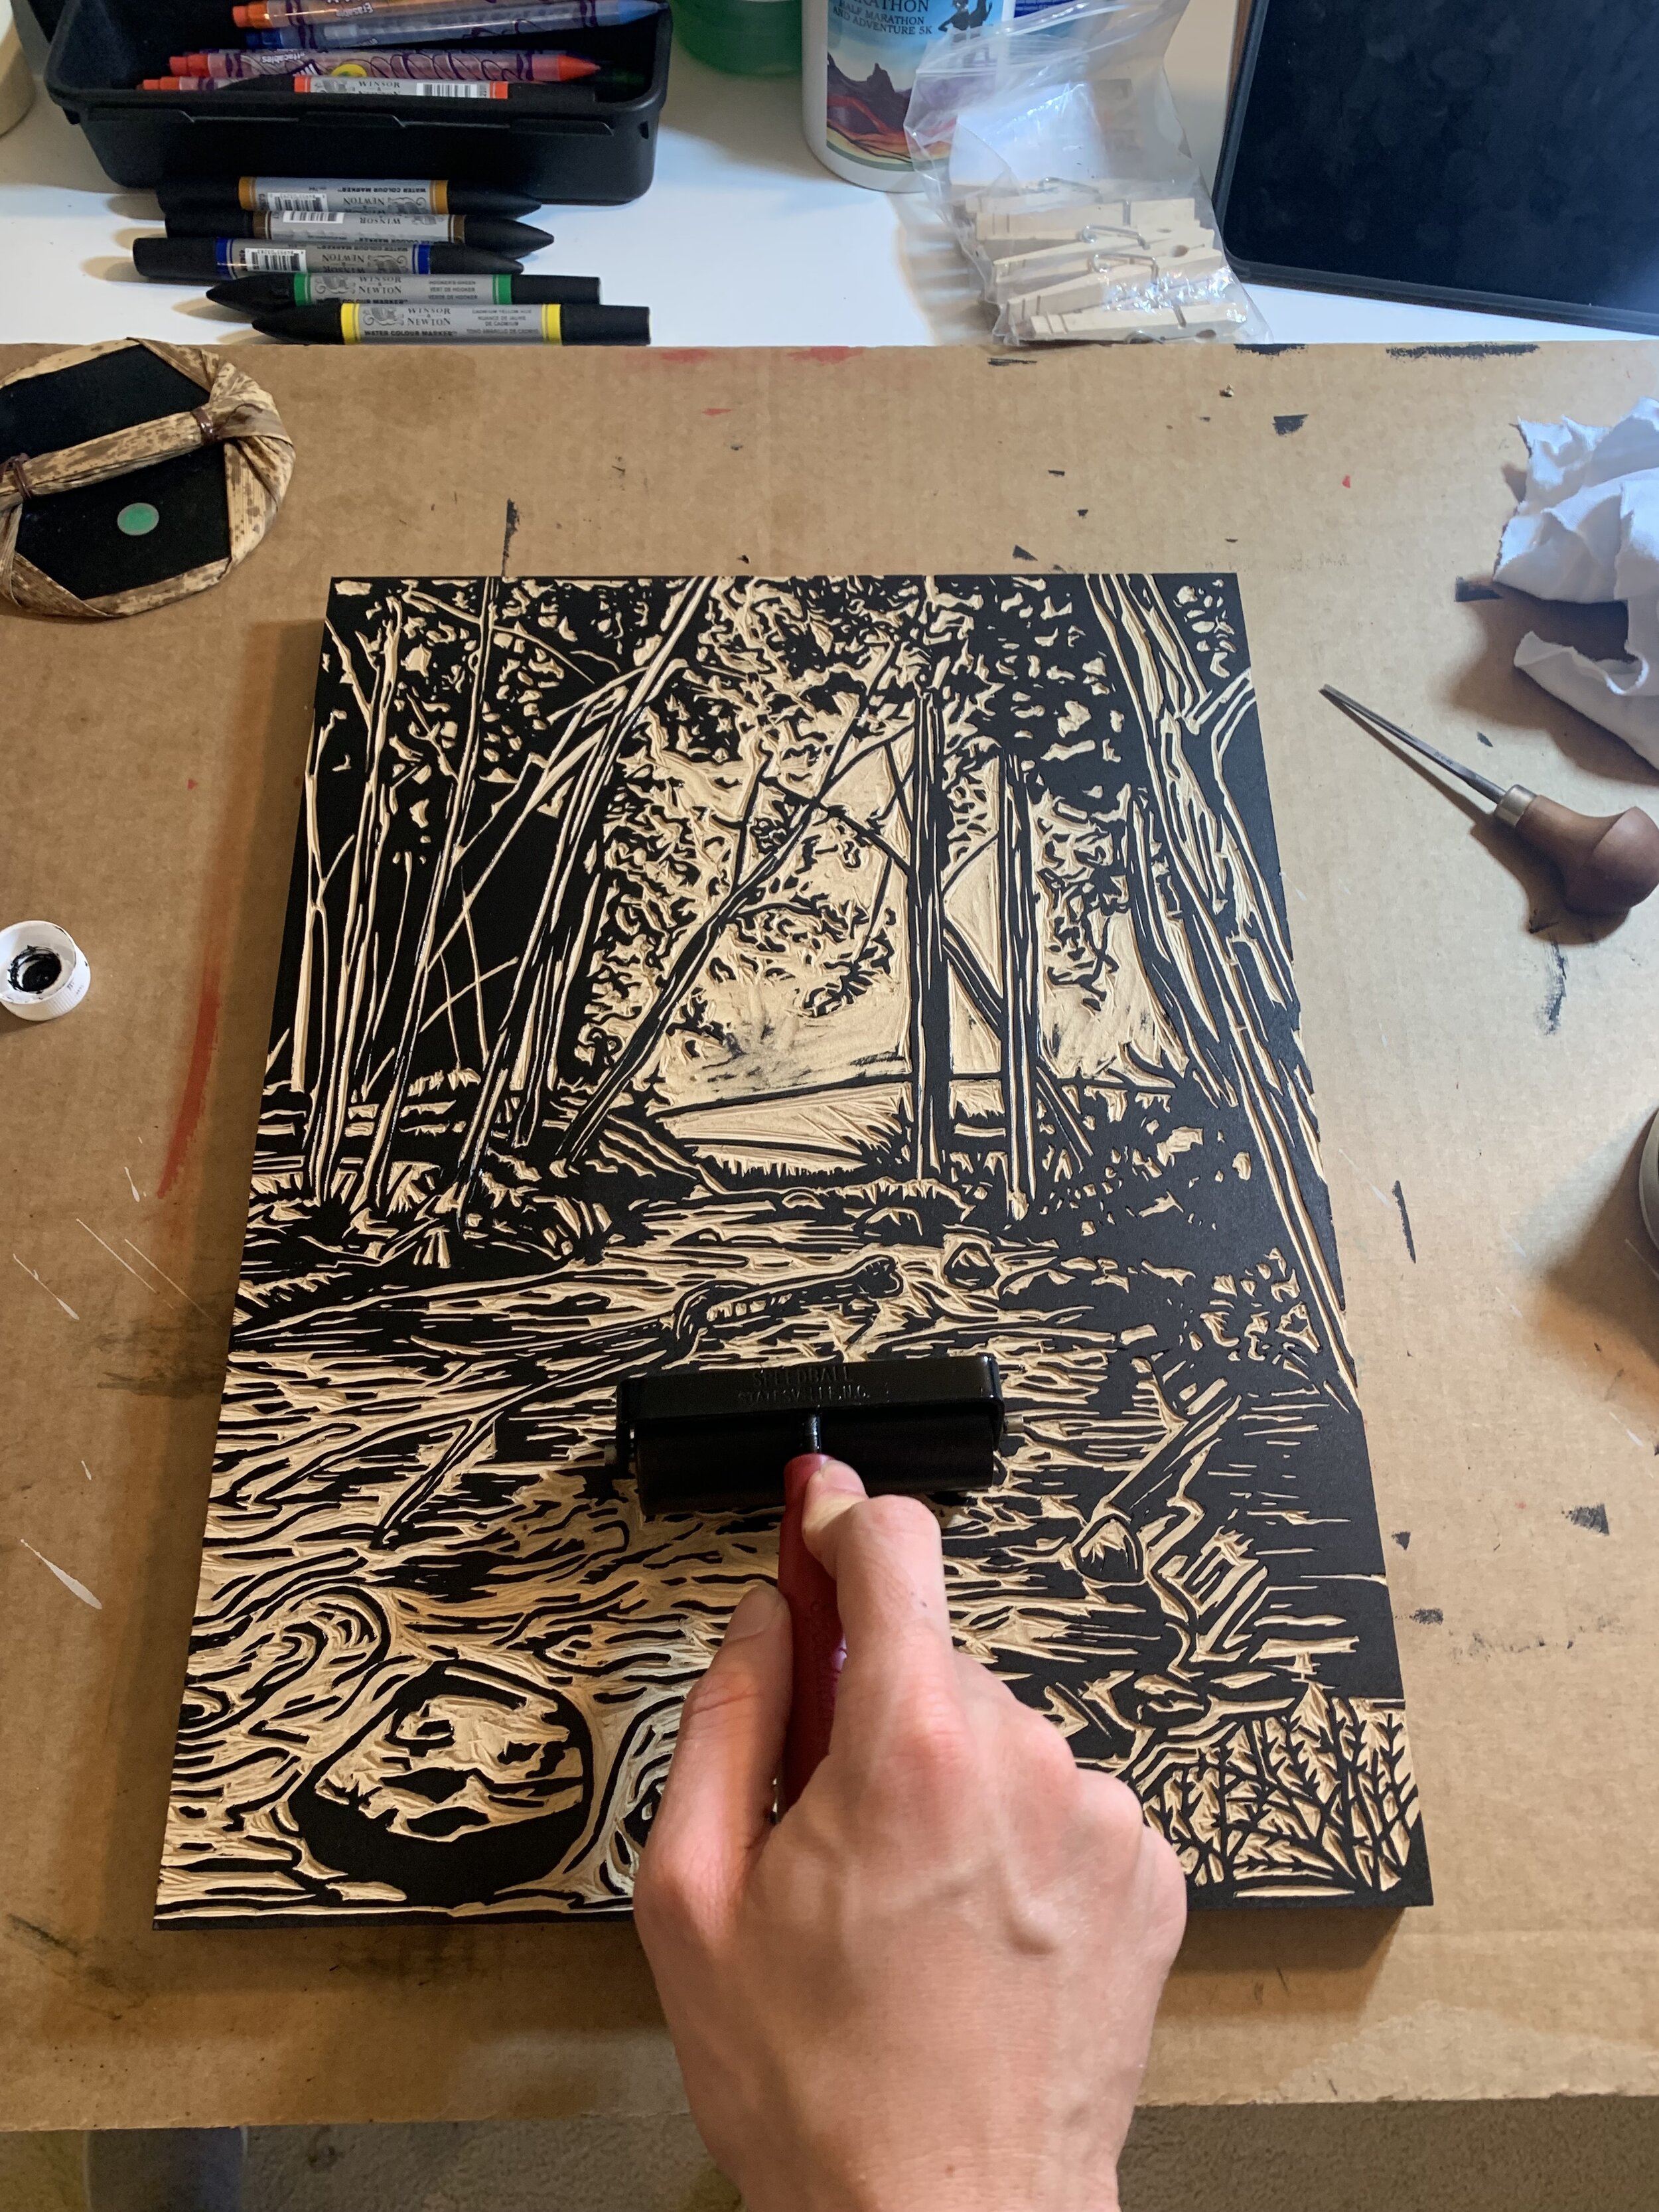
Printing the woodblock.
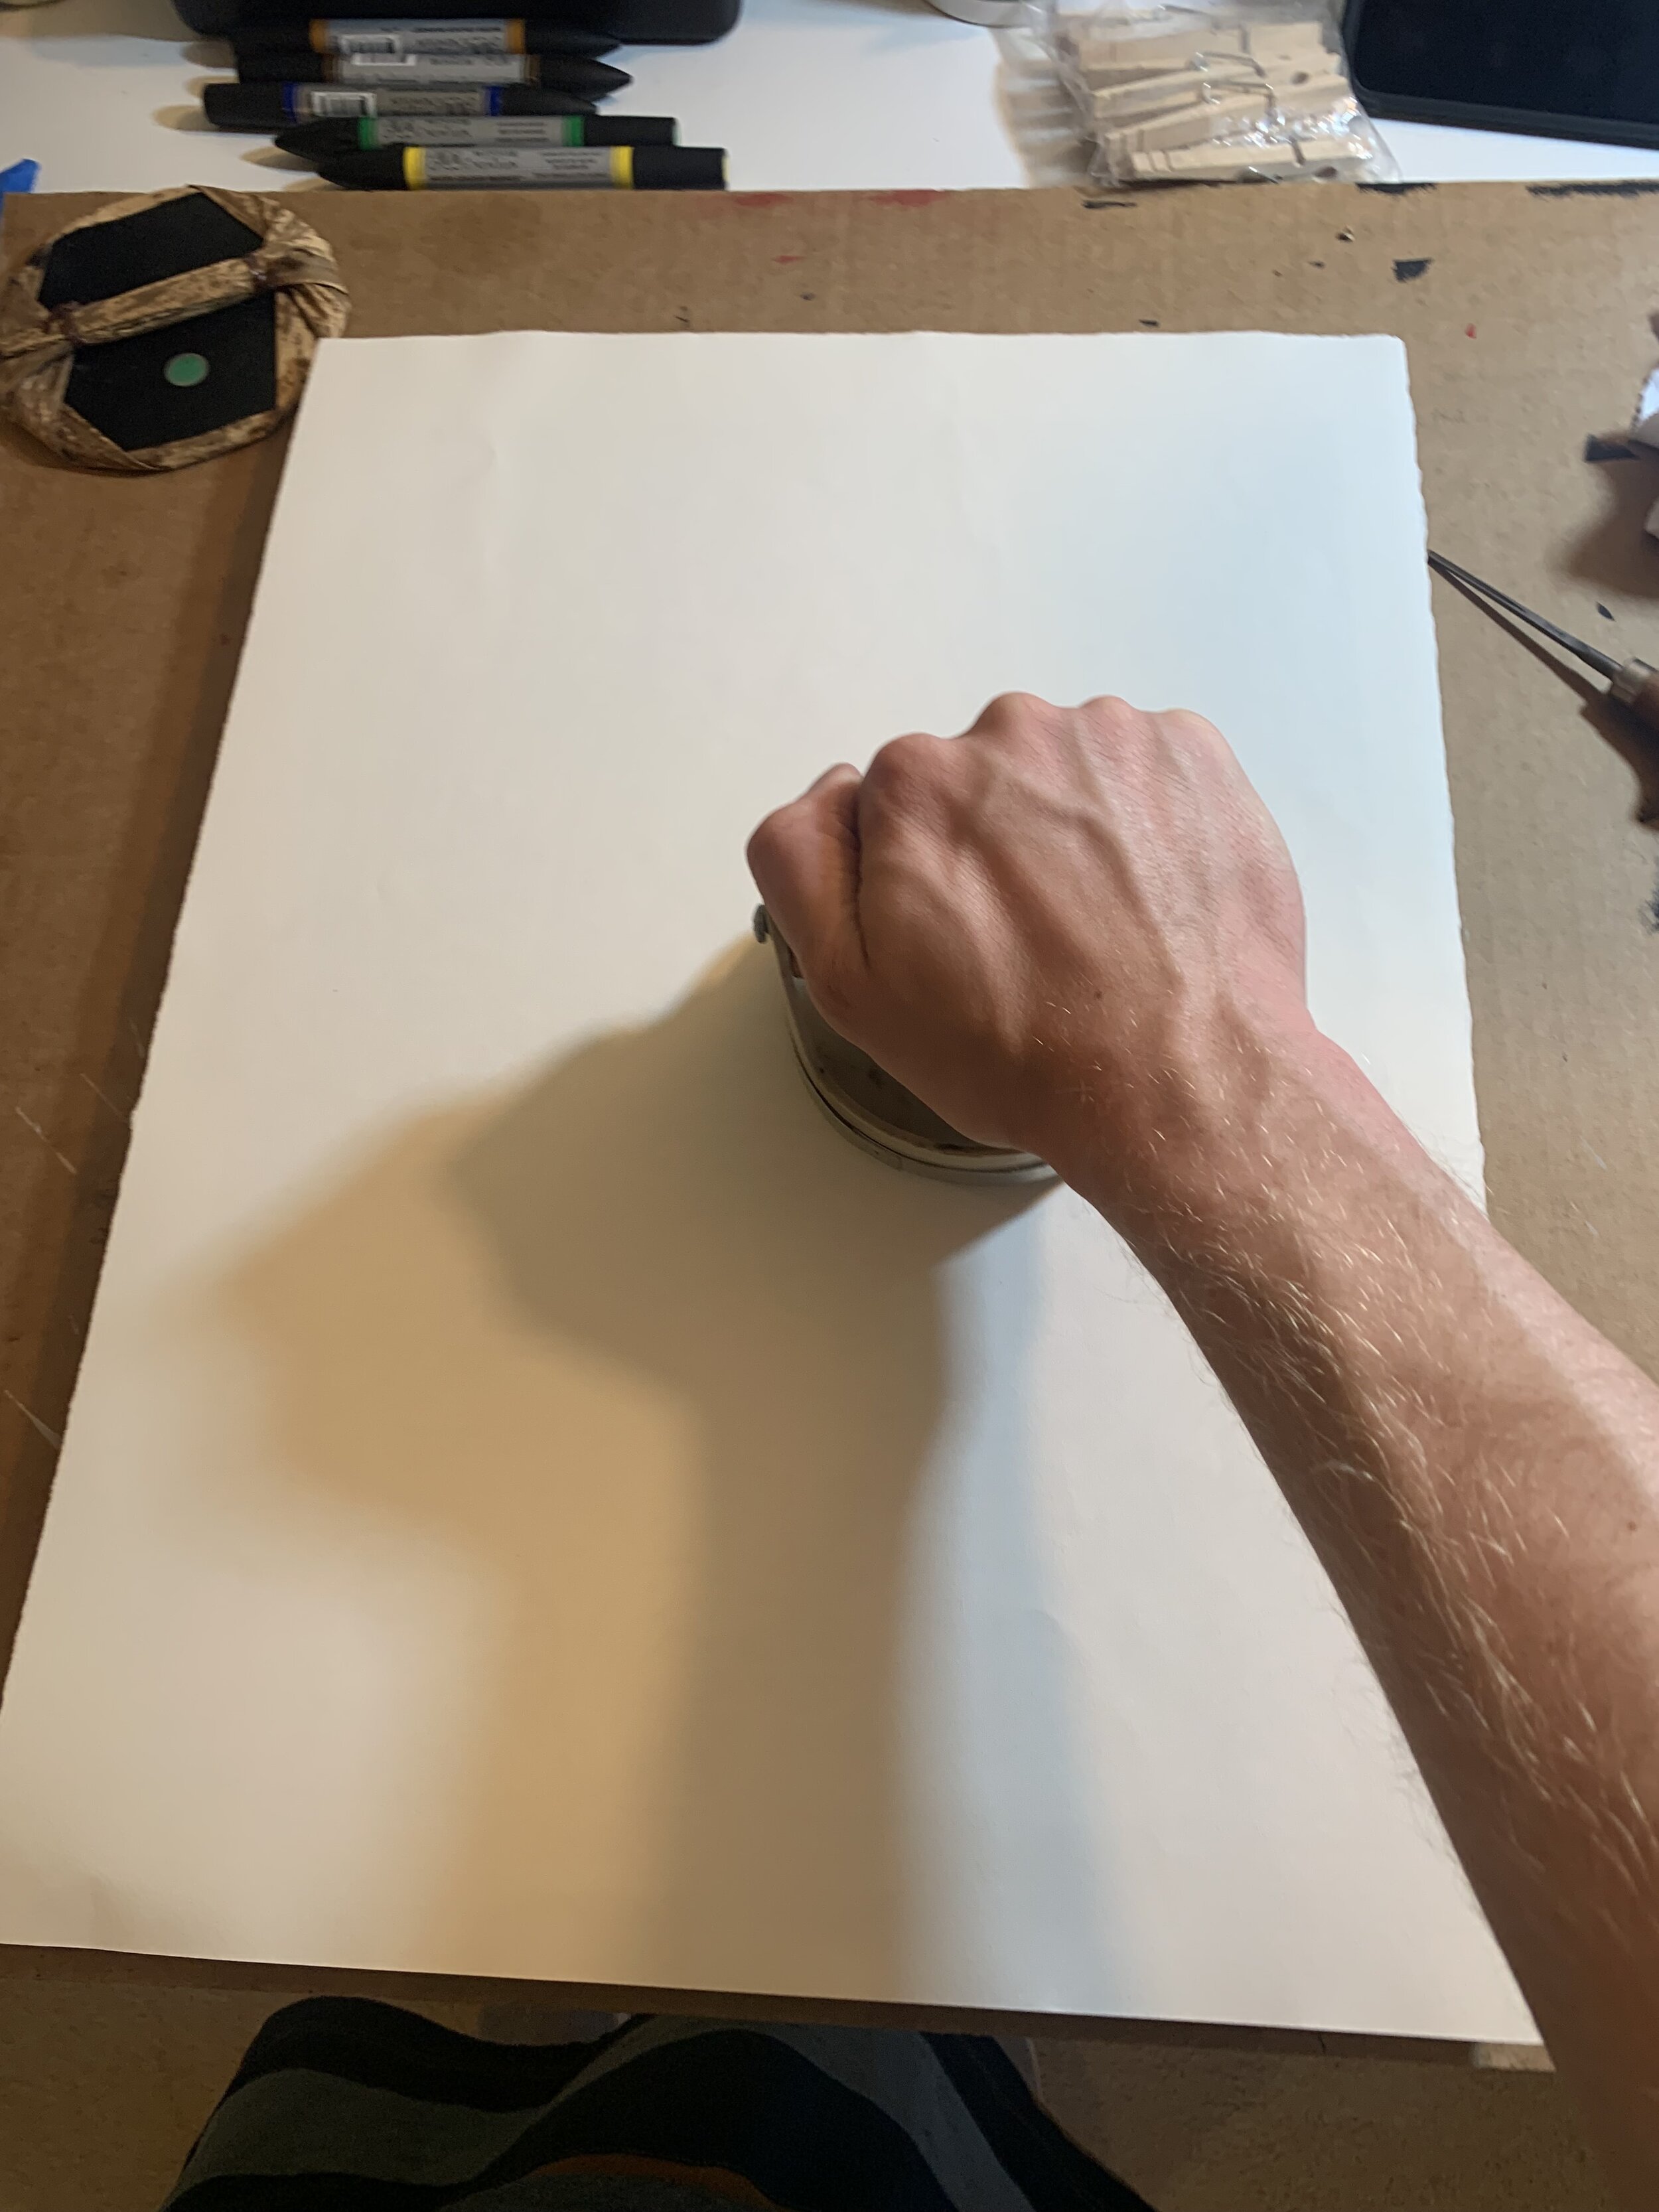
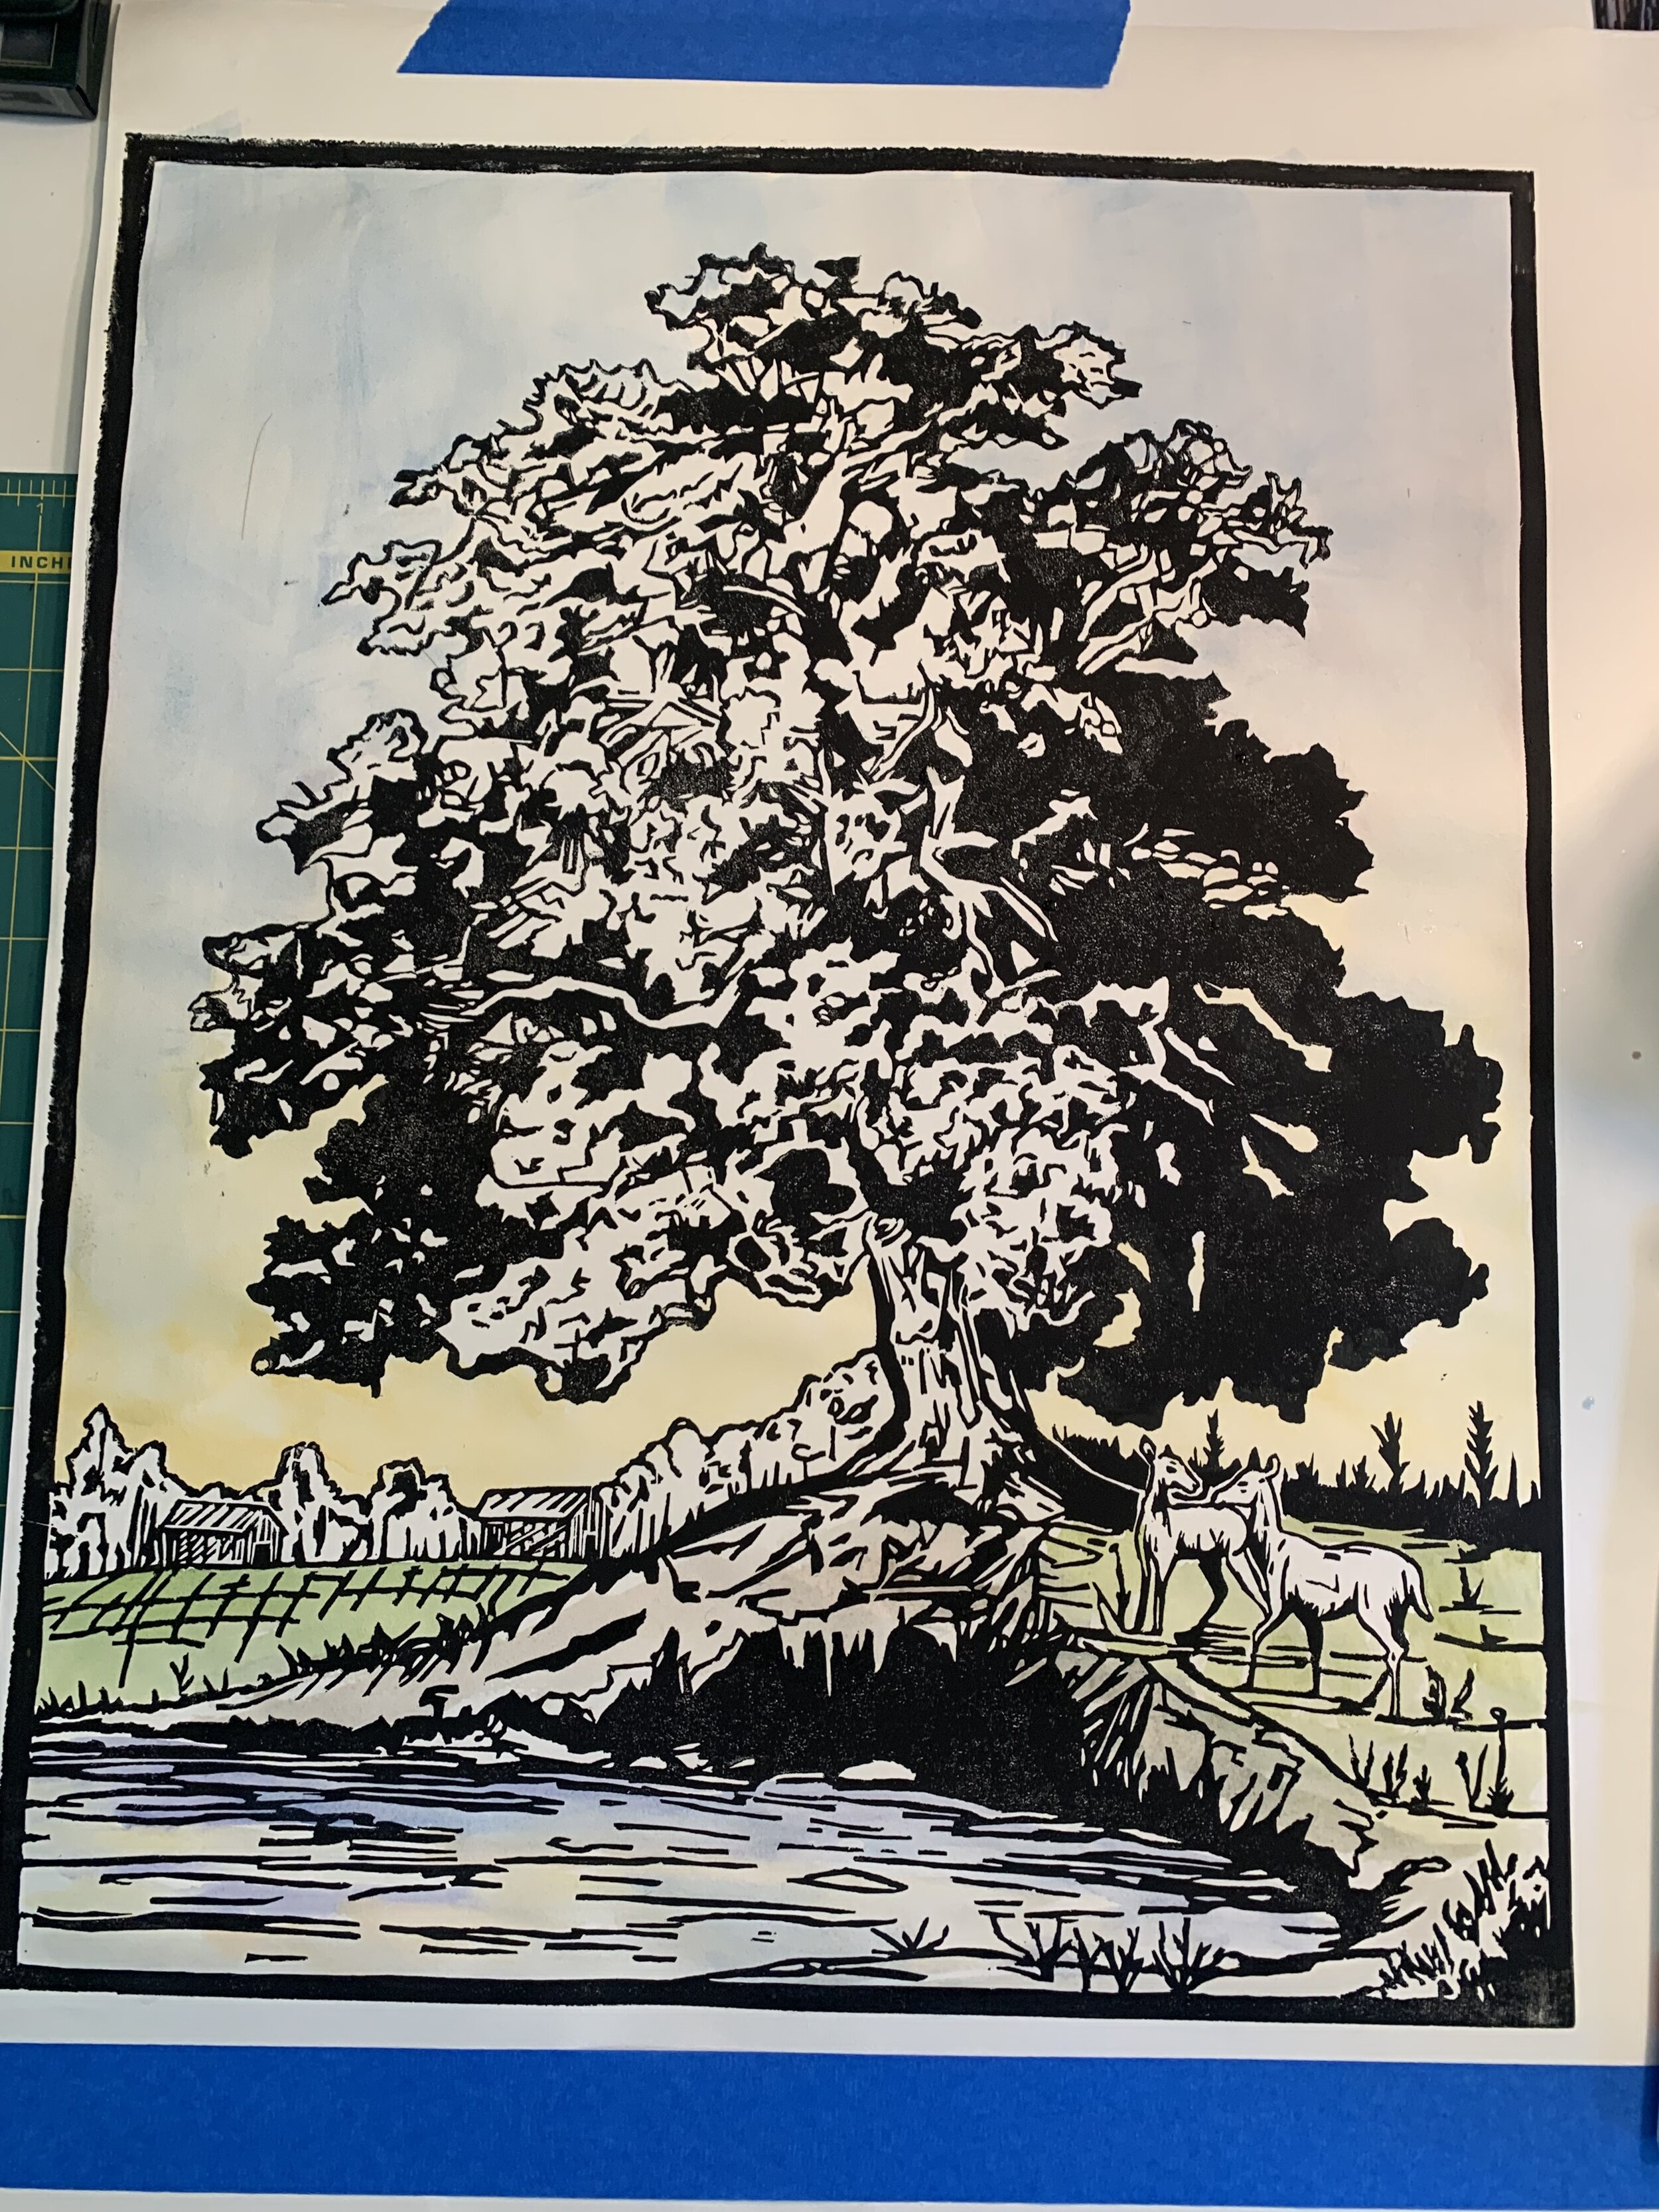
Printing a woodblock is just like printing any other block. Only difference for these, since they are bigger it takes more ink and a longer time to roll up. For both of these I rolled up a black oil based ink and began inking the the woodblock. When printing on wood I did find it takes one print to “warm up” the block or get the block fully inked for a good print. I was also printing by hand, and found that using a wooden spoon helped a lot with getting all the detail areas burnished to your print smoothly. Printing is a lot of step and repeat until you finished getting your prints.
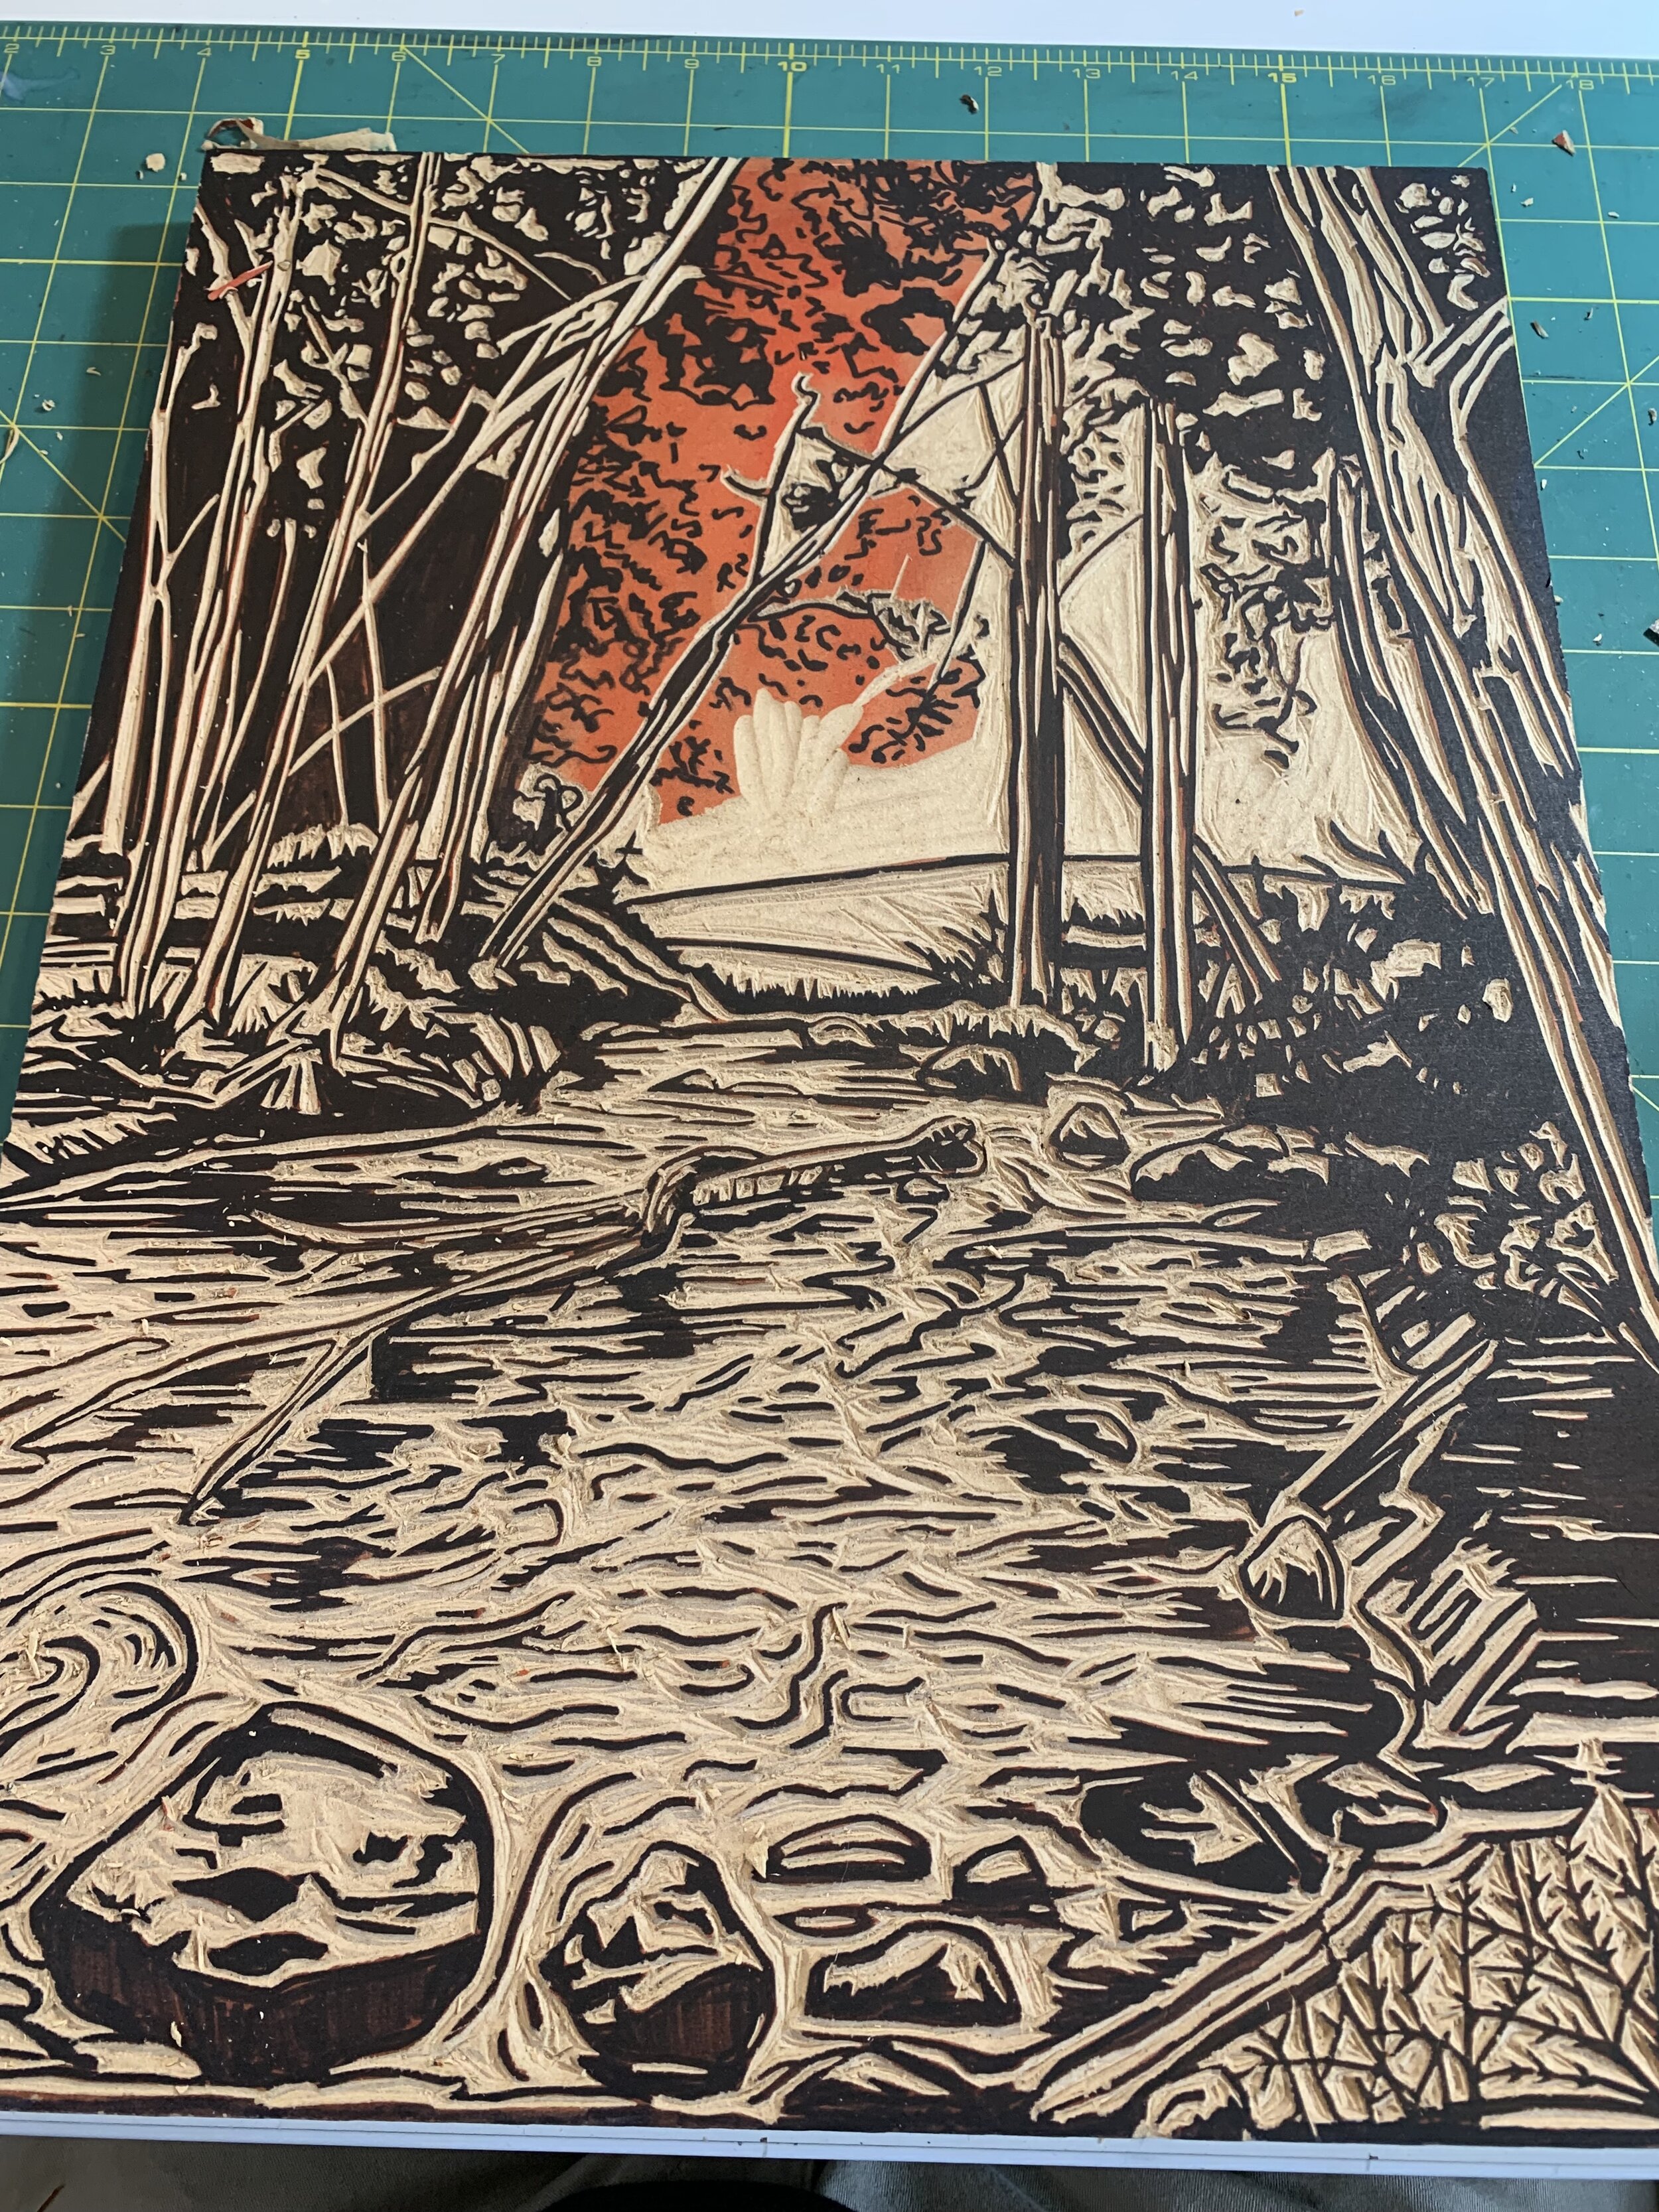
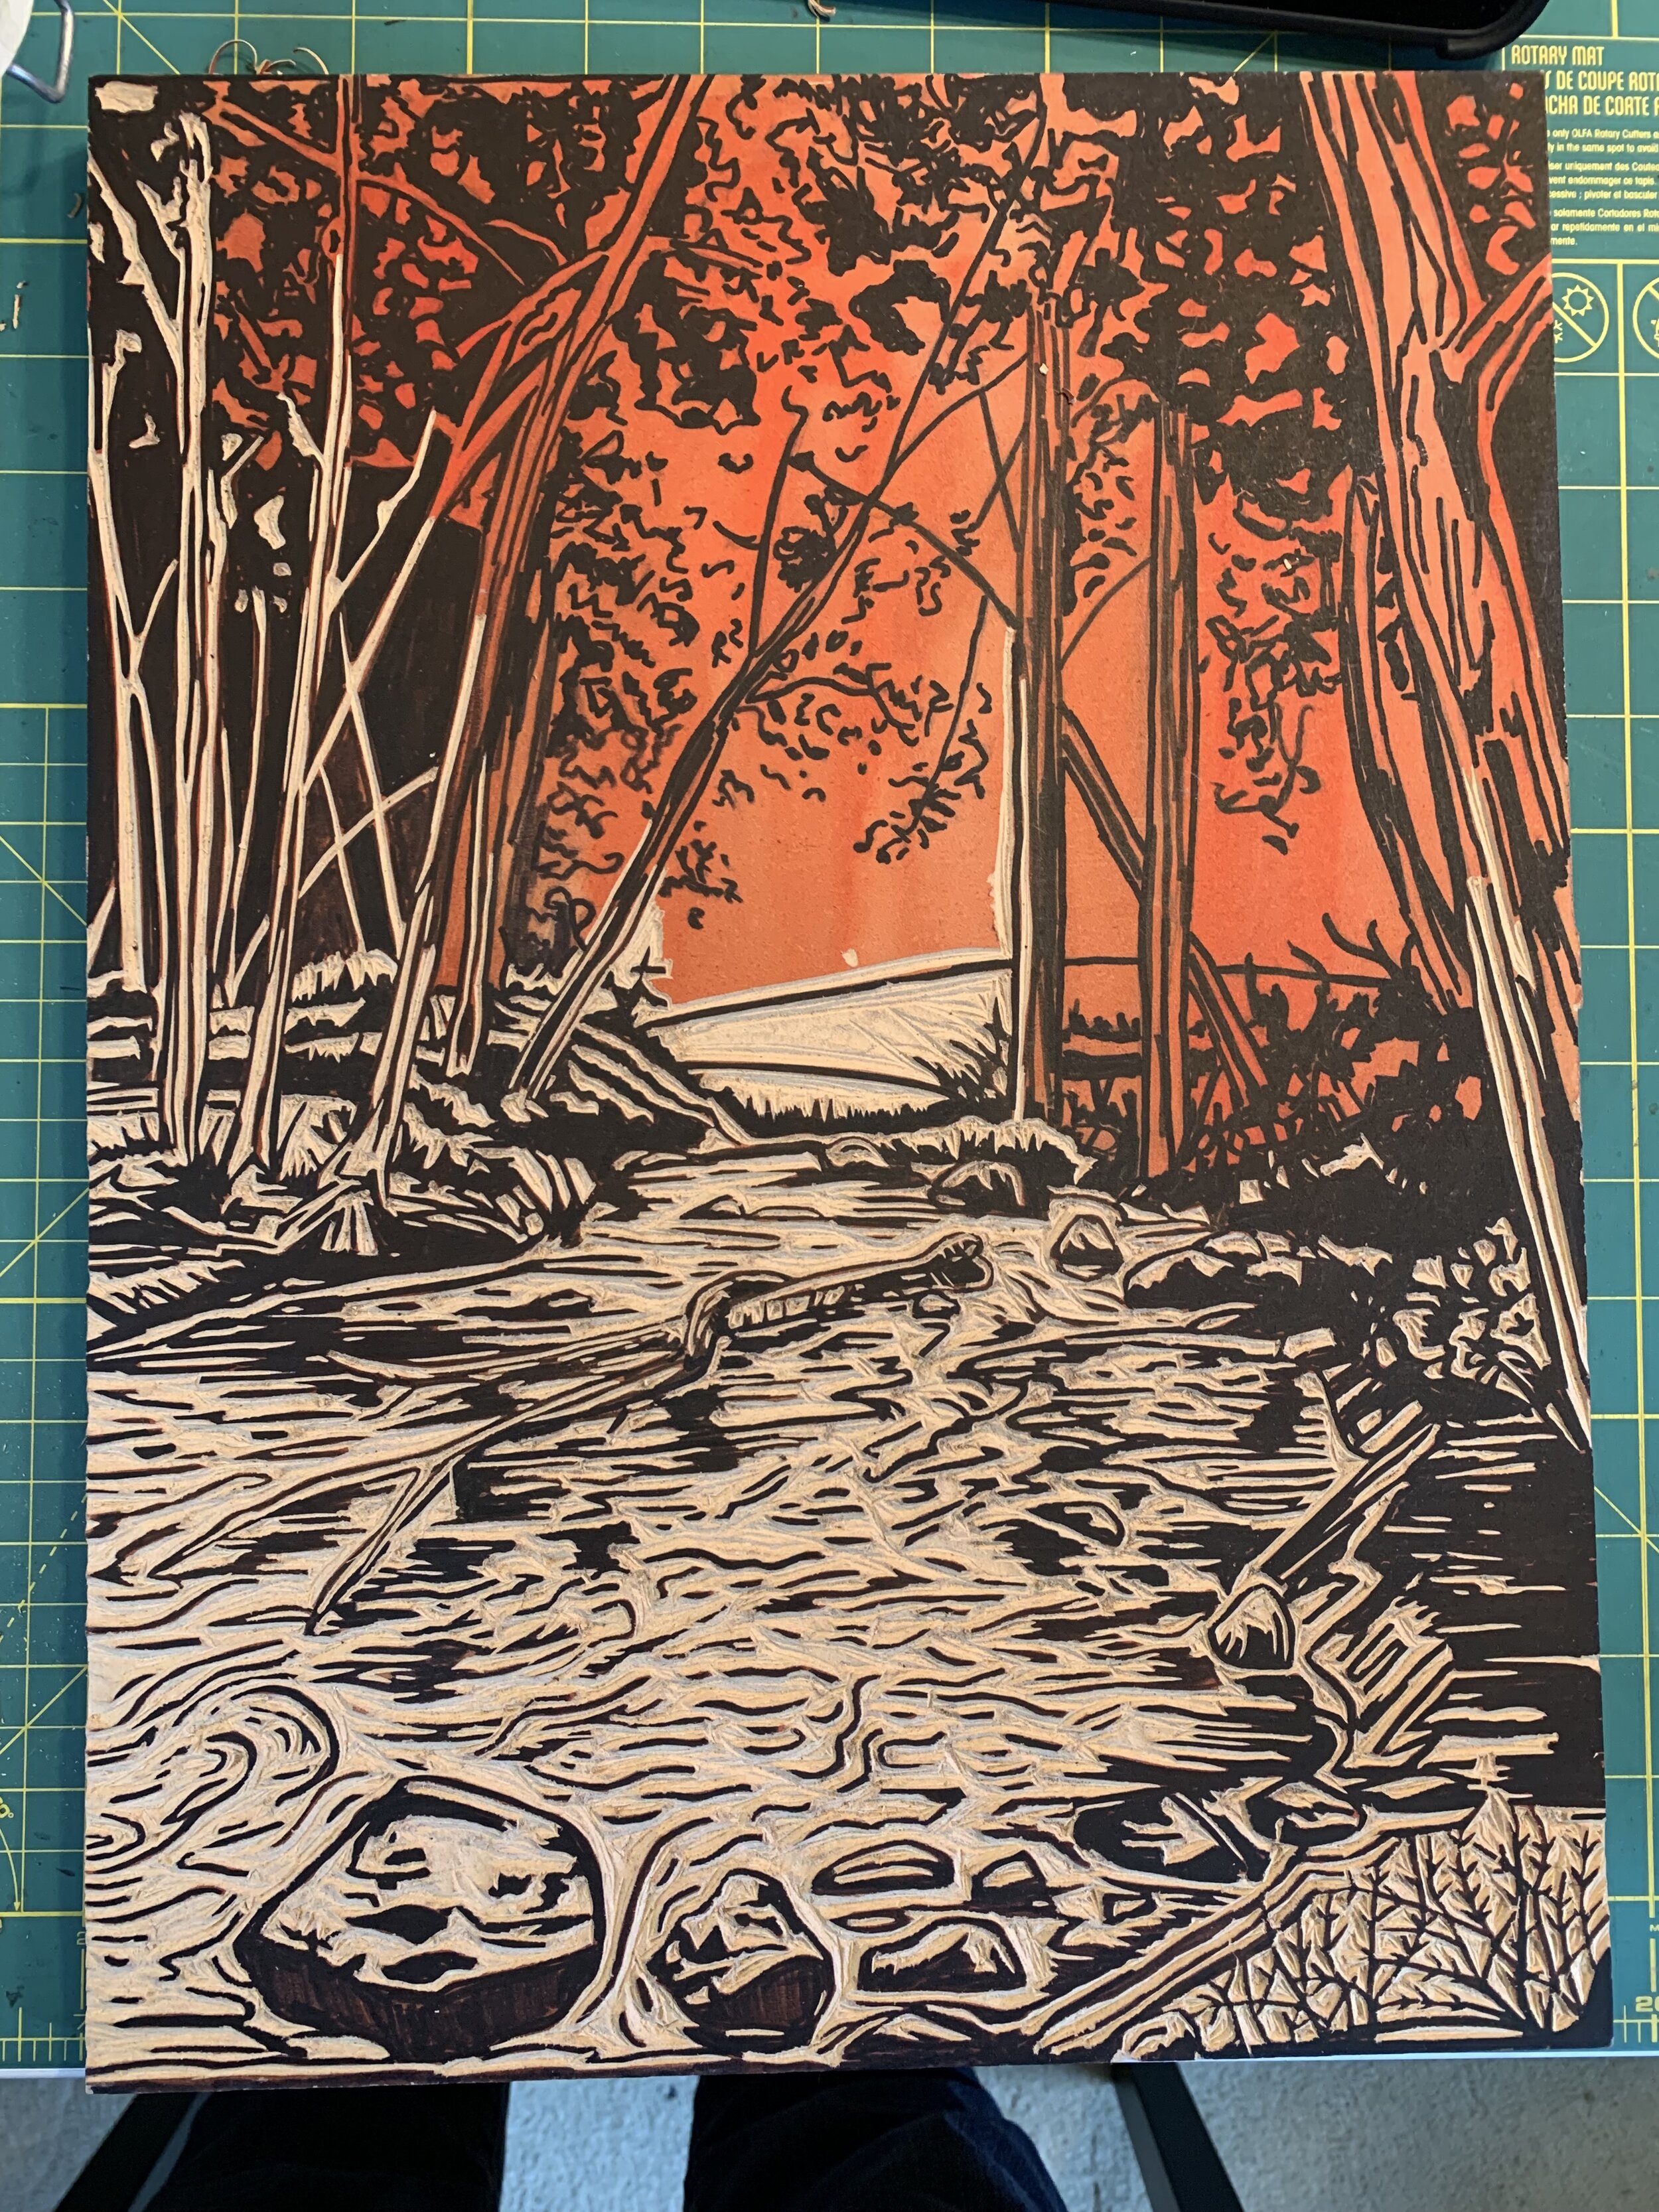
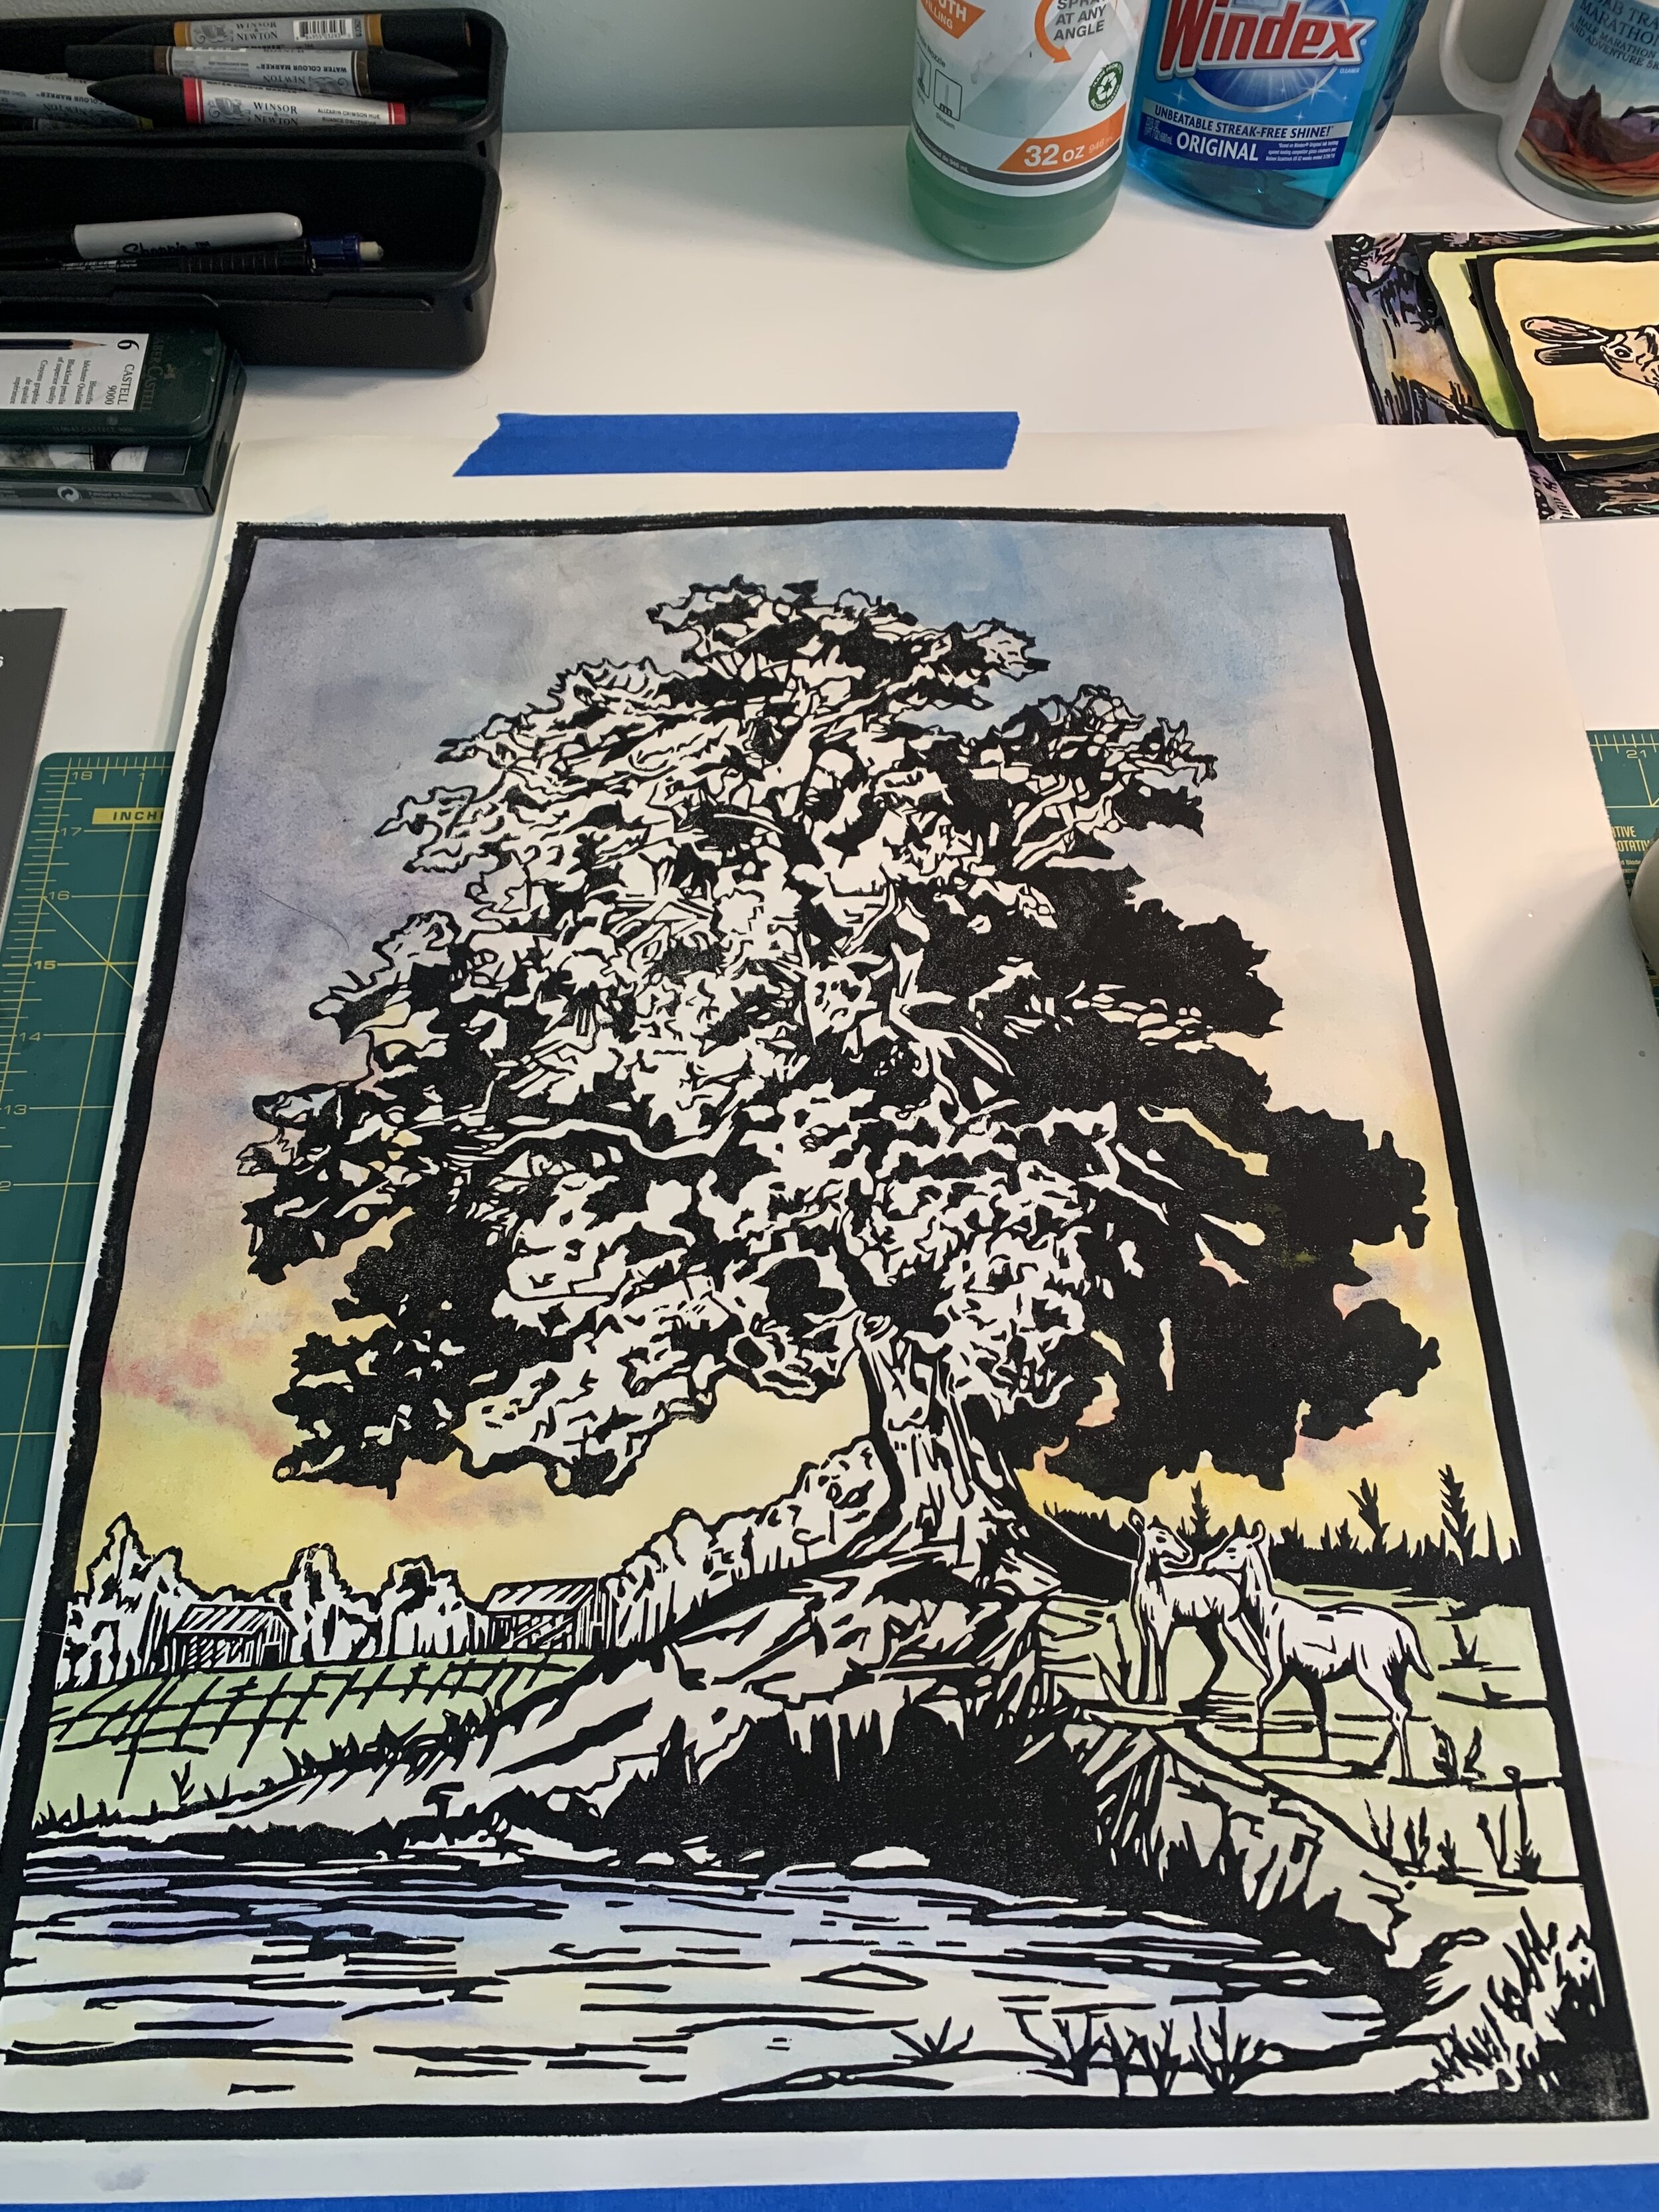
Painting the print.
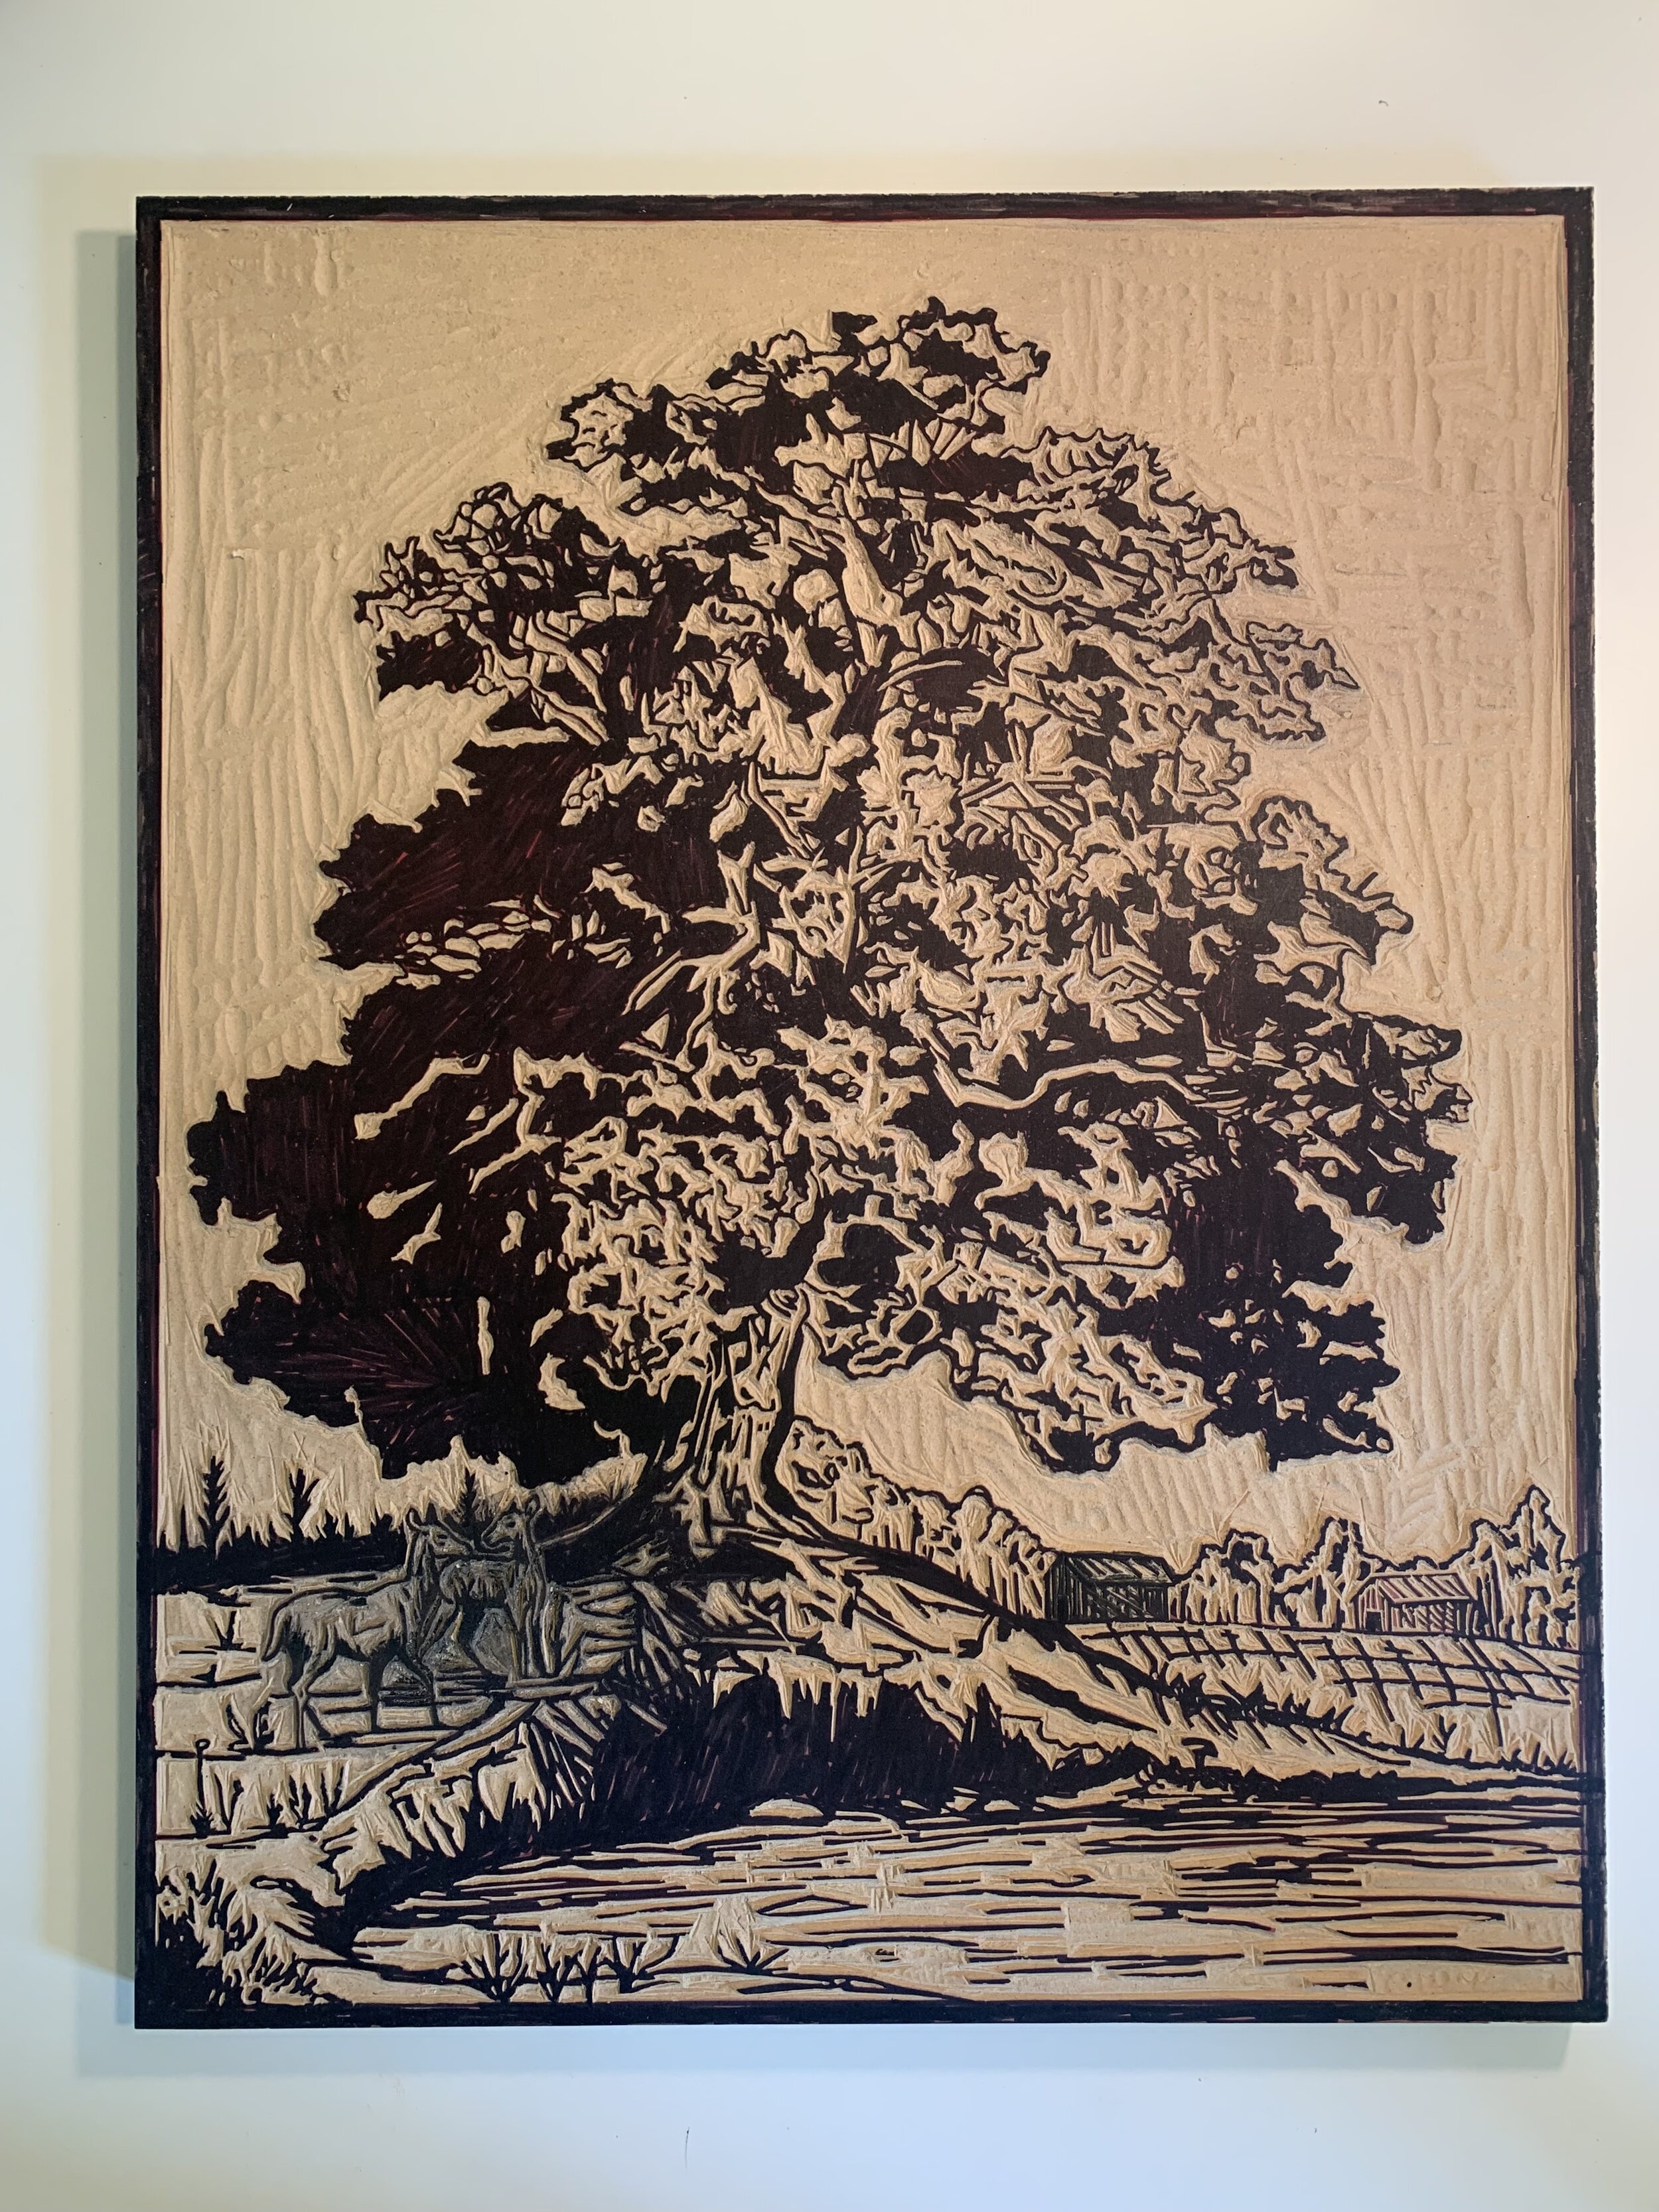
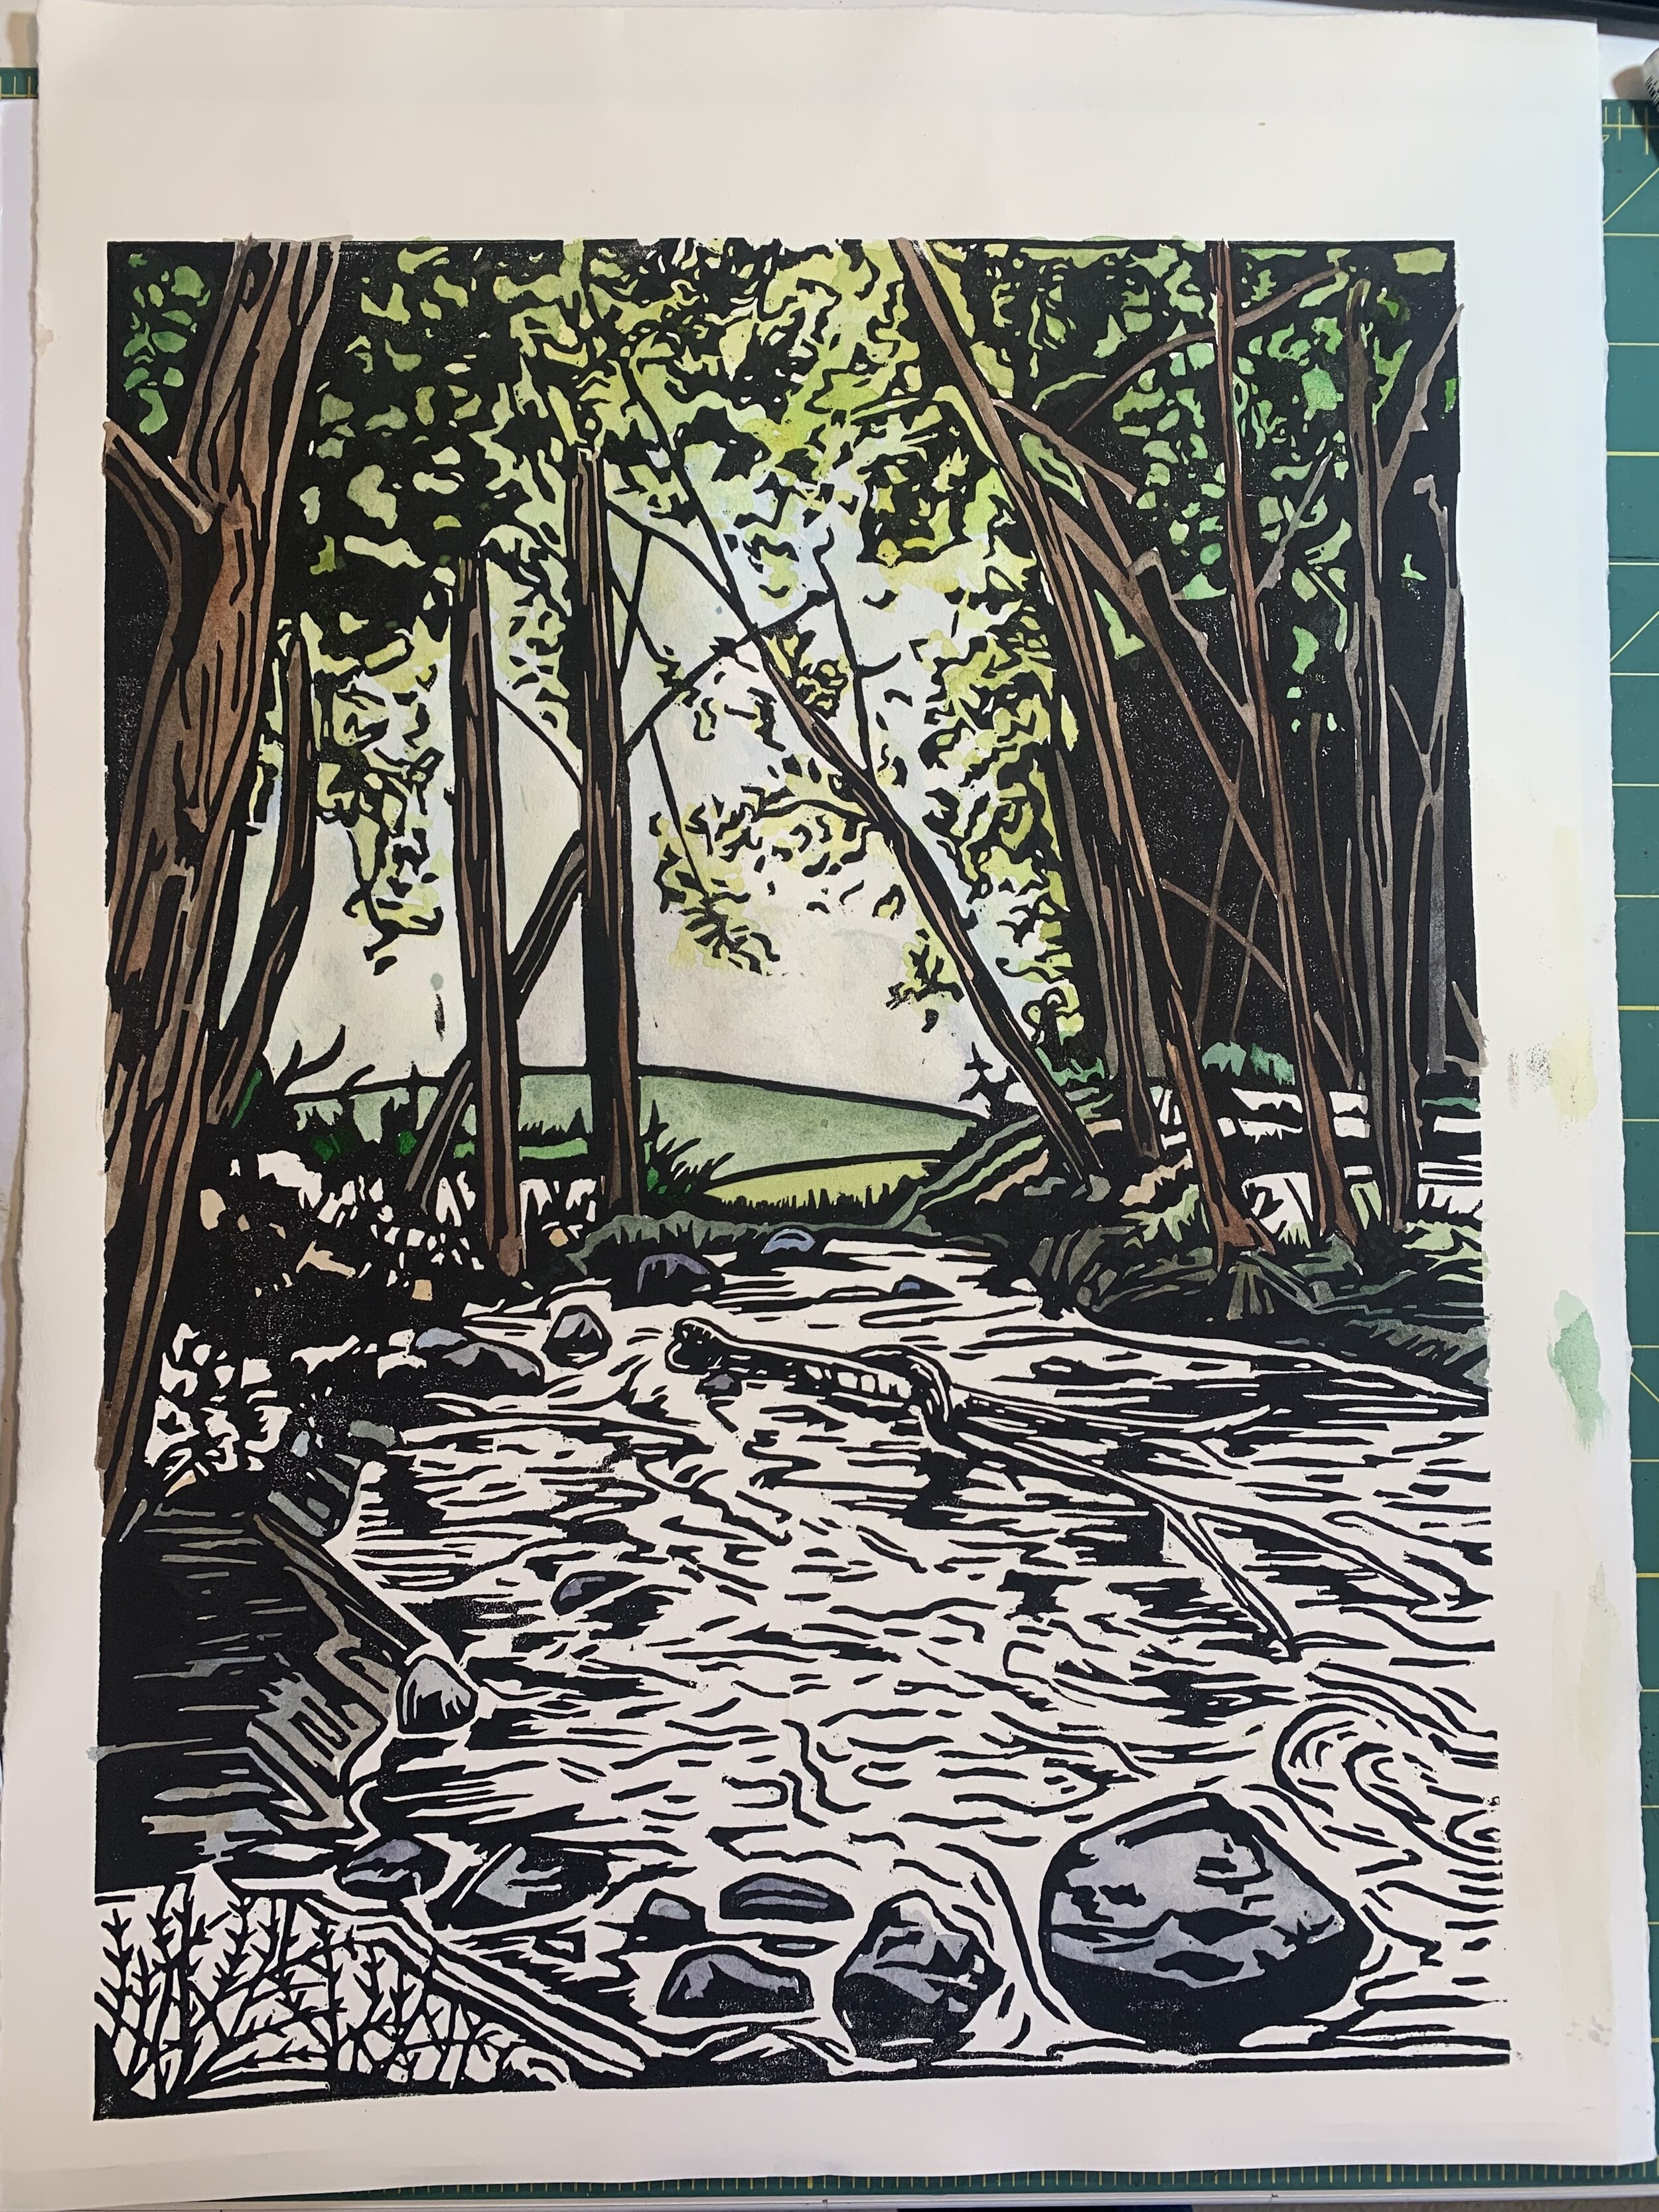
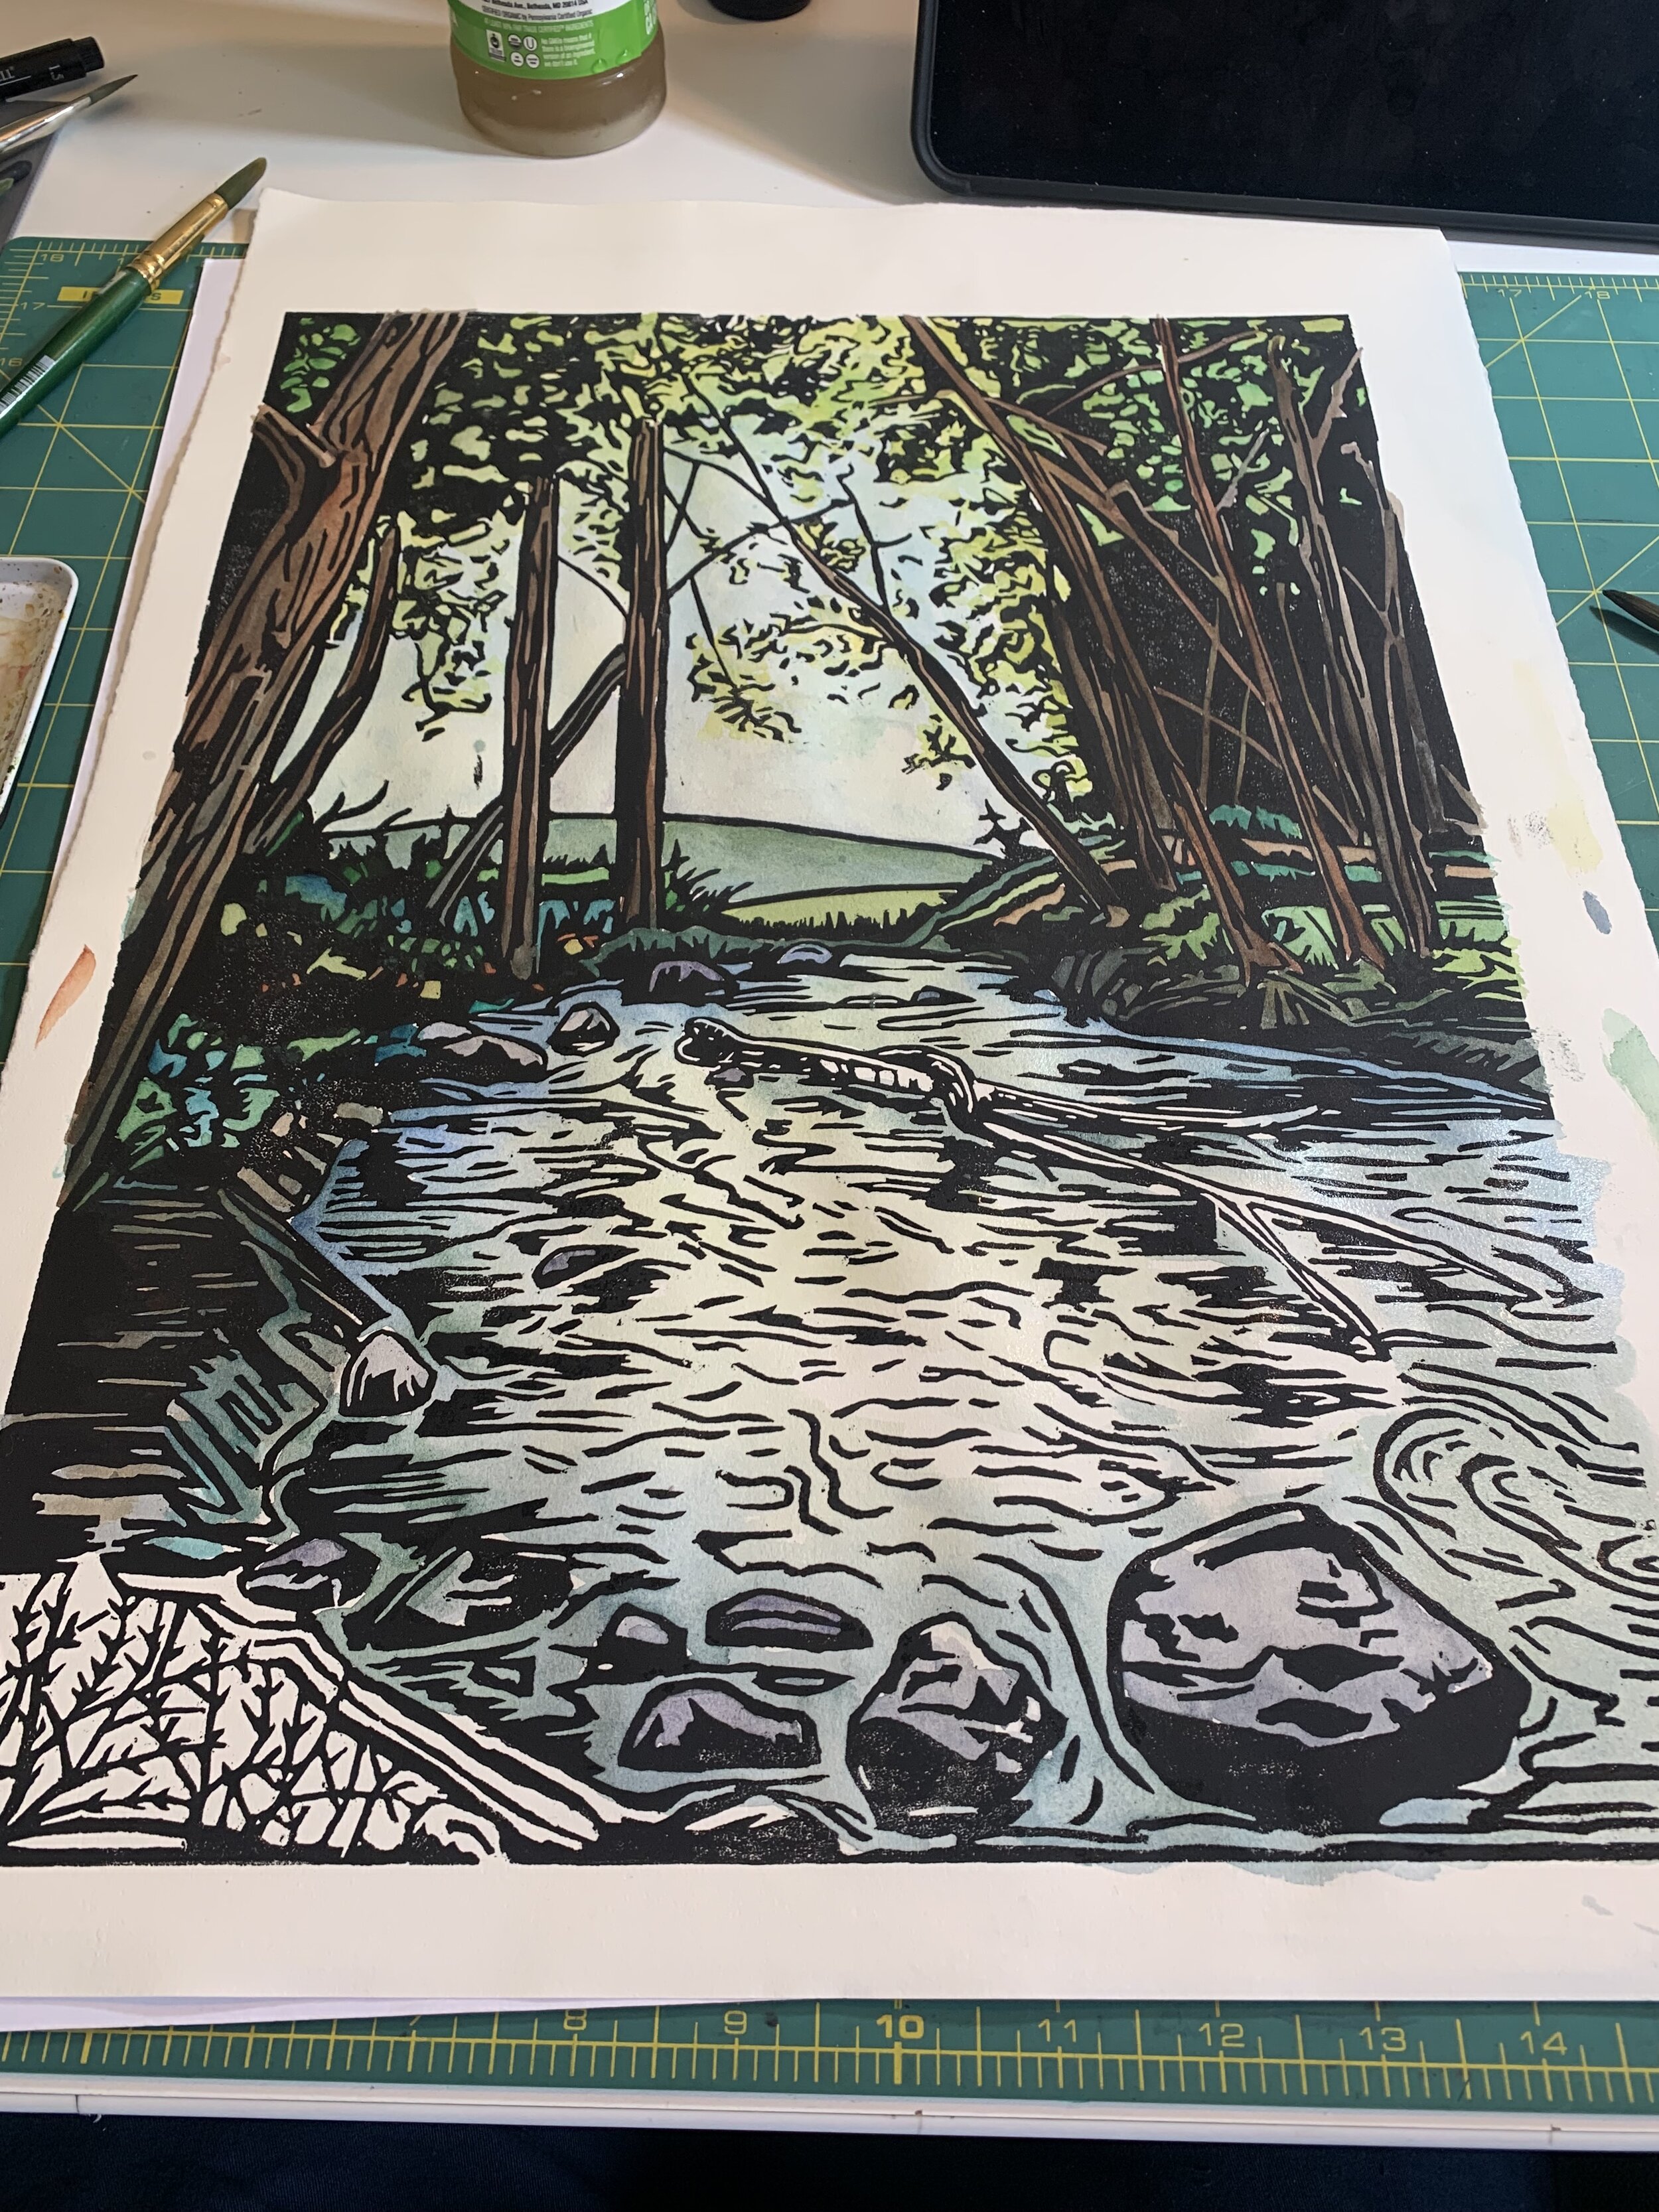
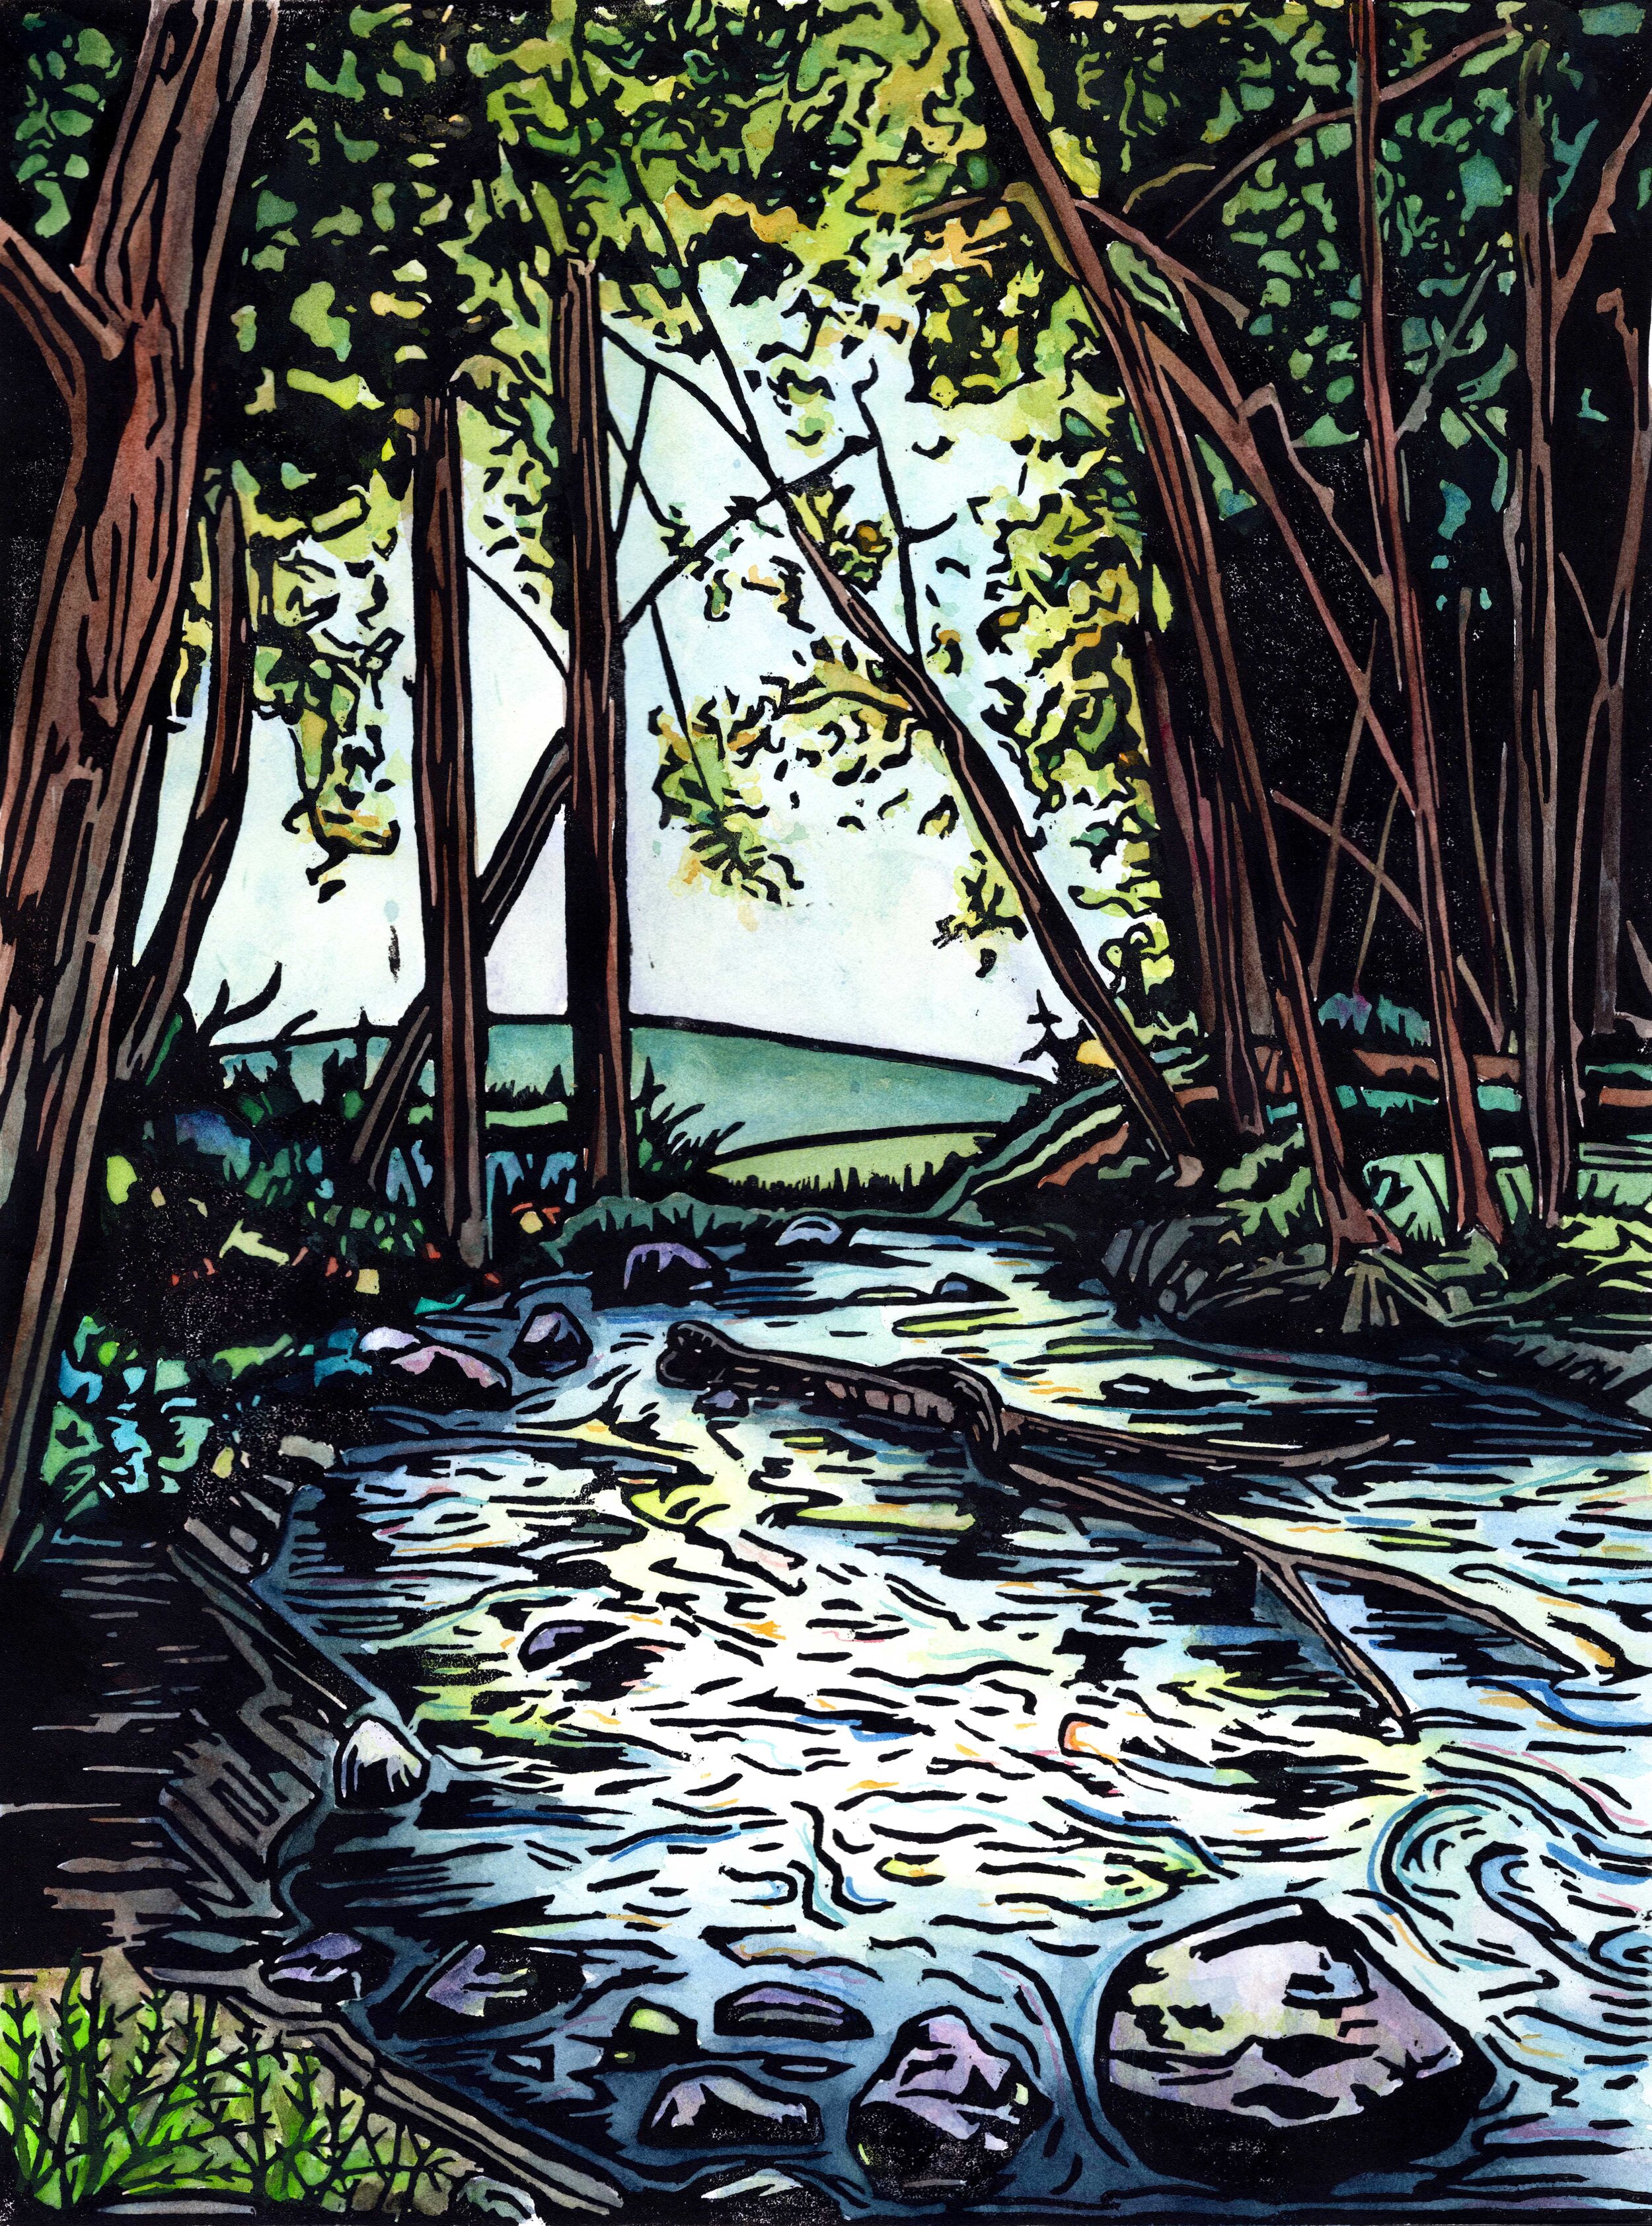
Once the print is dry, usually around 24 hours, I go back and start to paint on my print to finish them. The first print I paint can be tricky, trying to figure out all the colors, and bringing the print to life. Sometimes I’ll even do two paintings and see which one works best. For painting the big tree print I knew I wanted it to have a colorful sky. I imagined early morning where the bottom was light and the top still dark. One of the things I enjoy most is bringing in so much vibrant colors into the print! So I used lots of yellow and pinks. Painting this one was a bit of a challenge due to its size. Painting a 6x8 or 4x5 inch print is a lot easier and faster than a 16x20. I can paint 5-10 smaller prints in the same time it takes for this big one! For the brook print, I was going back between a day scene or a early morning scene. I ended up going for day, and using lots of blues, and greens, and hints of yellow. In the water I really try to capture the flow and movement of the stream.

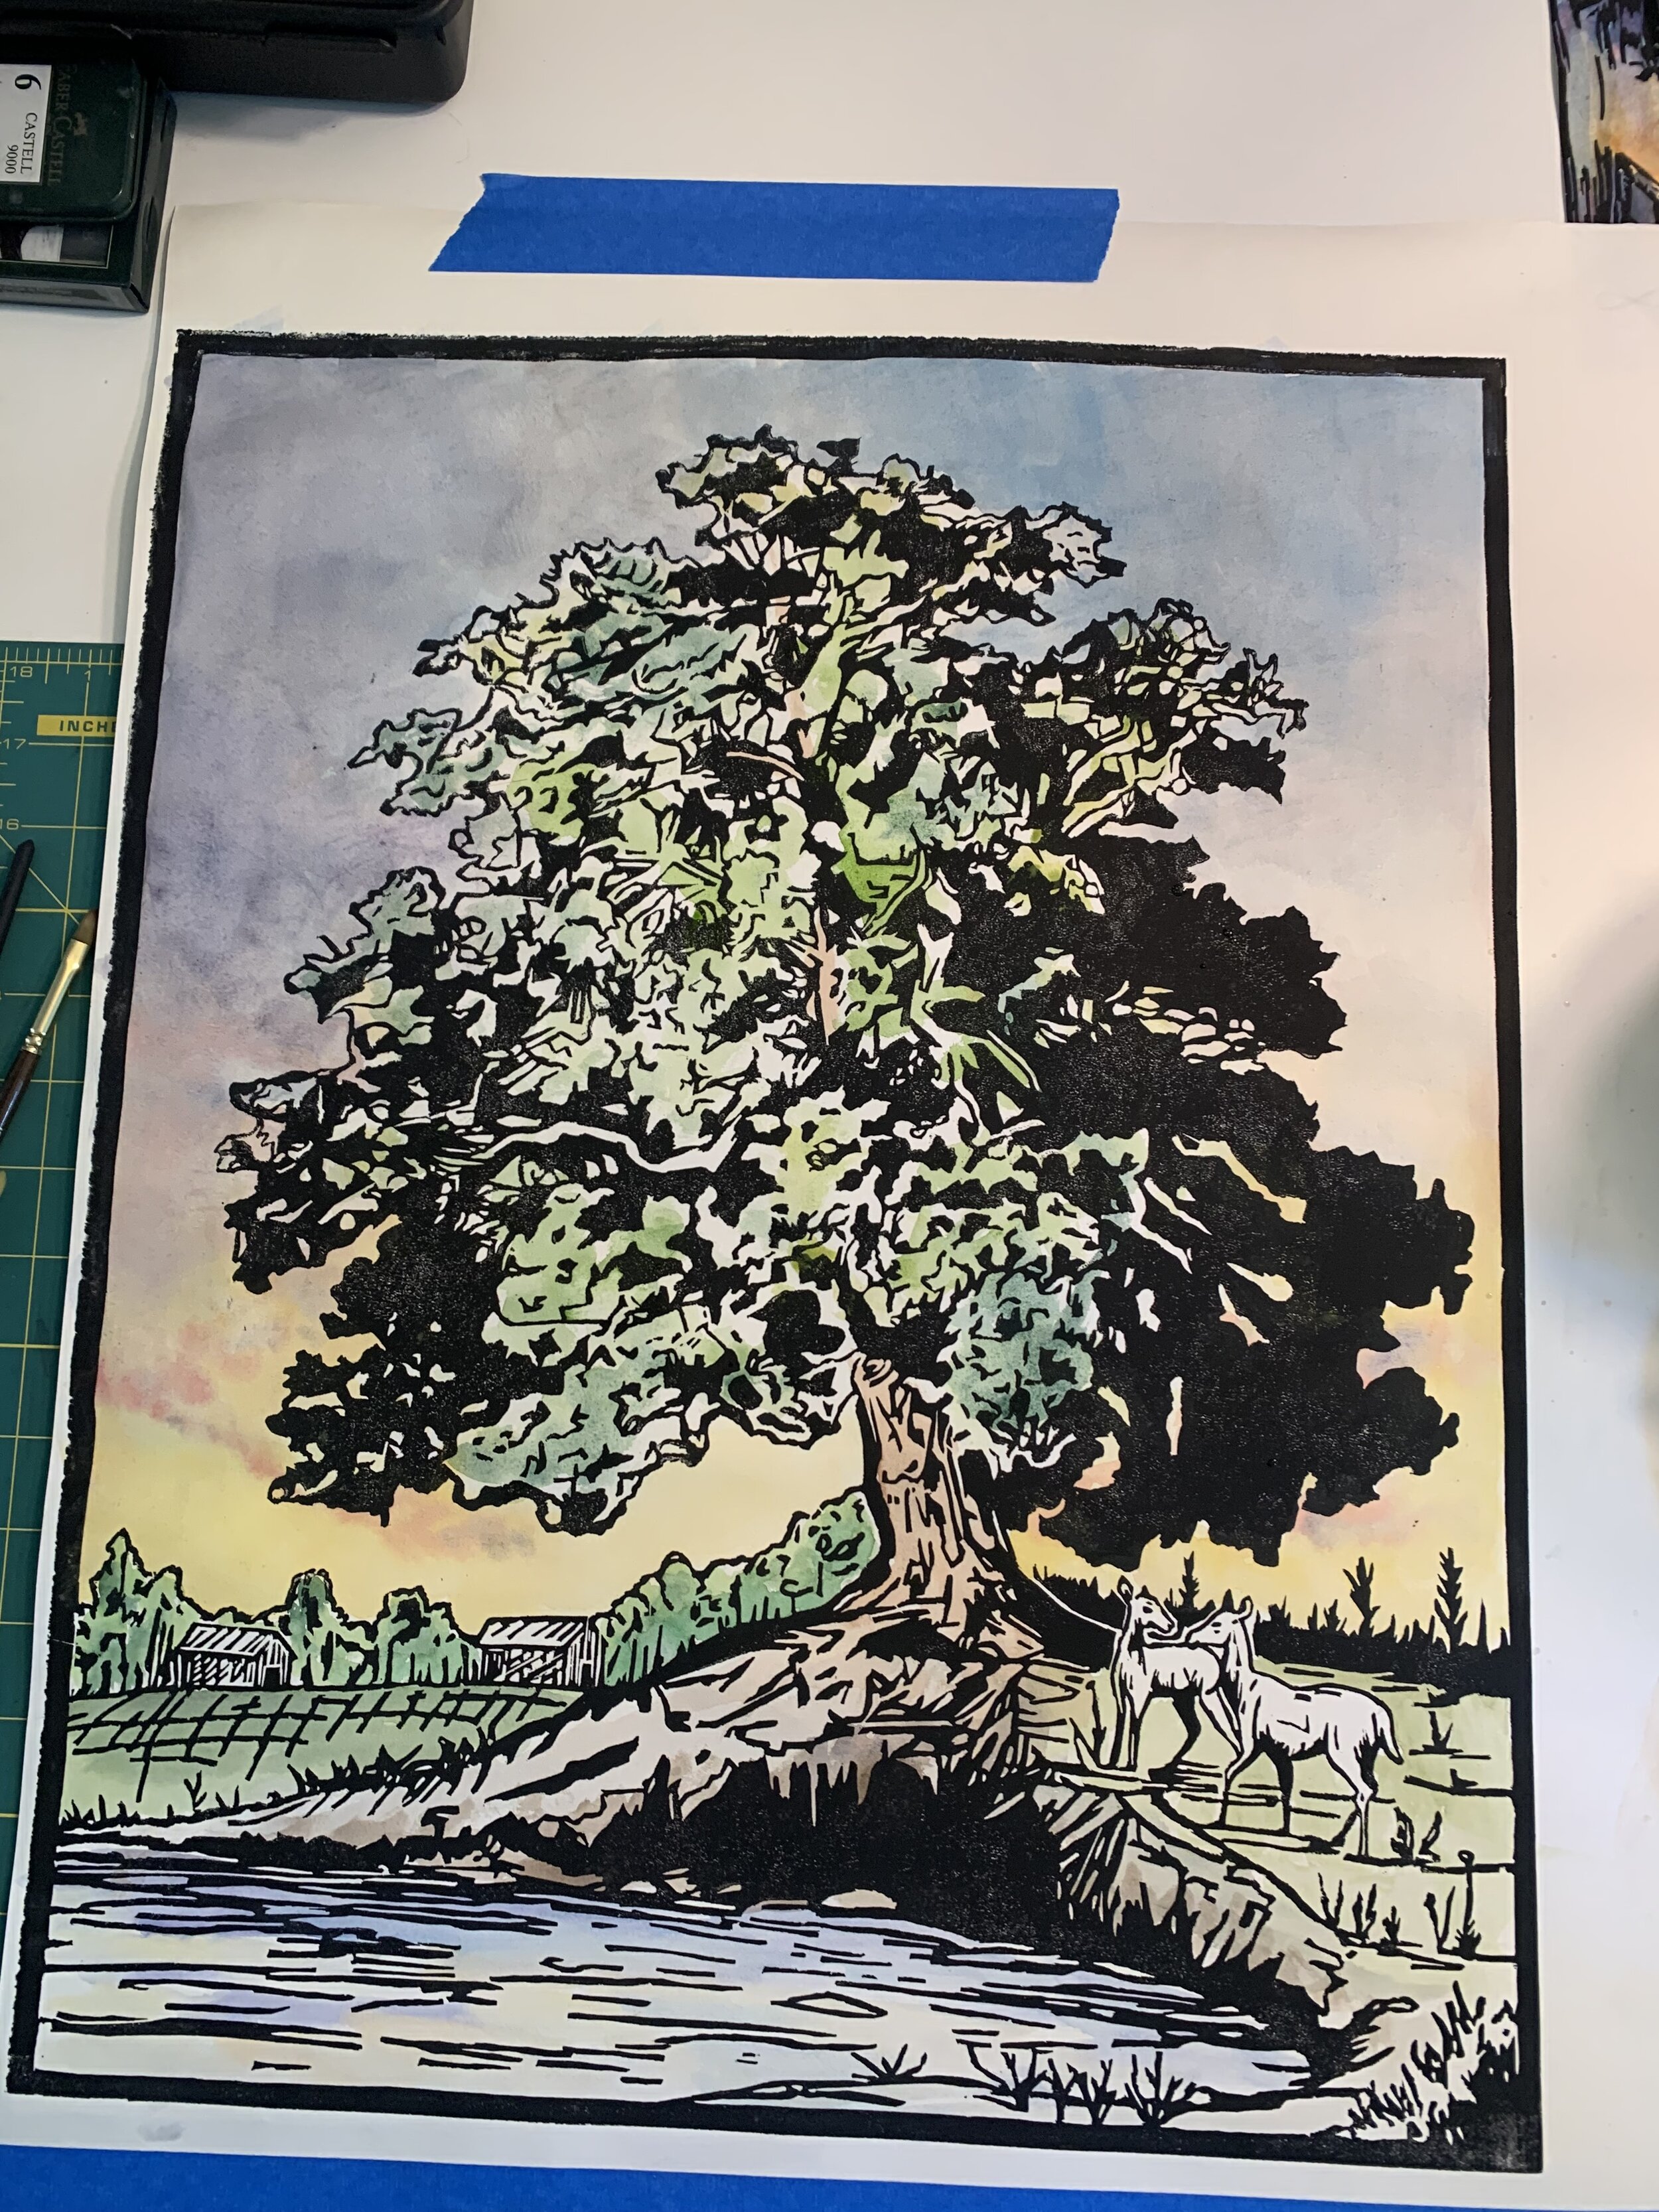
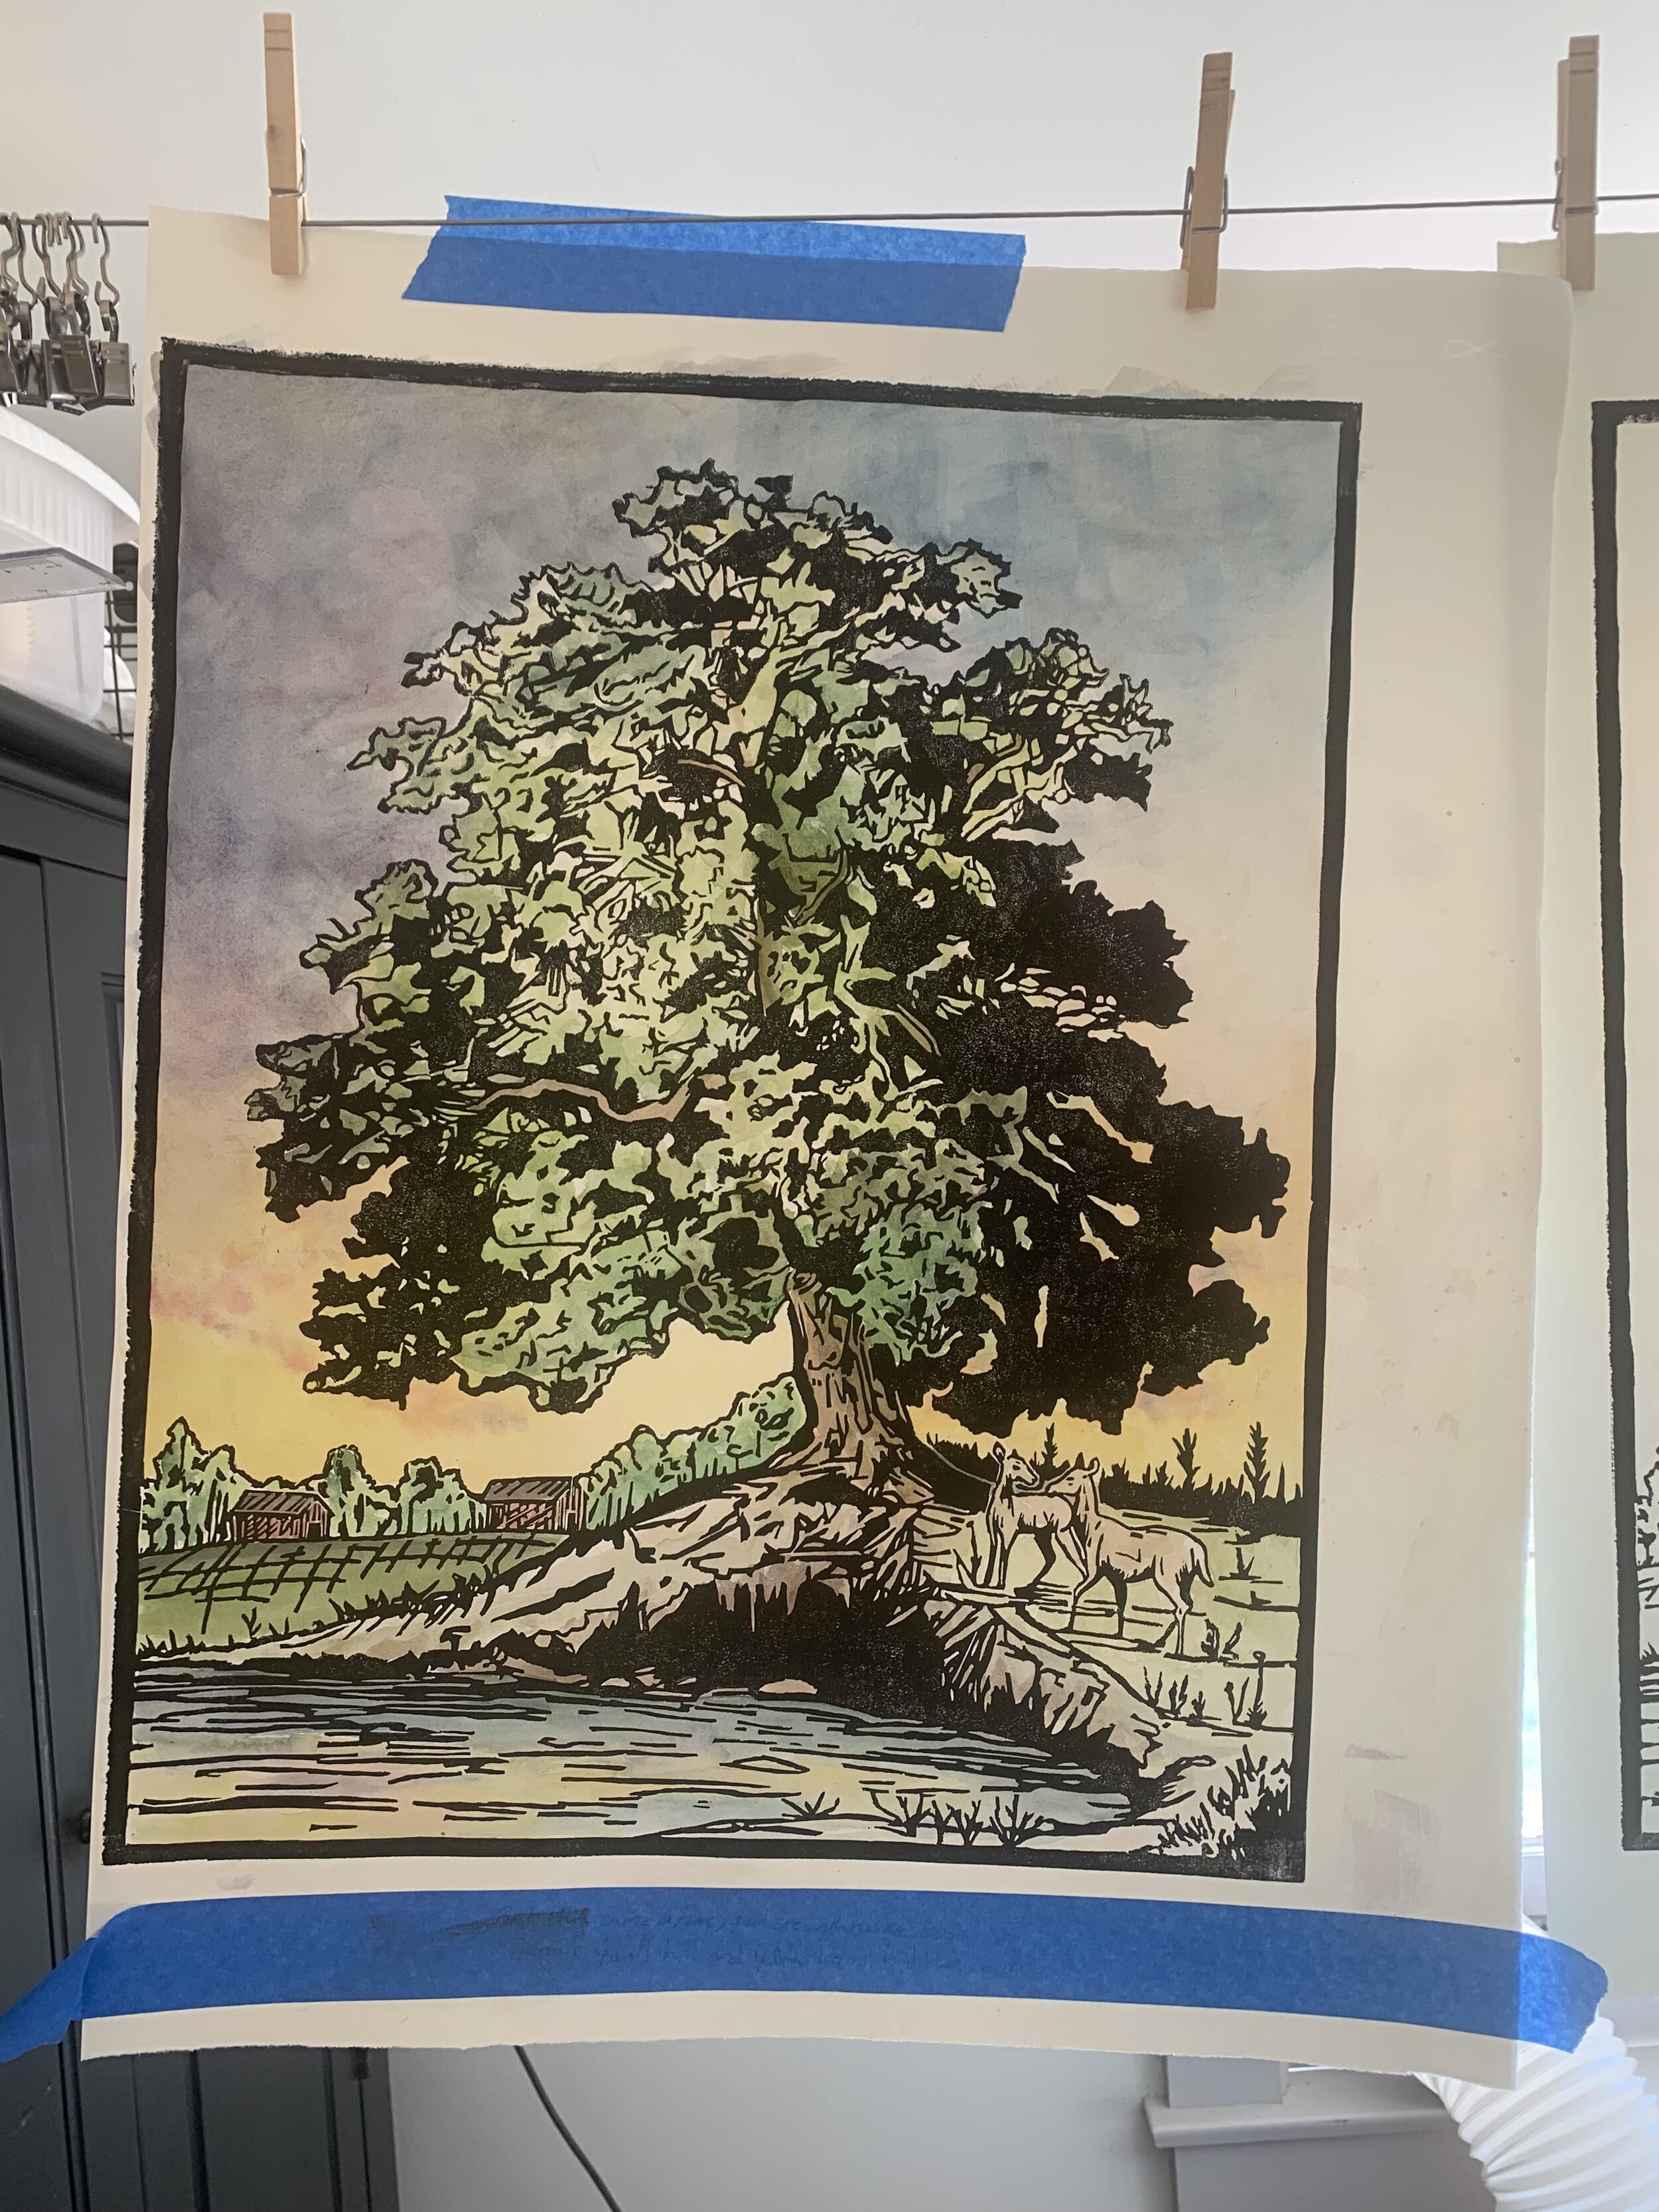

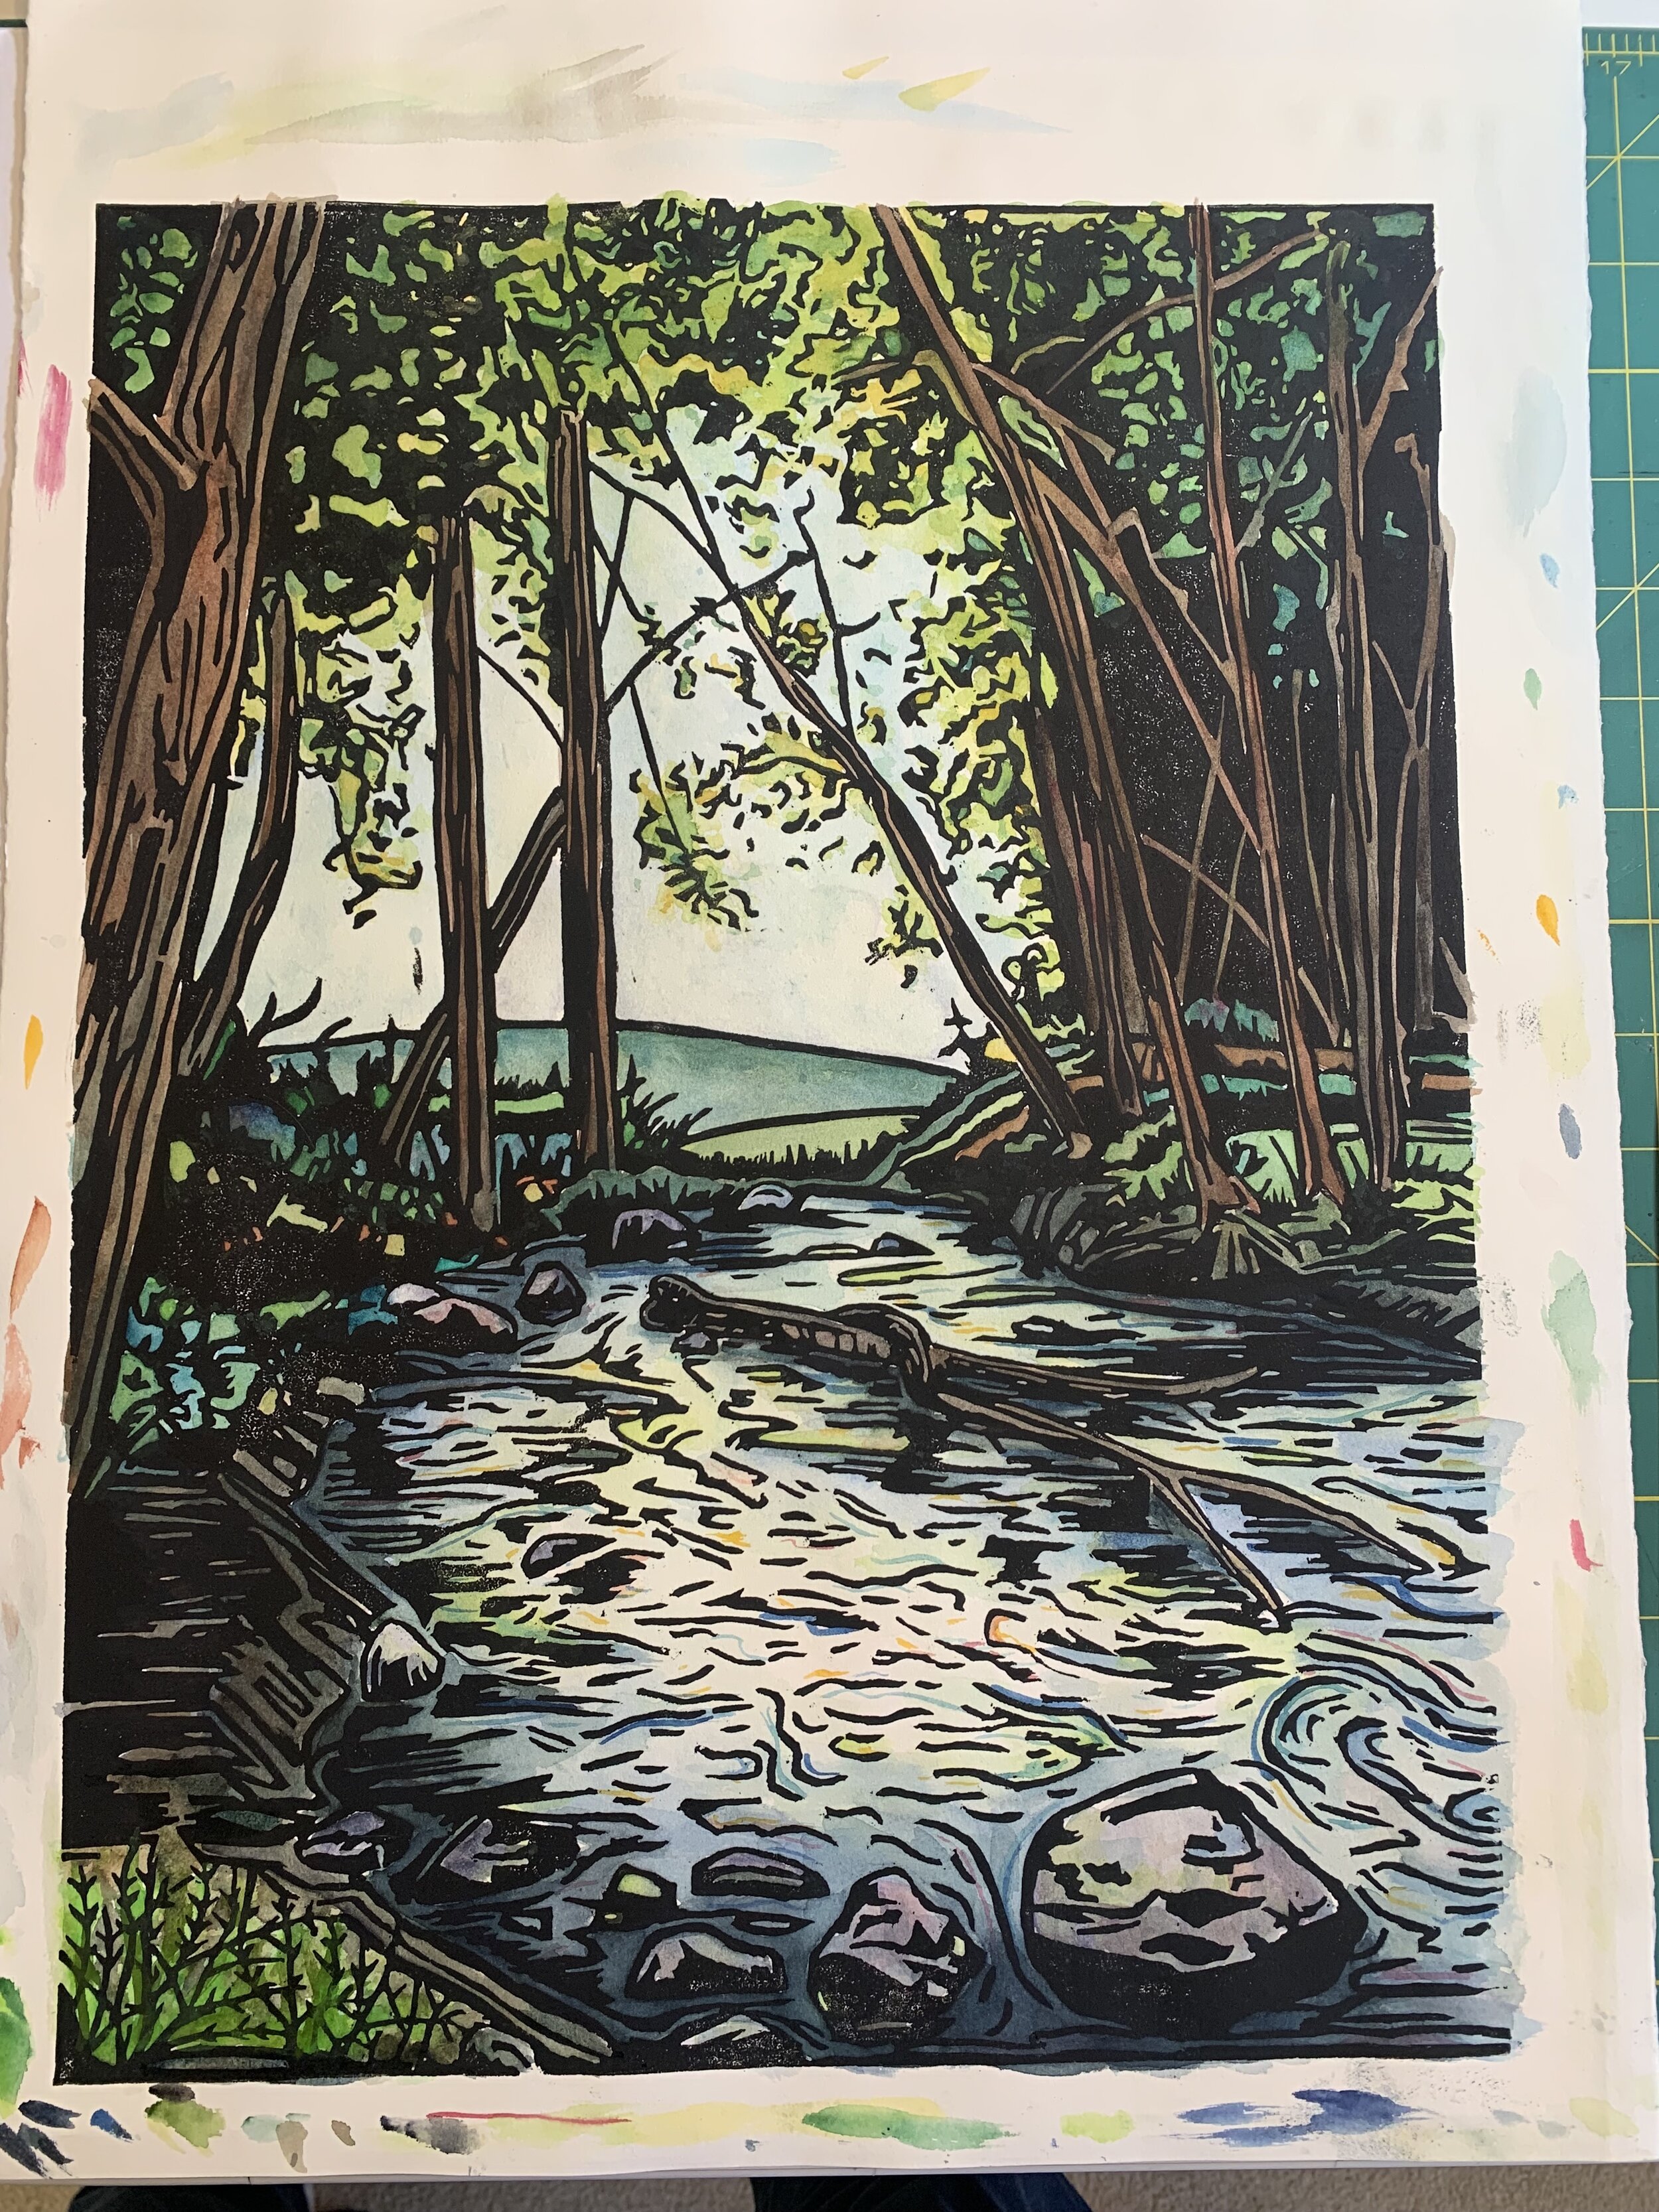
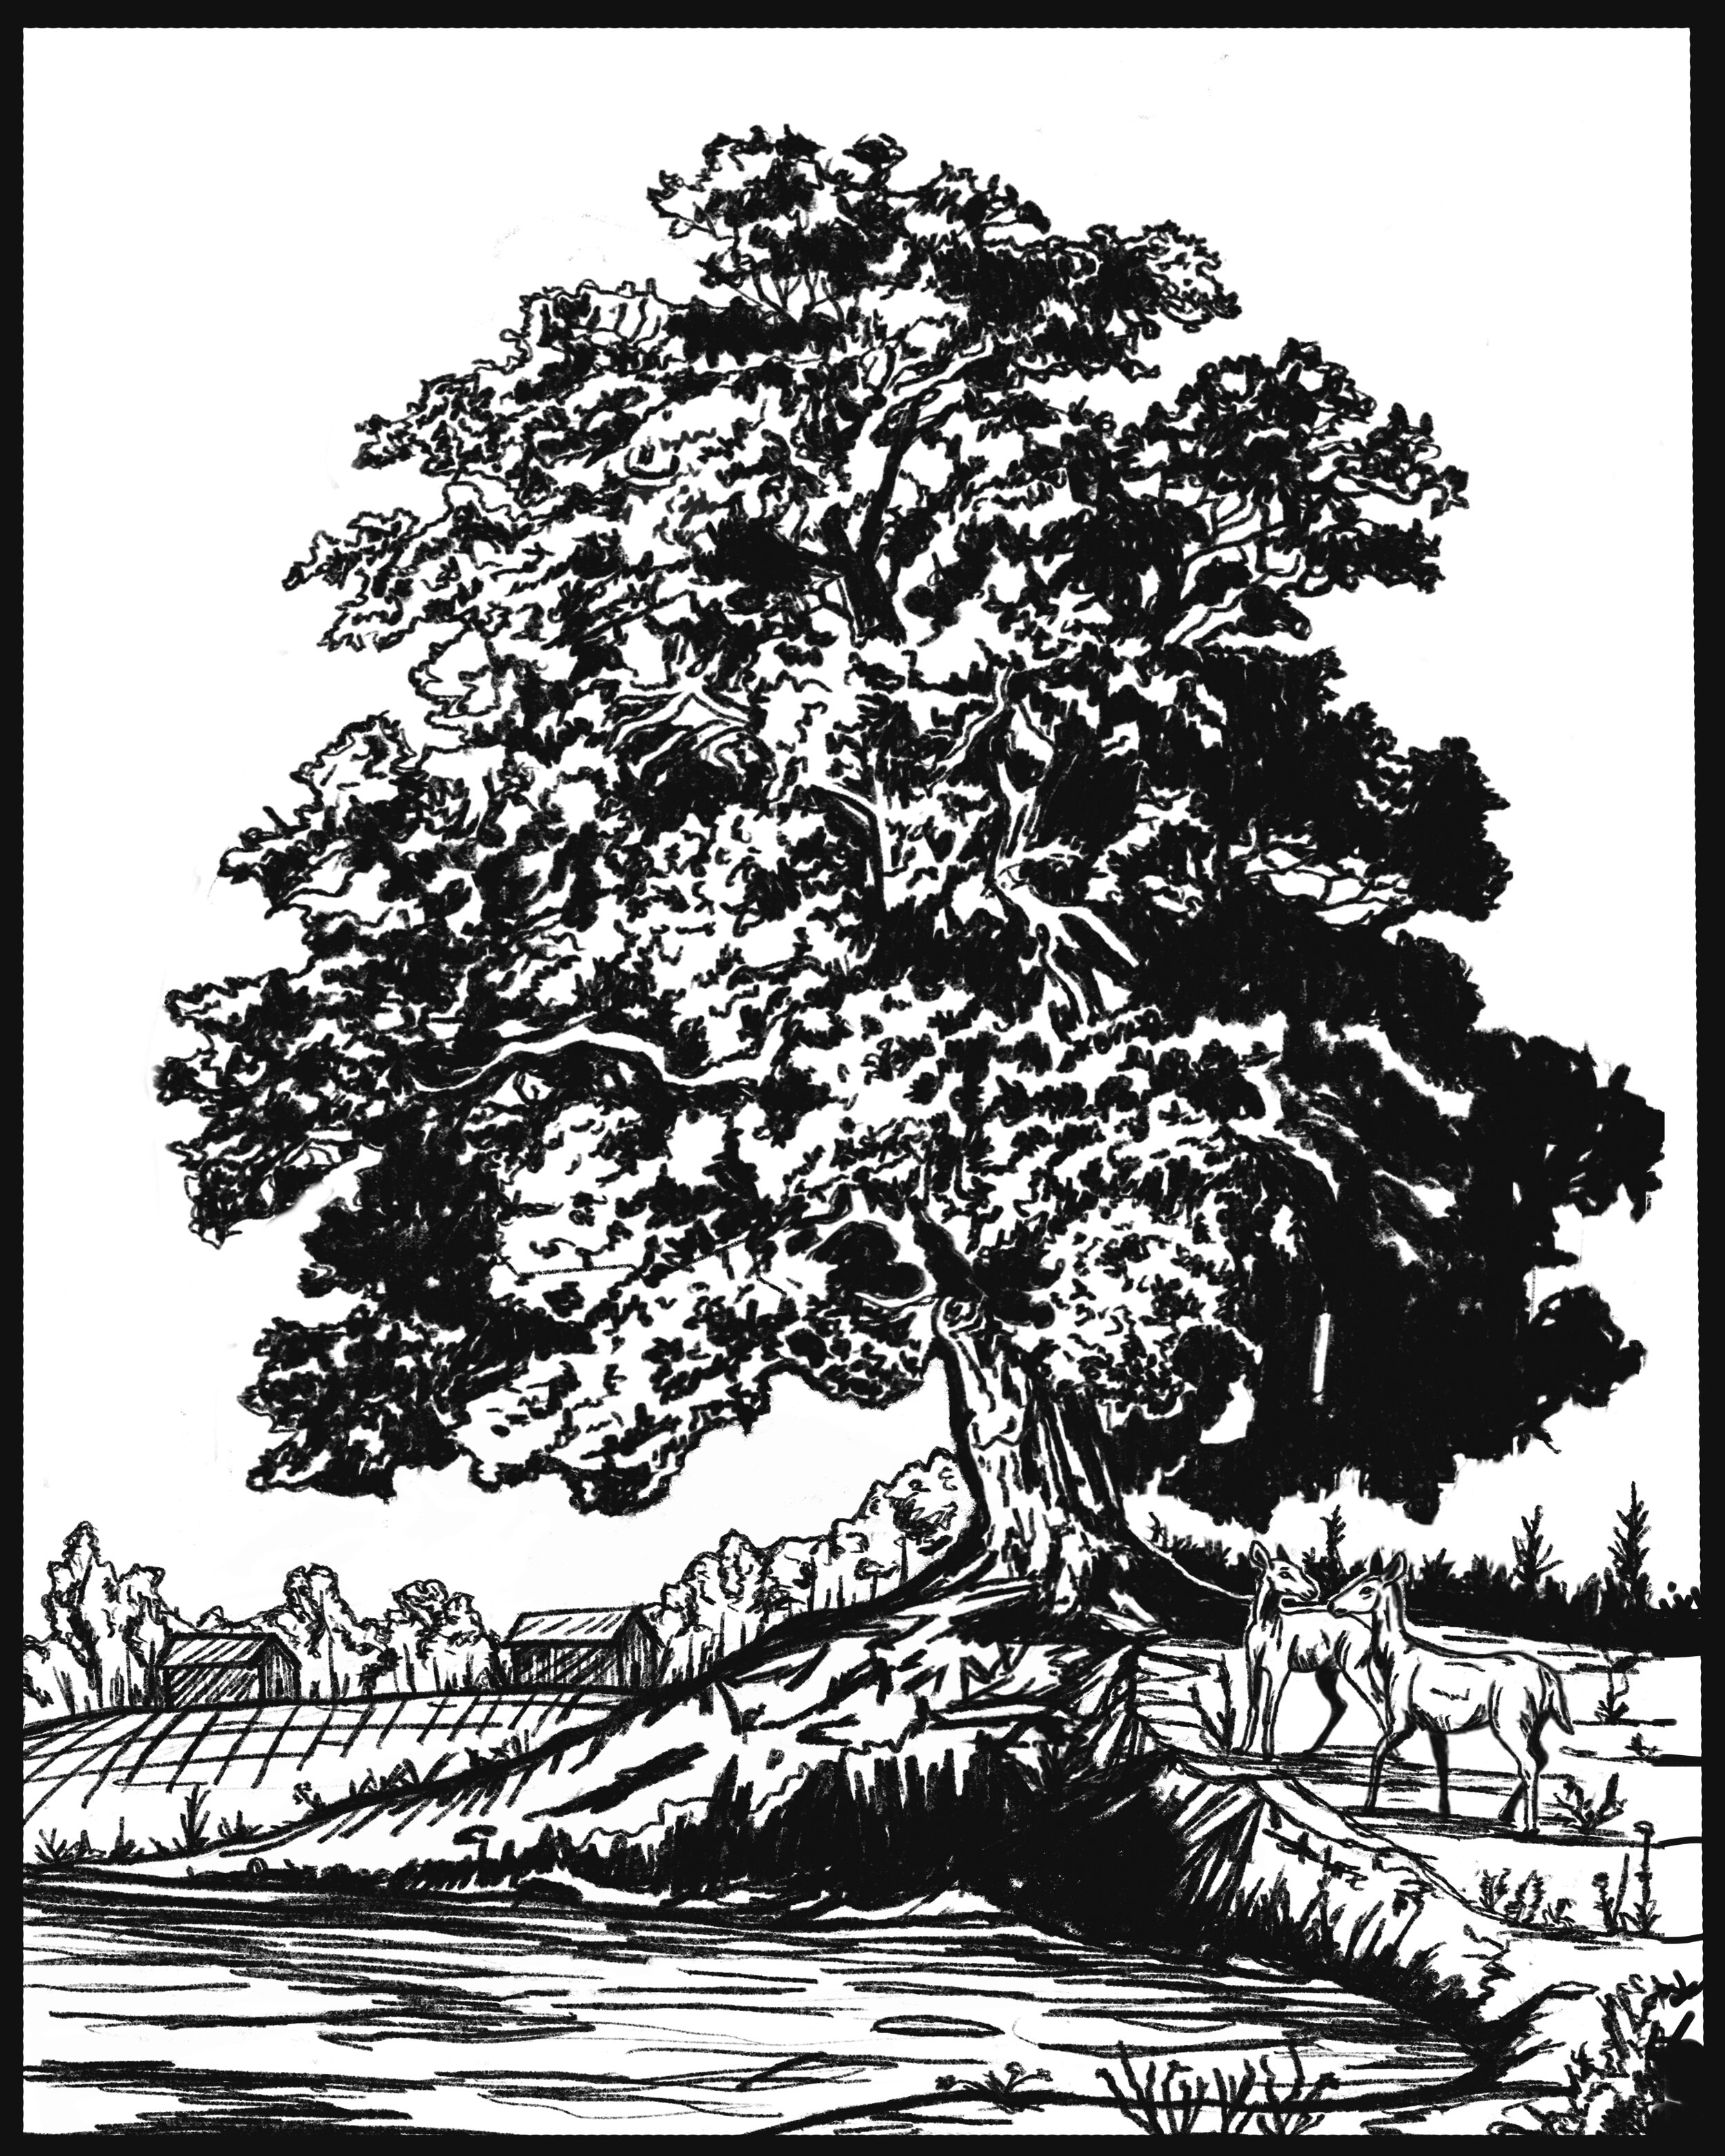
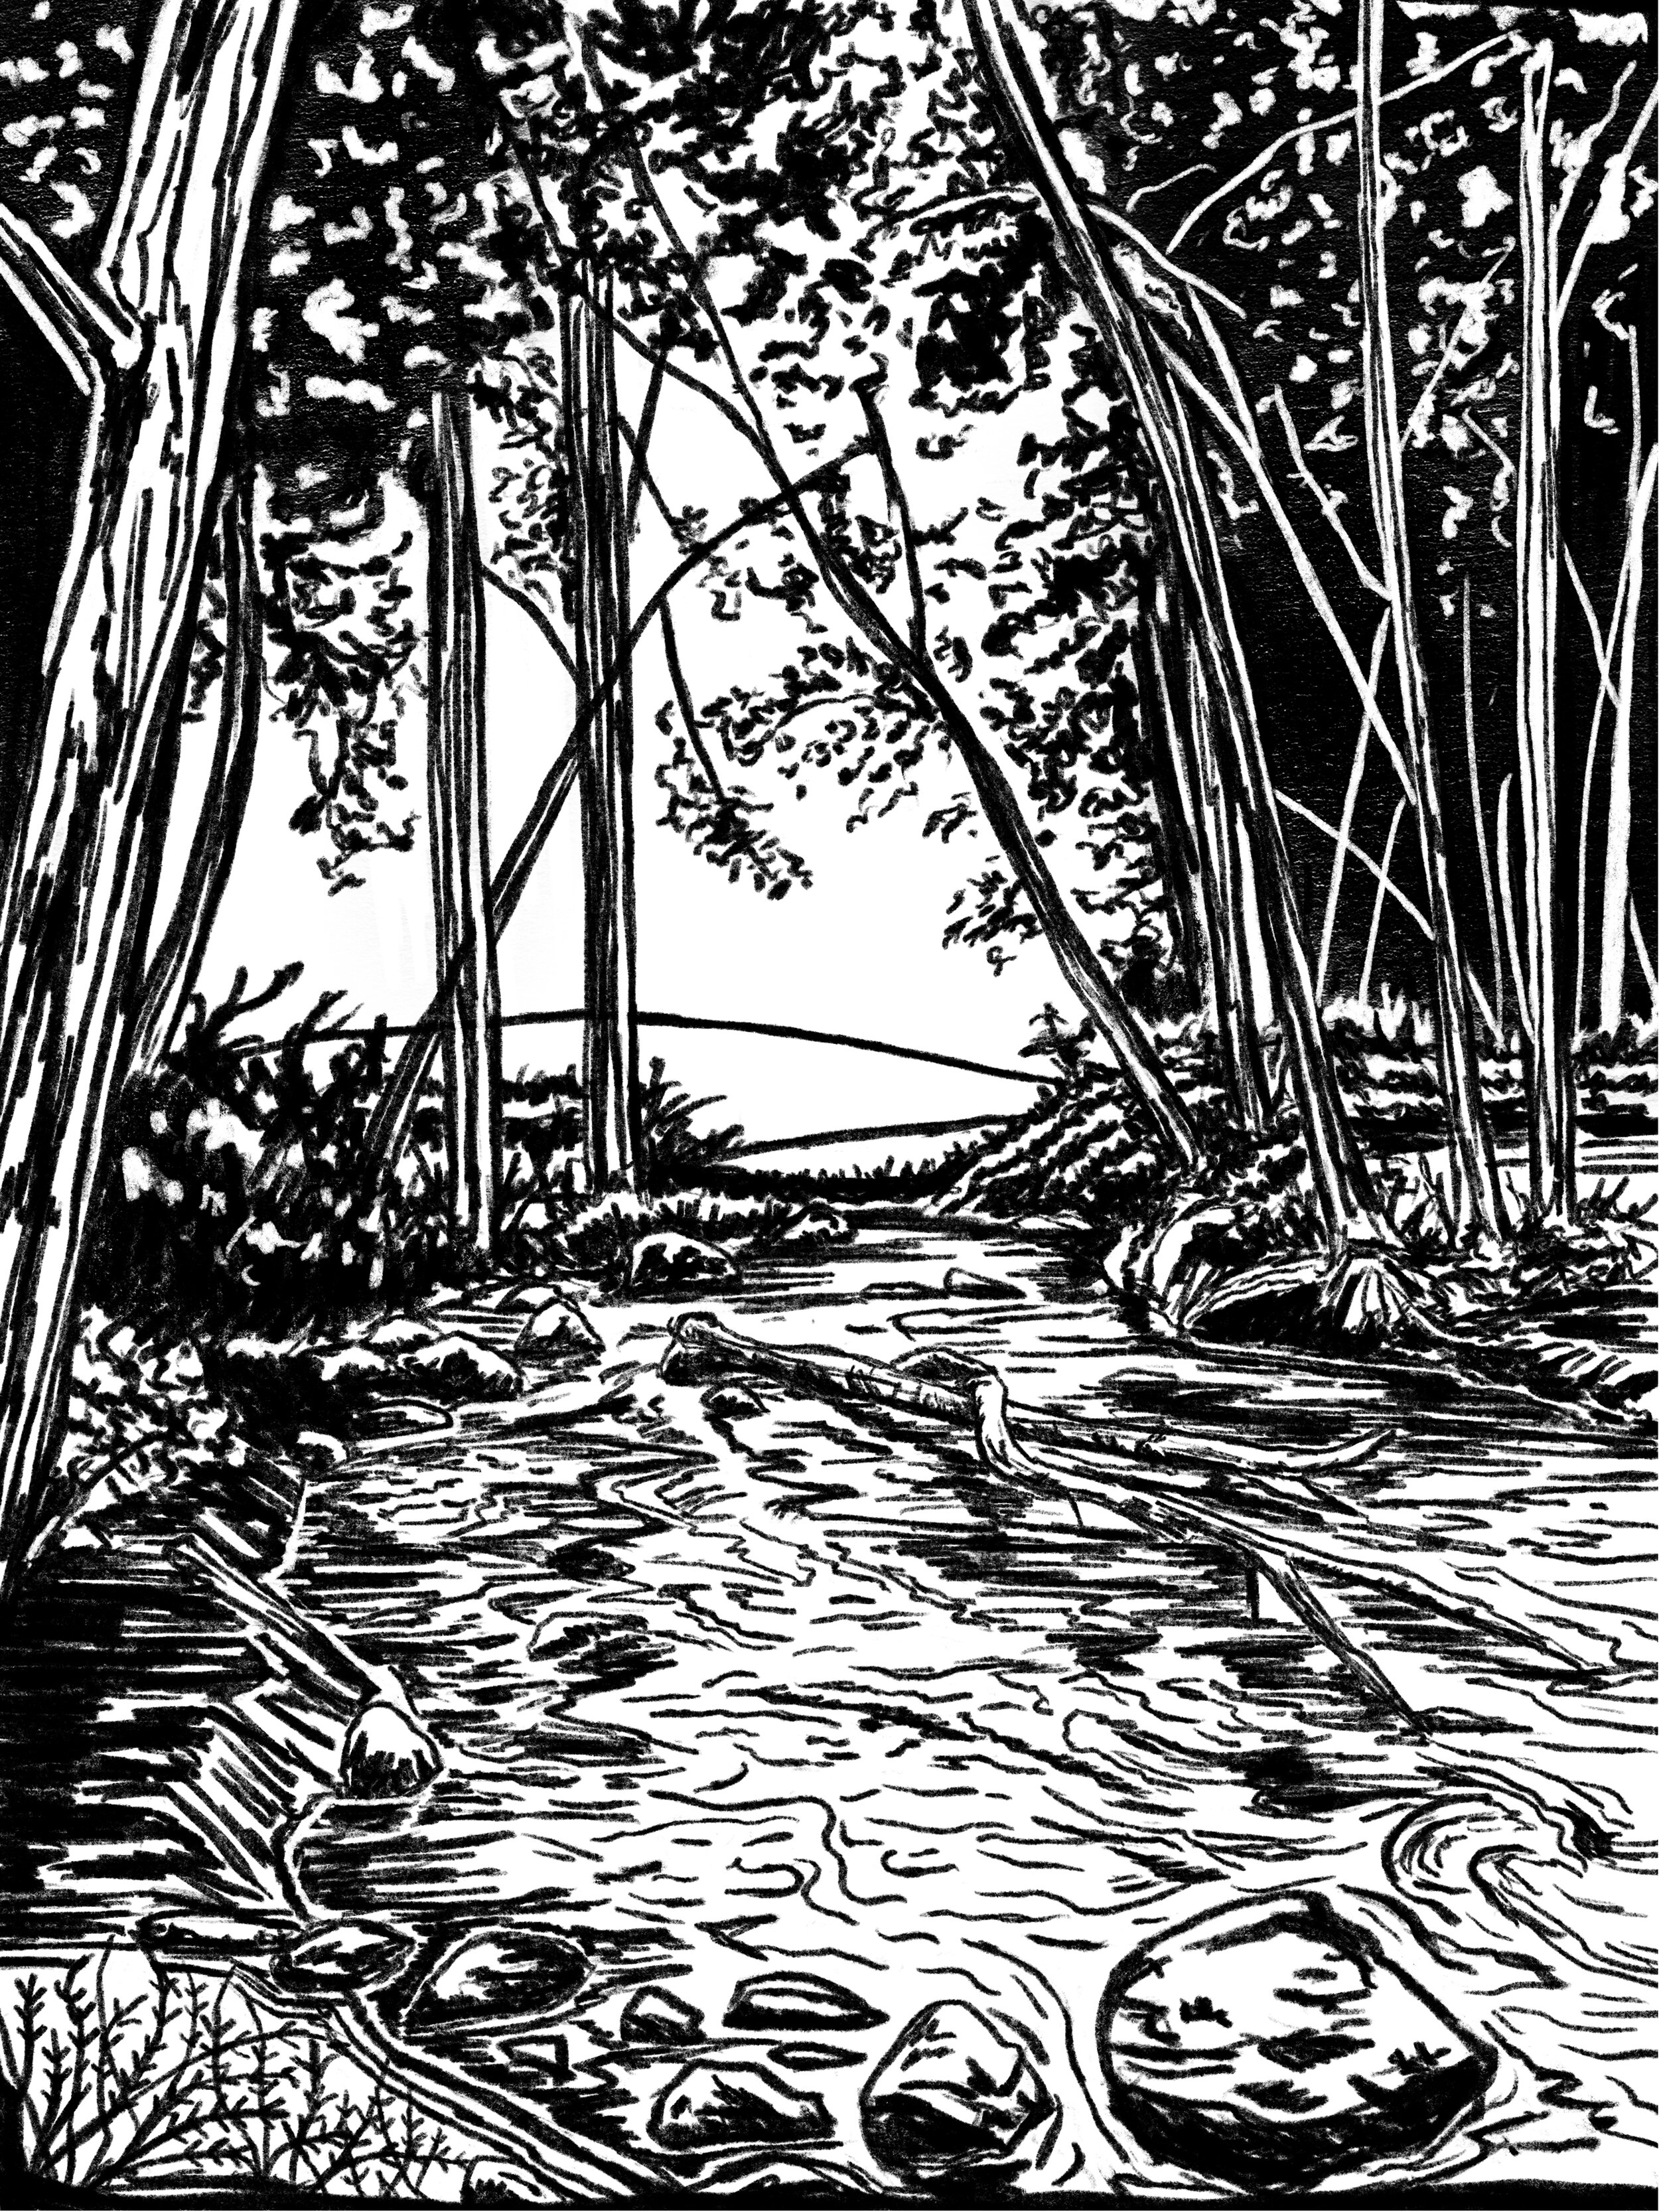
Finished Pieces
Finally after all this hard work and process these are the final images! I also included the other landscape I did in 2019 since I wanted these to show together! I hope you enjoy these new prints and get a glimpse in all the work that goes into the art of block printing!
I will have another blog post out very shortly, as some of you may know I published my very own coloring book! It is out now and available in my shop! They make prefect gifts for kids for the holiday season!
Bryan.