
Landscape Relief Prints
Welcome back, I am excited to share my first post about printmaking. I will be talking about a couple of relief prints I made recently and sharing the process from start to finish. I have a lot of photos and videos of the stages of the prints. I have the same process and the same steps for all of my prints and I will be showing both prints throughout the post. Having the same process brings consistency to each print and makes it easier for me to produce more prints or multiple prints at the same time.
Some of you may be wondering what is a relief print? Well, a relief print is where you carve away from a surface and what is left behind gets inked then printed. So you crave or take away everything you don’t want to be inked. A simple way of thinking about this is to picture a black and white image. In relief there is only positive and negative. The black in the image is what will be inked and printed, the white is what gets carved and taken away from the plate. In all of my relief prints I start with a black and white drawing. For these two landscape prints, I worked off photos I’ve taken. One from a trip to Oregon of Little Zig Zag Falls and the other from this summer's hike in Glacier National Park. I draw more detail in my drawing than what I expect to be printed. This helps me with the composition so when I am carving I have a better idea of the image and the final result I want. It is always easier to simplify the print bythan to add more detail back in.

On the left is the photo I used for the print. I increased the black and white points to give more contrast. On the right is my finished ink drawing. I spend a lot of time on the drawing and treat it like its own piece of work too. This allows me to go into the carving process with a better grasp of the final image.
An important note when you are transferring the image onto your plate is that you reverse your drawing so that the plate you are carving is the reversed image of your drawing. This way when you go to print your plate it will be the same as your drawing.

Here is a transferred image onto the linoleum and beginning to carve.
Once your image is transferred it is time to carve! This takes time, a lot of time. It is a long and tedious process but I find that it is very peaceful. Both these prints are around 9x12 inches and it takes me around 10-12 hours of carving.
Here is a timelapse of me carving the Zig Zag Falls Print.

A closer look of the carving process. You can see I'm carving away everything I don't want to be inked. This linoleum will give a contrast when carving to help with that and to know when you made a deep enough gouge that it won't be inked.
Now the time spent is well worth it, this is the beauty of printmaking. It allows you to making multiple prints of the same image. All of my efforts into these plates can yield many prints. You are setting your drawing free! Once I finished carving I do a test print to see how I like the image and if I need to go back and carve out some more. Then I am ready to print! I usually print about 8-12 prints at a time and my editions for a print range between 25-50 depending on time spent on the print. An edition is the number of prints you will print of that image, once you have printed or sold that number you destroy the plate and move on to another.
I roll the ink up on the plate smoothly then I place the paper on top and hand press the paper to get the transfer image.
Here is a closer look at the printing process. I am rolling the ink onto the plate and then hand pressing the paper.

A finished print!

Hanging the prints up to dry.

The Grinnell Lake Trail Print drying.

Grinnell Lake Trail print ready to be numbered and signed.
Once I have my prints finished, I like to go back and watercolor of them to make it an original piece. These prints get the label AP or Artist Proof, meaning it's not apart of an edition. By combining the rigid and precise craft of carving with the looseness and illustrative quality of watercolor makes a wonderful combination that fully expresses my illustrative style. I hope you enjoyed the process of making a relief print and seeing the final results of these two prints.

The watercolor really makes the print a one of kind and adds an extra layer of depth to the piece.

Grinnell Lake Trail with watercolor, The blue in the sky really brings me back to this hike.
P.S.
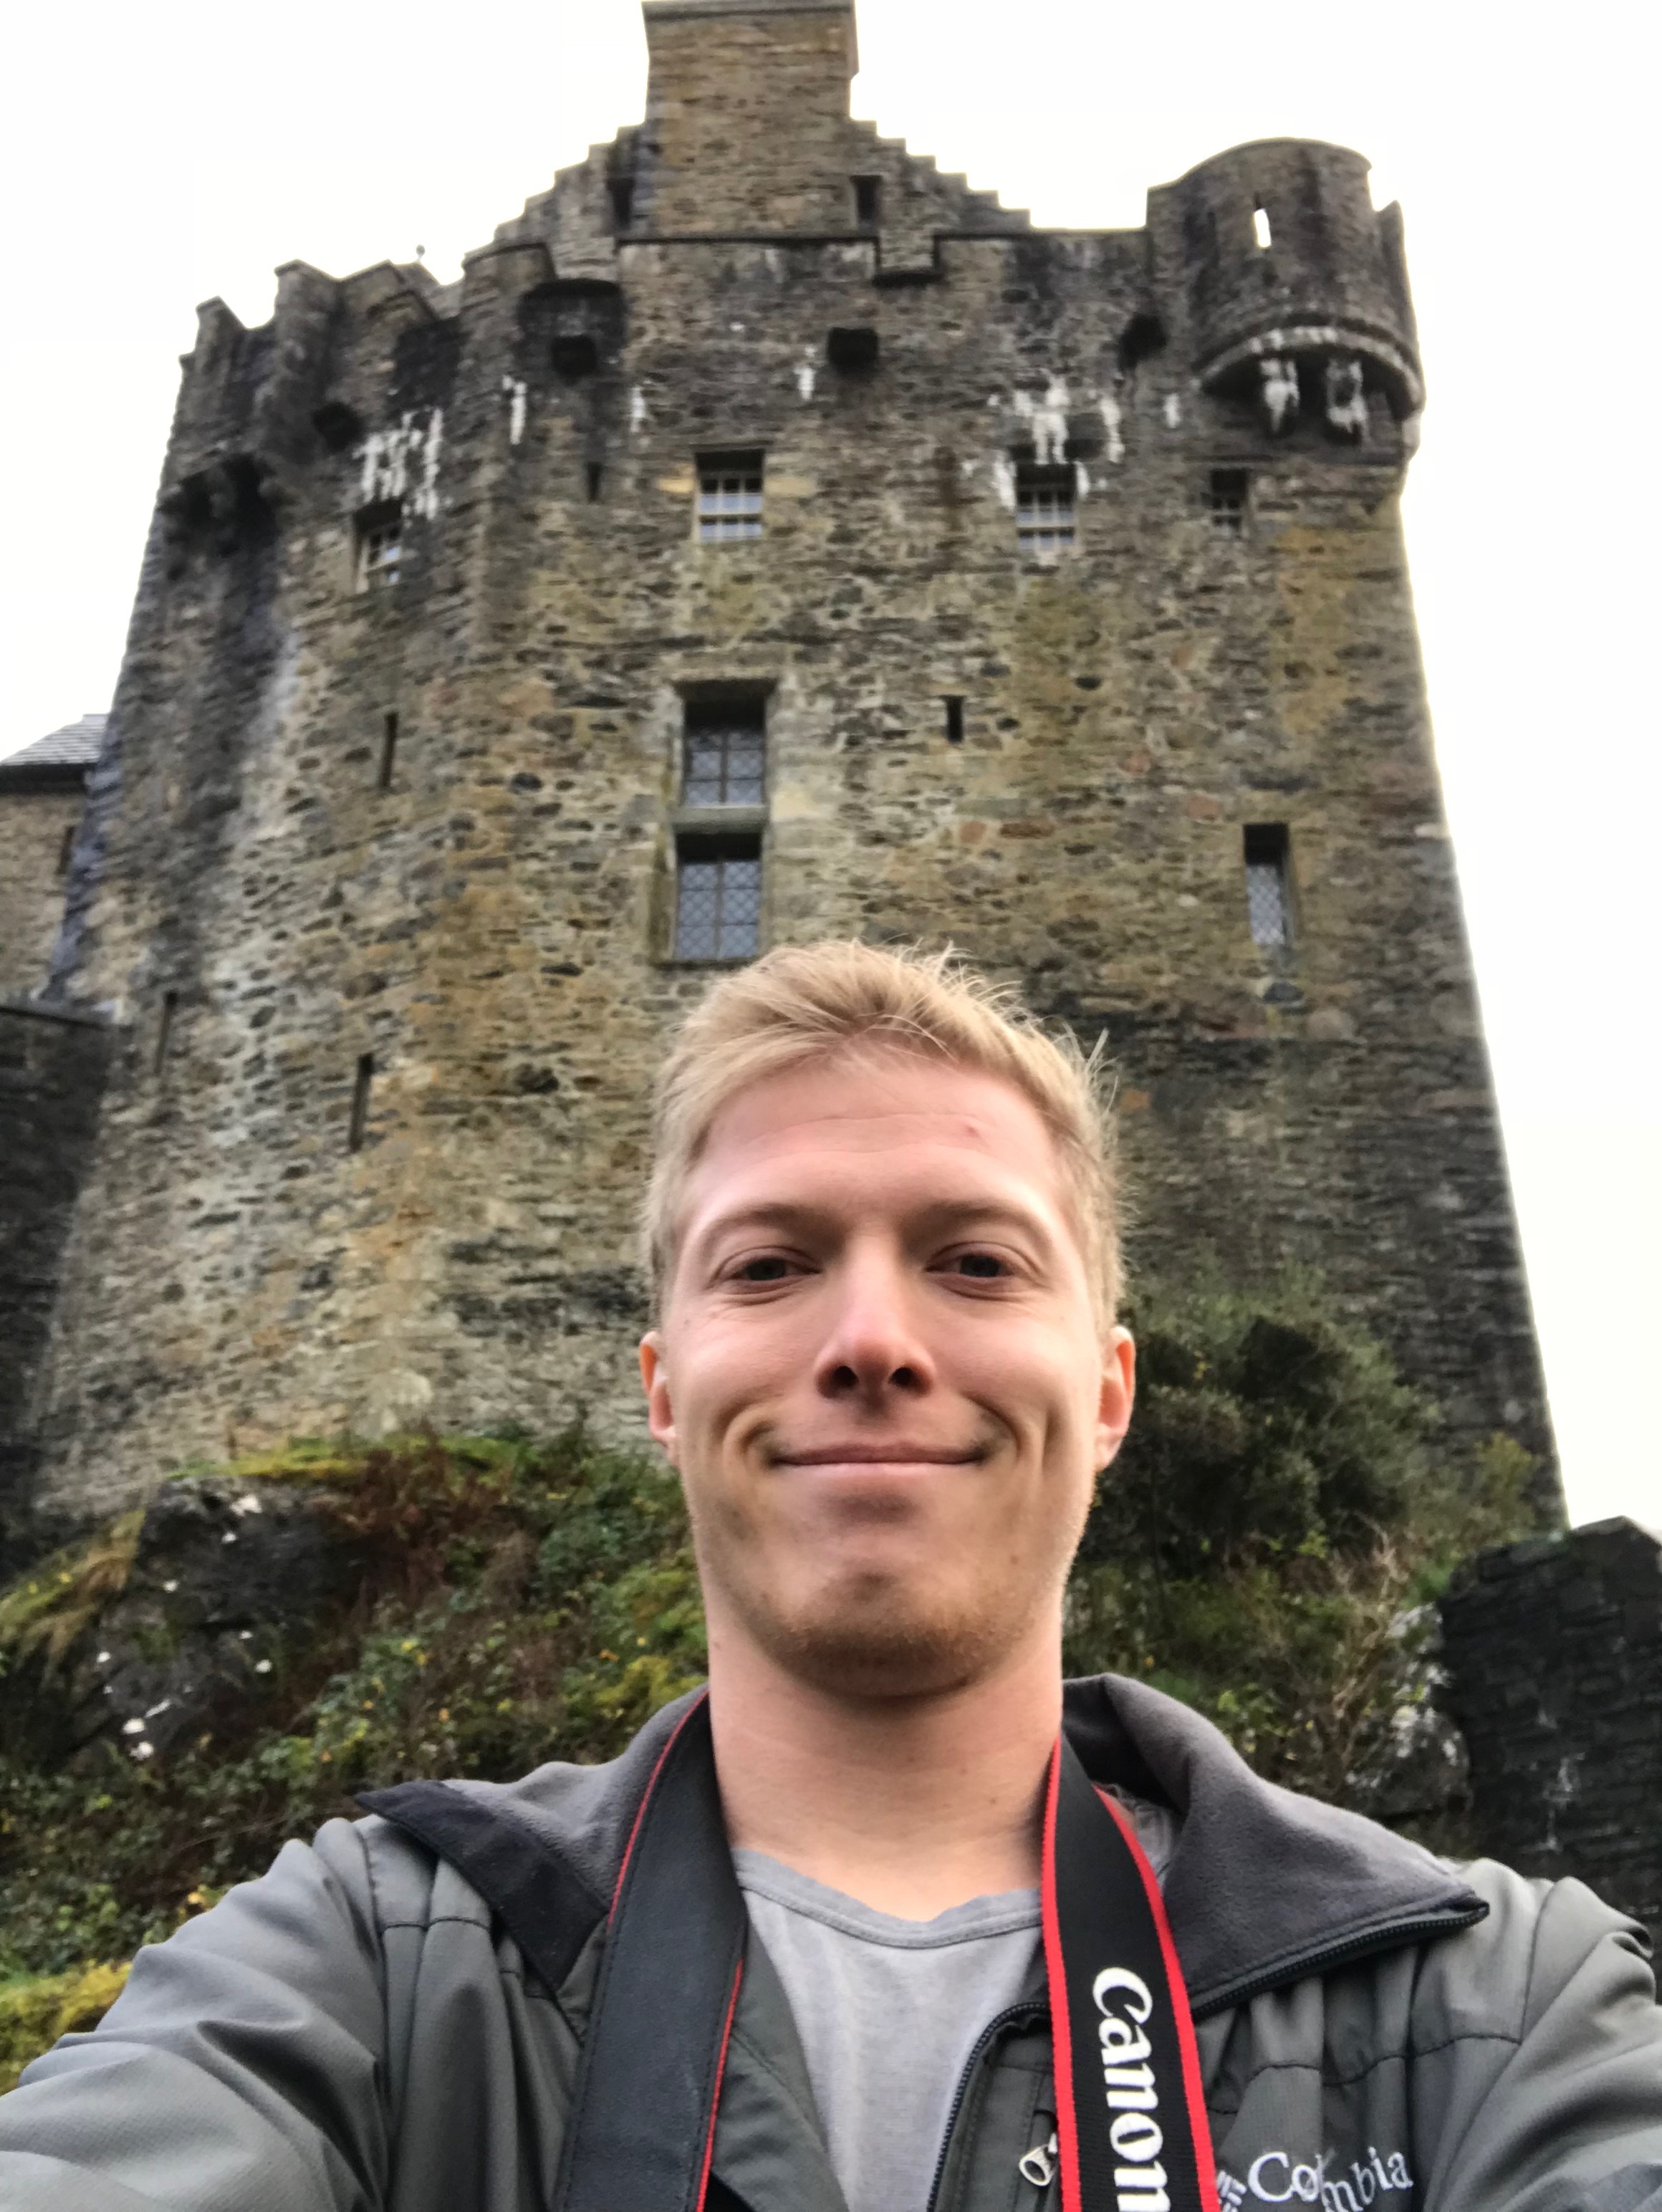
I just recently got back from an amazing trip to Scotland! I was able to see a lot and had an incredible time there. It was my also my first time across the pond and hopefully many more trips to come. I felt like I only scratched the surface in Scotland and there is so much more out there! My next post will be on my trip but I have a few photos I would like to share with you below.
As always Thanks for your support and reading, feel free to like and share! You can also follow me on Instagram @bclockerart for more posts and works of art.
Until next time, Bryan.