The Block Printing Process
Hello everyone, hope you are doing well. Today I am excited to share the process of what it takes to make a linocut print! My main form of art making is block printing, I hope this helps all of you get a better understanding of what goes into a print and that you will find it as enjoyable as I do!
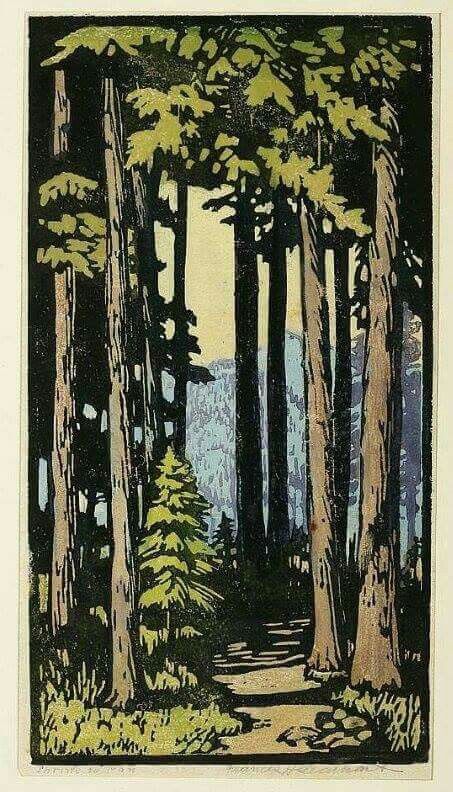
I am going to walk you through the steps of my most recent print, a landscape inspired by my new home in the PNW. This print was the biggest I ever worked and I really enjoyed working at the larger size.
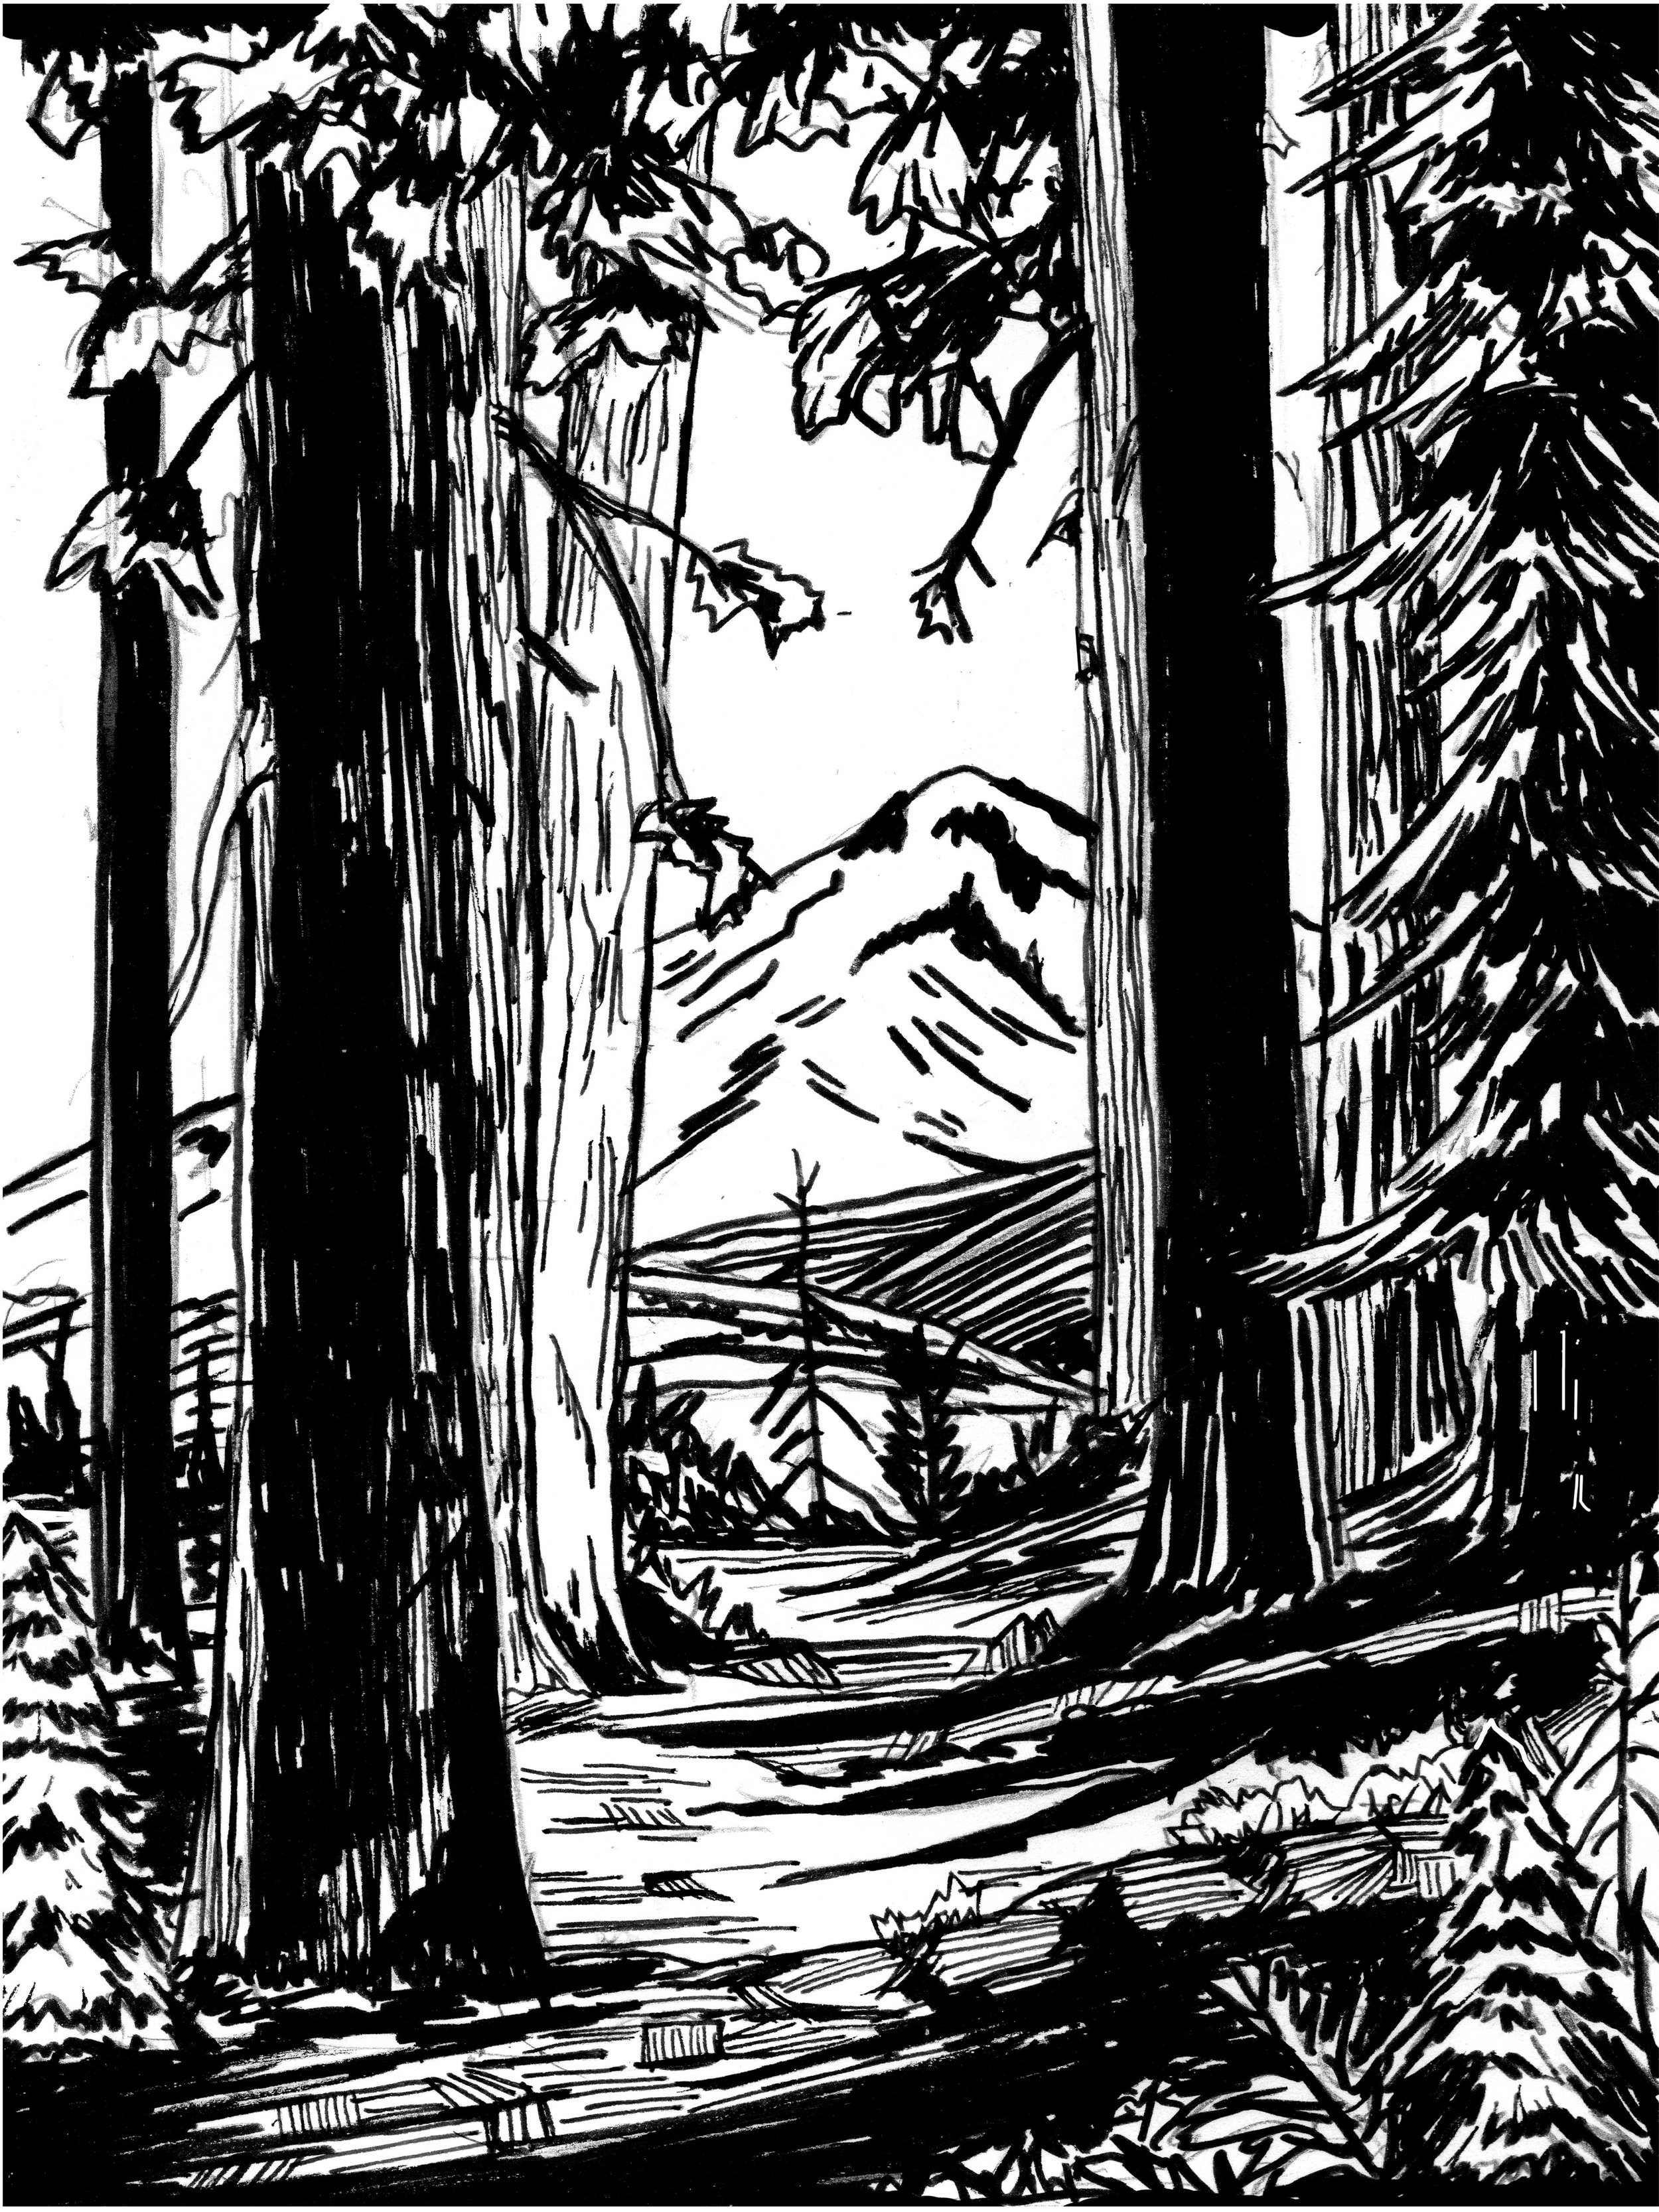
The first step to making a linocut is having a drawing. I spend a good amount of time sketching and drawing my image before I even get started with carving. Typically for a print I do a rough sketch in pencil, then a final detailed pen and ink drawing. Depending on the image I may go back and redraw the image again in pen. All of my drawings are in black and white and I am always thinking about positive and negative space. When drawing out your image your black pen will represent the inked part of the final print and the white is what you will be carving out. The better your drawing is the better your print will end up, it is always best to take time to have a good composition and image than to rush and try to figure it out while carving. Once I finish my drawing I will scan it into the computer, boost the black and white contrast, size it to my block and print it out. An important note, your drawing will need to be mirrored on the plate to ensure when it is printed, it prints the way you intended it.
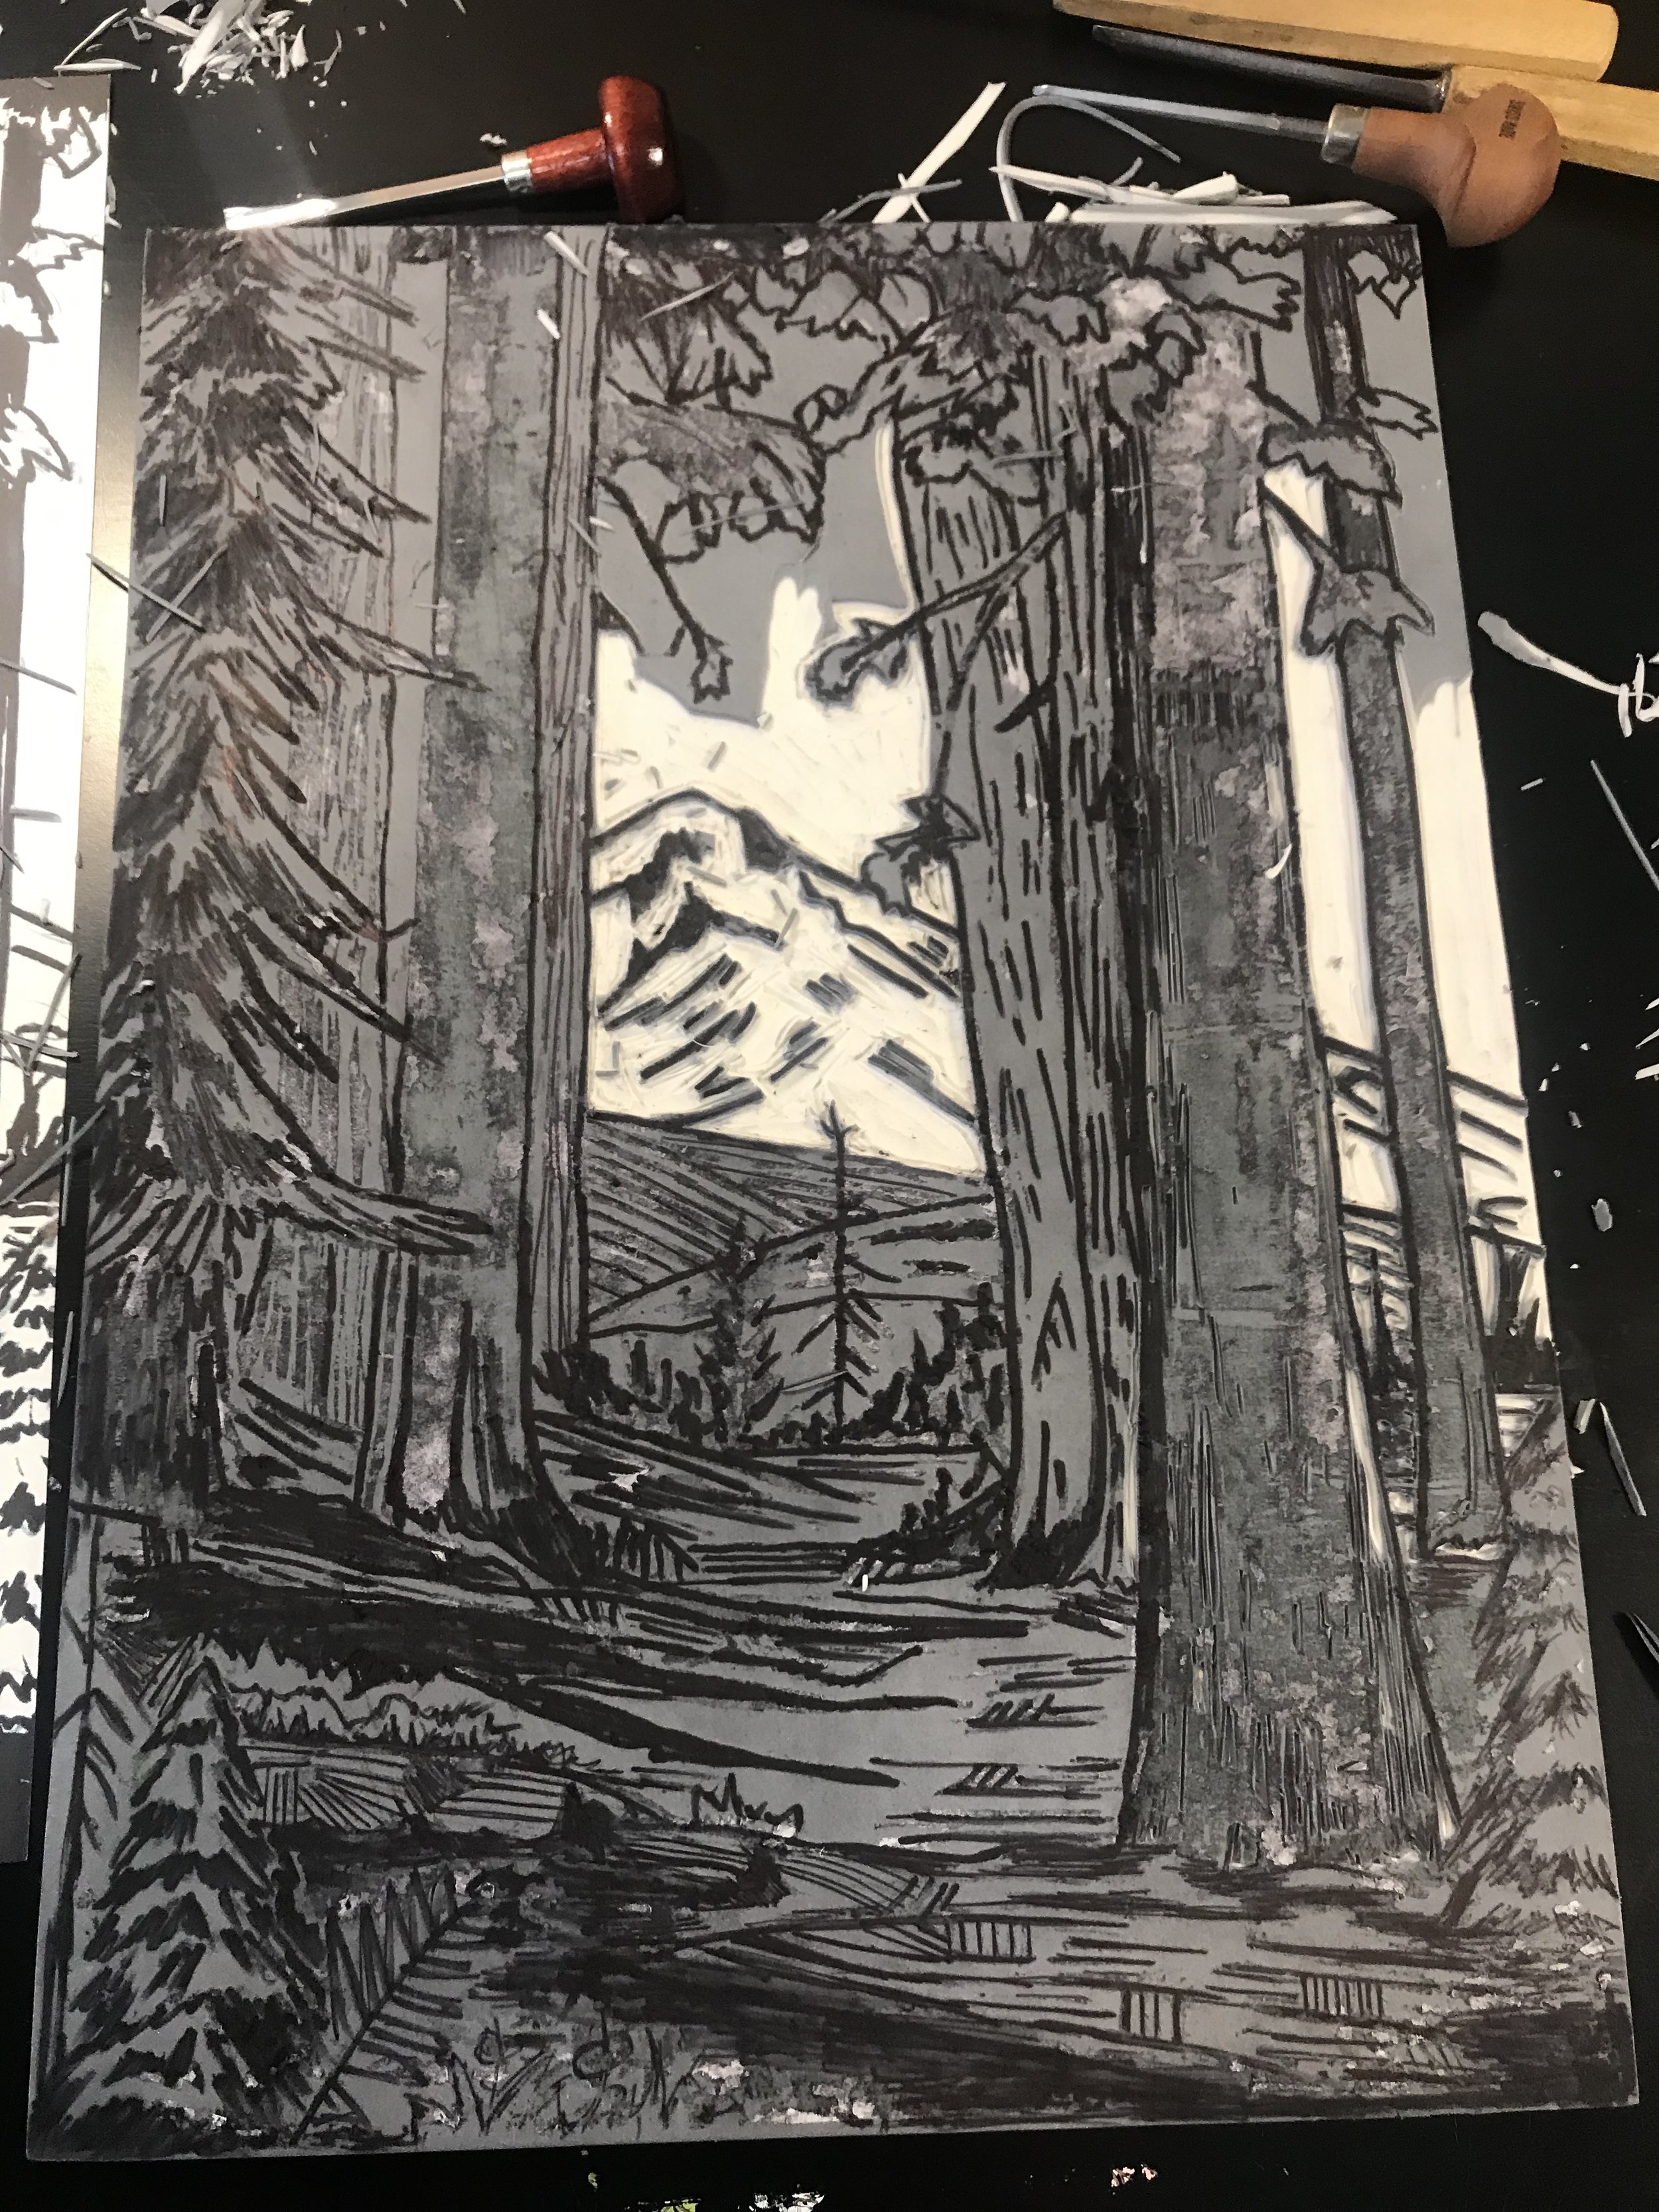
The next step is to transfer the drawing onto the linoleum. There are a few different ways to do this, and depending on what type of linoleum you use some methods work better than others. For this print I used a laser copy print and did a heat transfer. This transfer the black onto the block. It gives a light image transfer so I always go back with a sharpie and fill in all the blacks on the drawing. Again this is a long tedious process but it is necessary to have a good print. This is my least favorite part of the whole process haha! A tip, print out another reverse copy of your drawing and use it a reference while you transfer and carve!
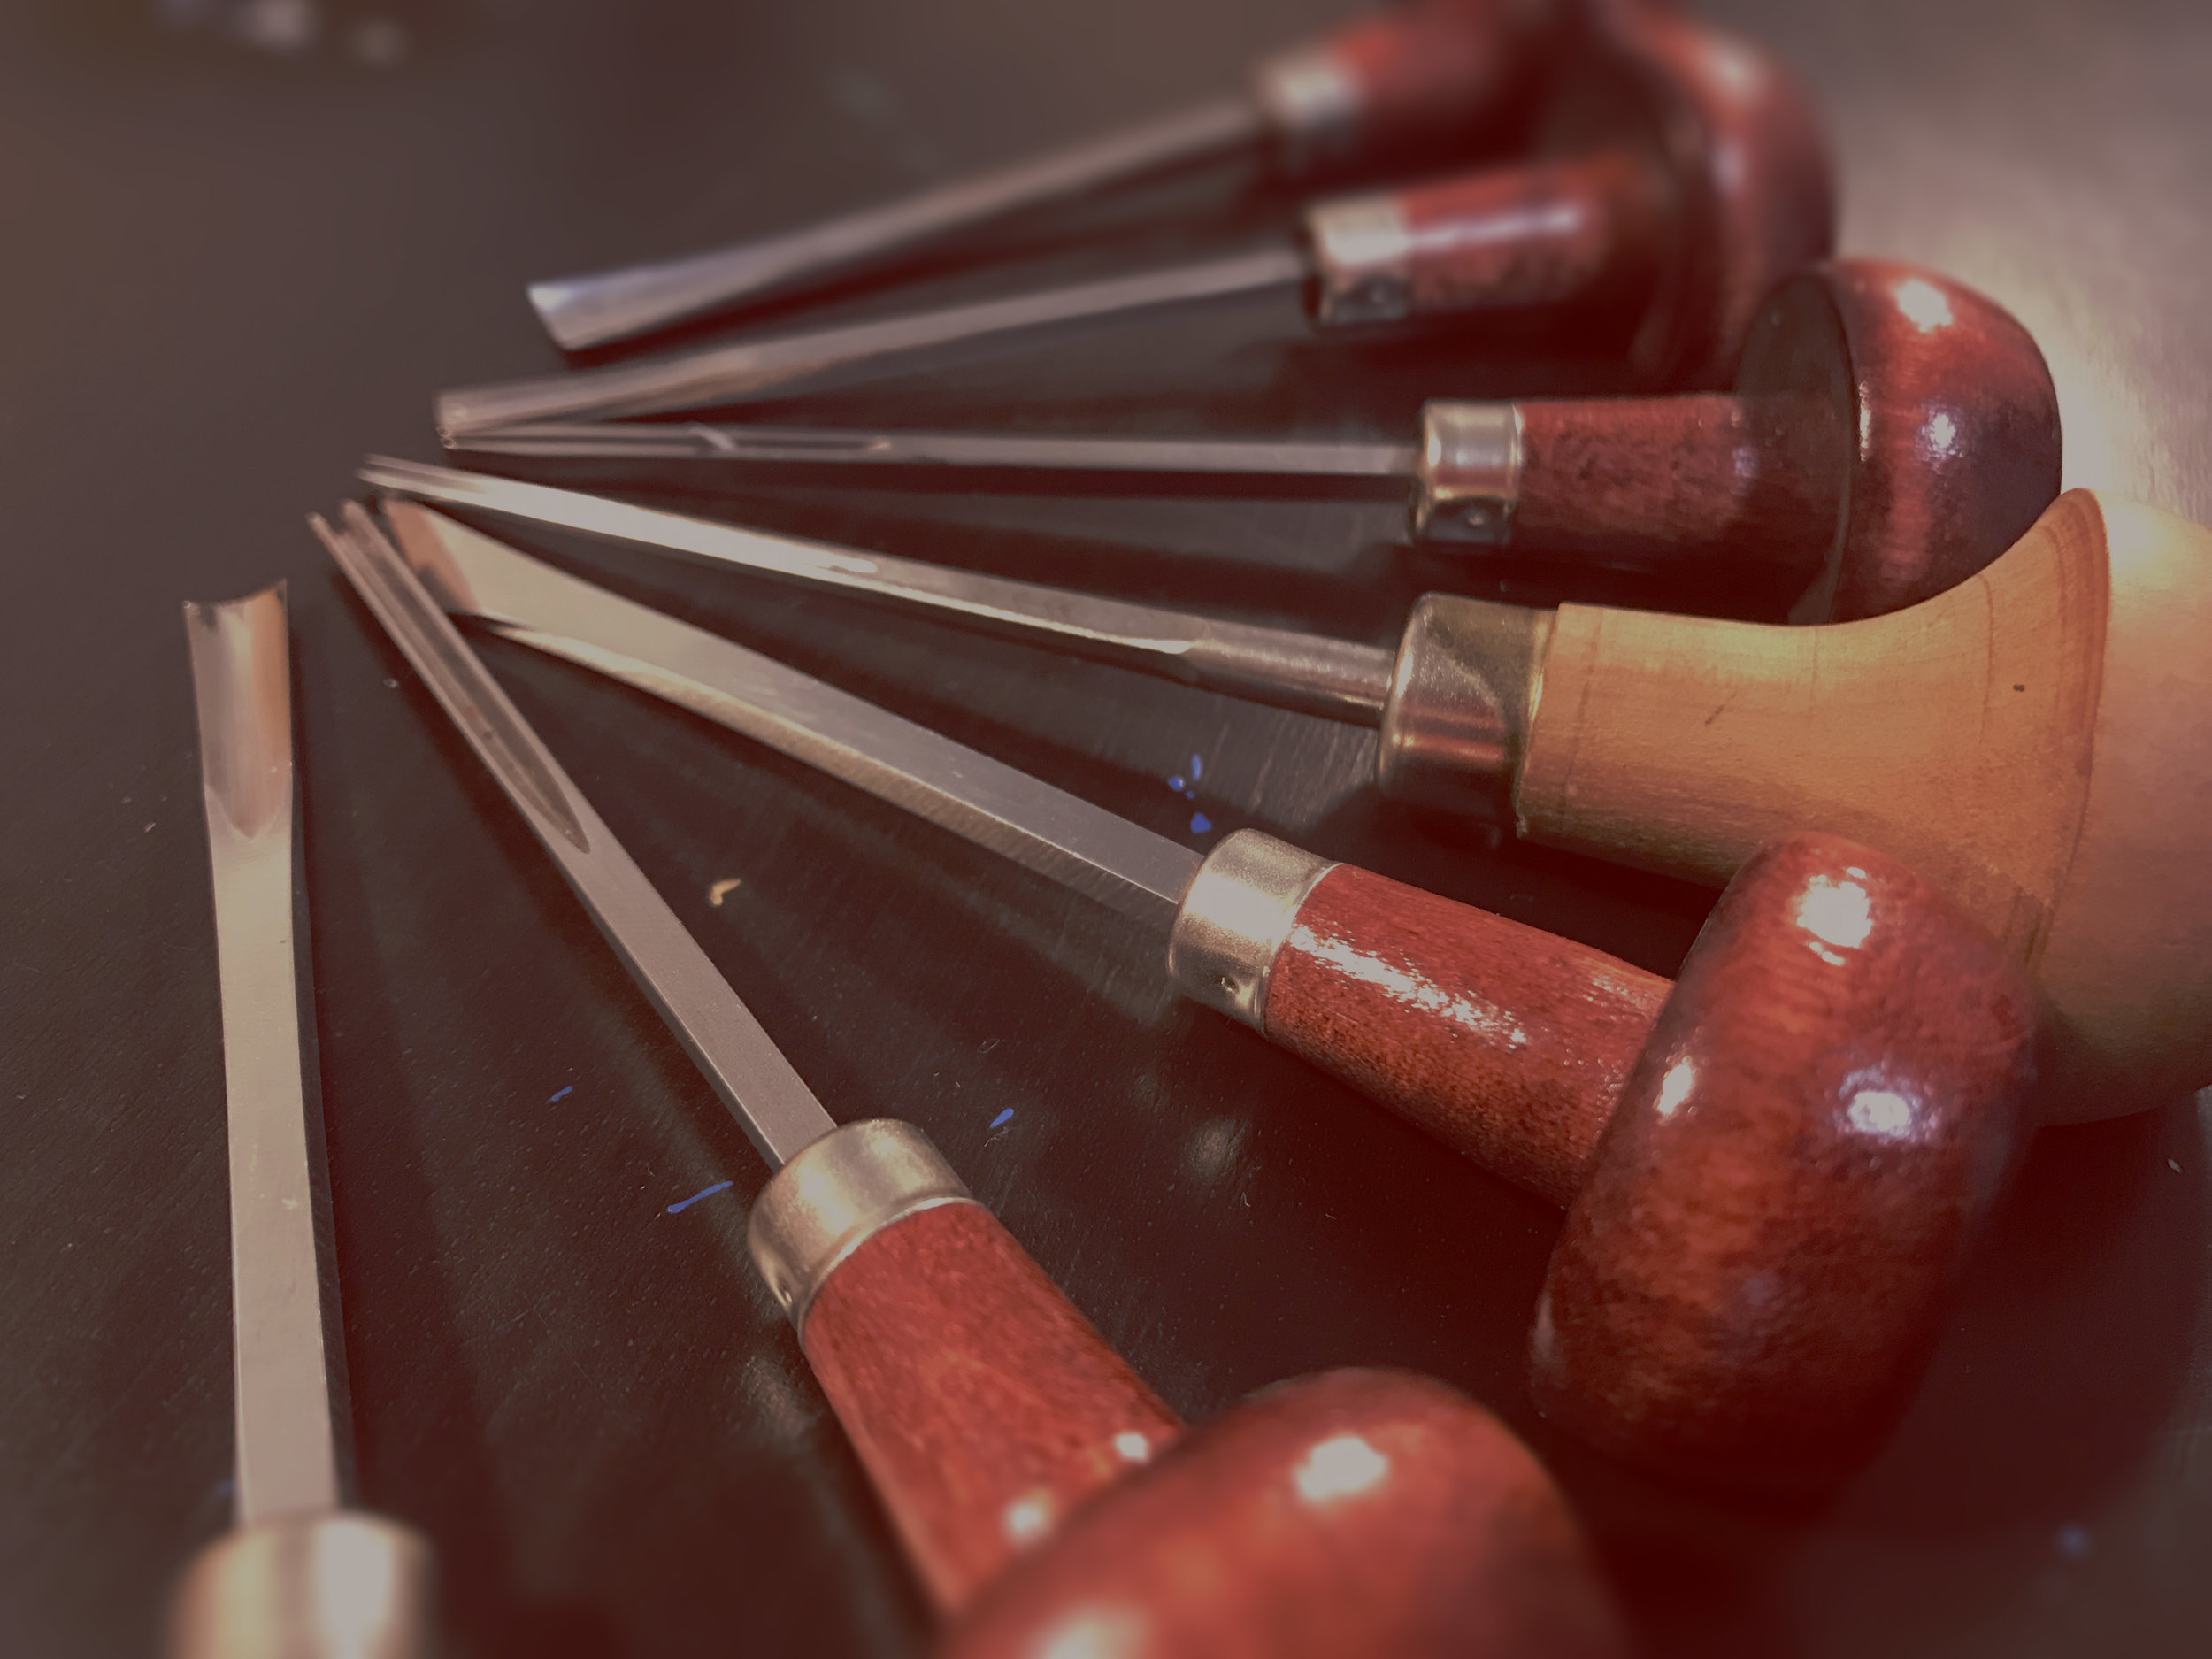
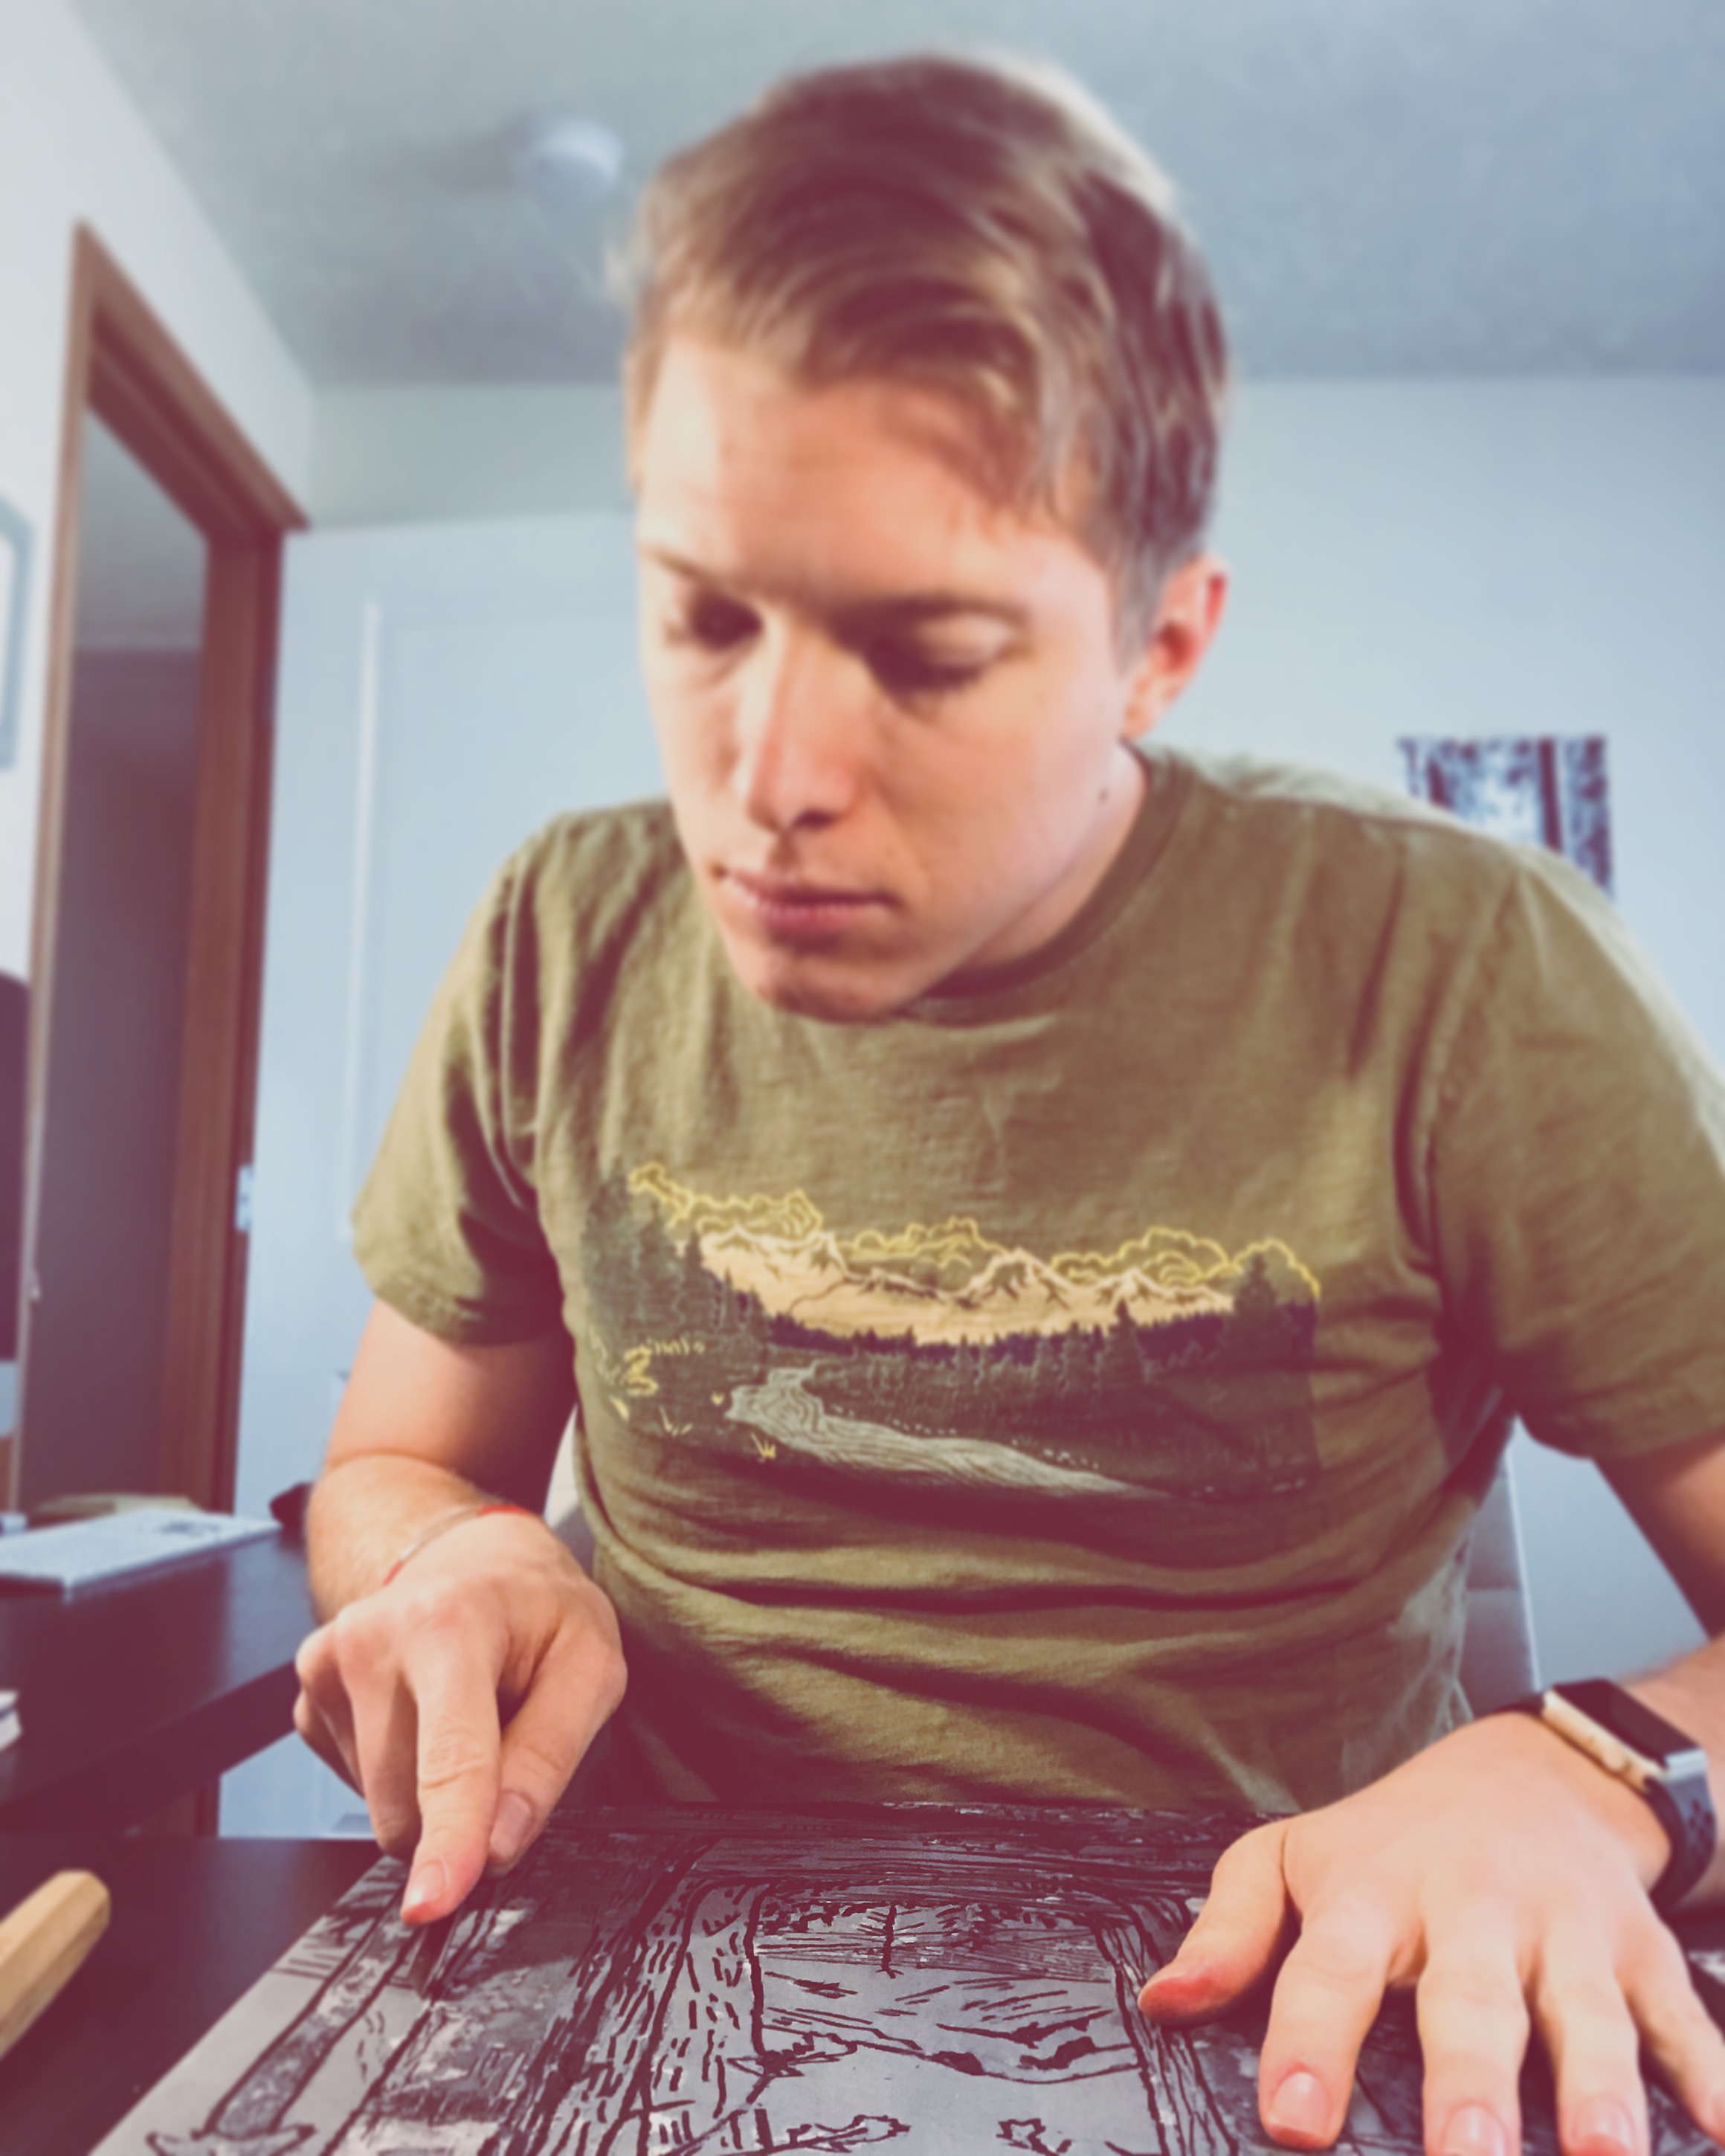
Now it's time to carve! I use a combination of linoleum and wood carving tools. I start by carving the outline around the positive (black) marks, then carve the rest of that section. Carving takes time and precision. Think about your block as block of darkness, carving is letting the light shine through to reveal the image. Each cut lets a little more light come through and you slowly uncover the scene that was hiding in your block. I spent about five days carving this piece off and on through out the days. It is good to take frequent breaks, carving can be really hard on your neck, back, eyes, and hand.
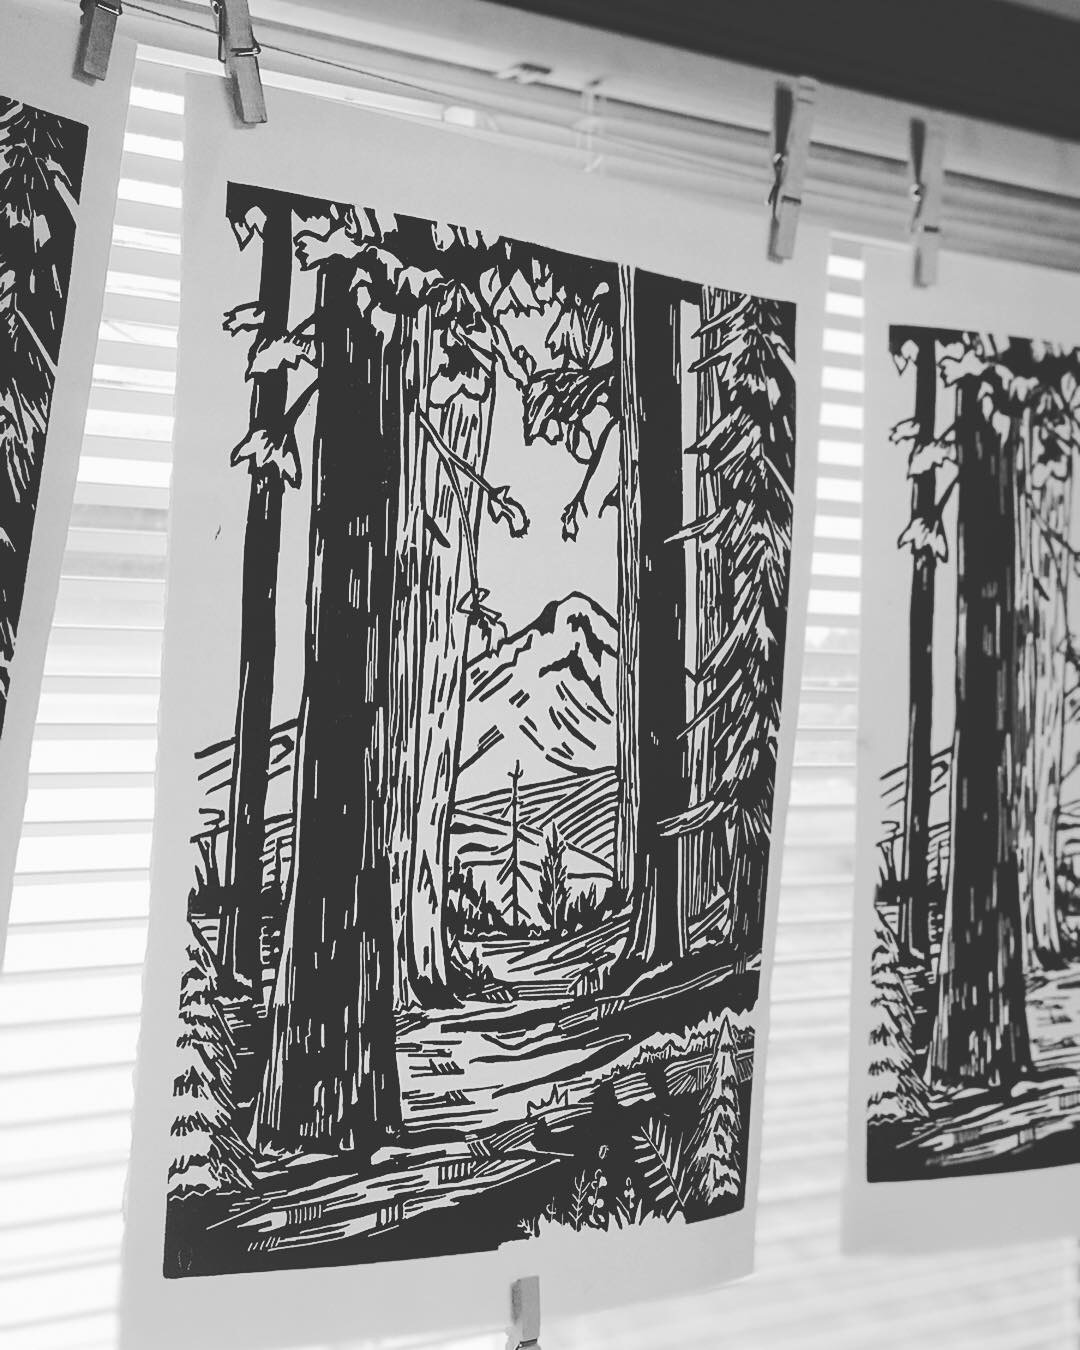
Once I finish carving it is time to print! Some tools needed to print are ink, I use speedball’s oil based ink. This is very important for me to use an oil based ink because I go back and paint on prints. If I were to use a water based ink when I go to paint the ink would become active with the watercolor and ruin the print. Other tools needed are a roller for rolling the ink out and into the plate, and a baren or wooden spoon to burnish the paper to transfer the ink onto the paper. It is always a surprise to see the first print, you never really know how exactly a print will turn out! After I pull the first print I look to see if I need to make any final adjustments. It also takes one or two prints for the the block to become fully inked and have really nice prints! Once I am happy with everything I repeat the steps through the printing process until I finish. I usually print 8-15 at a time, that is about all I can handle working from home. I hang my prints on a piece of string pinned to two walls and let them dry for about 24 hours until fully dried.
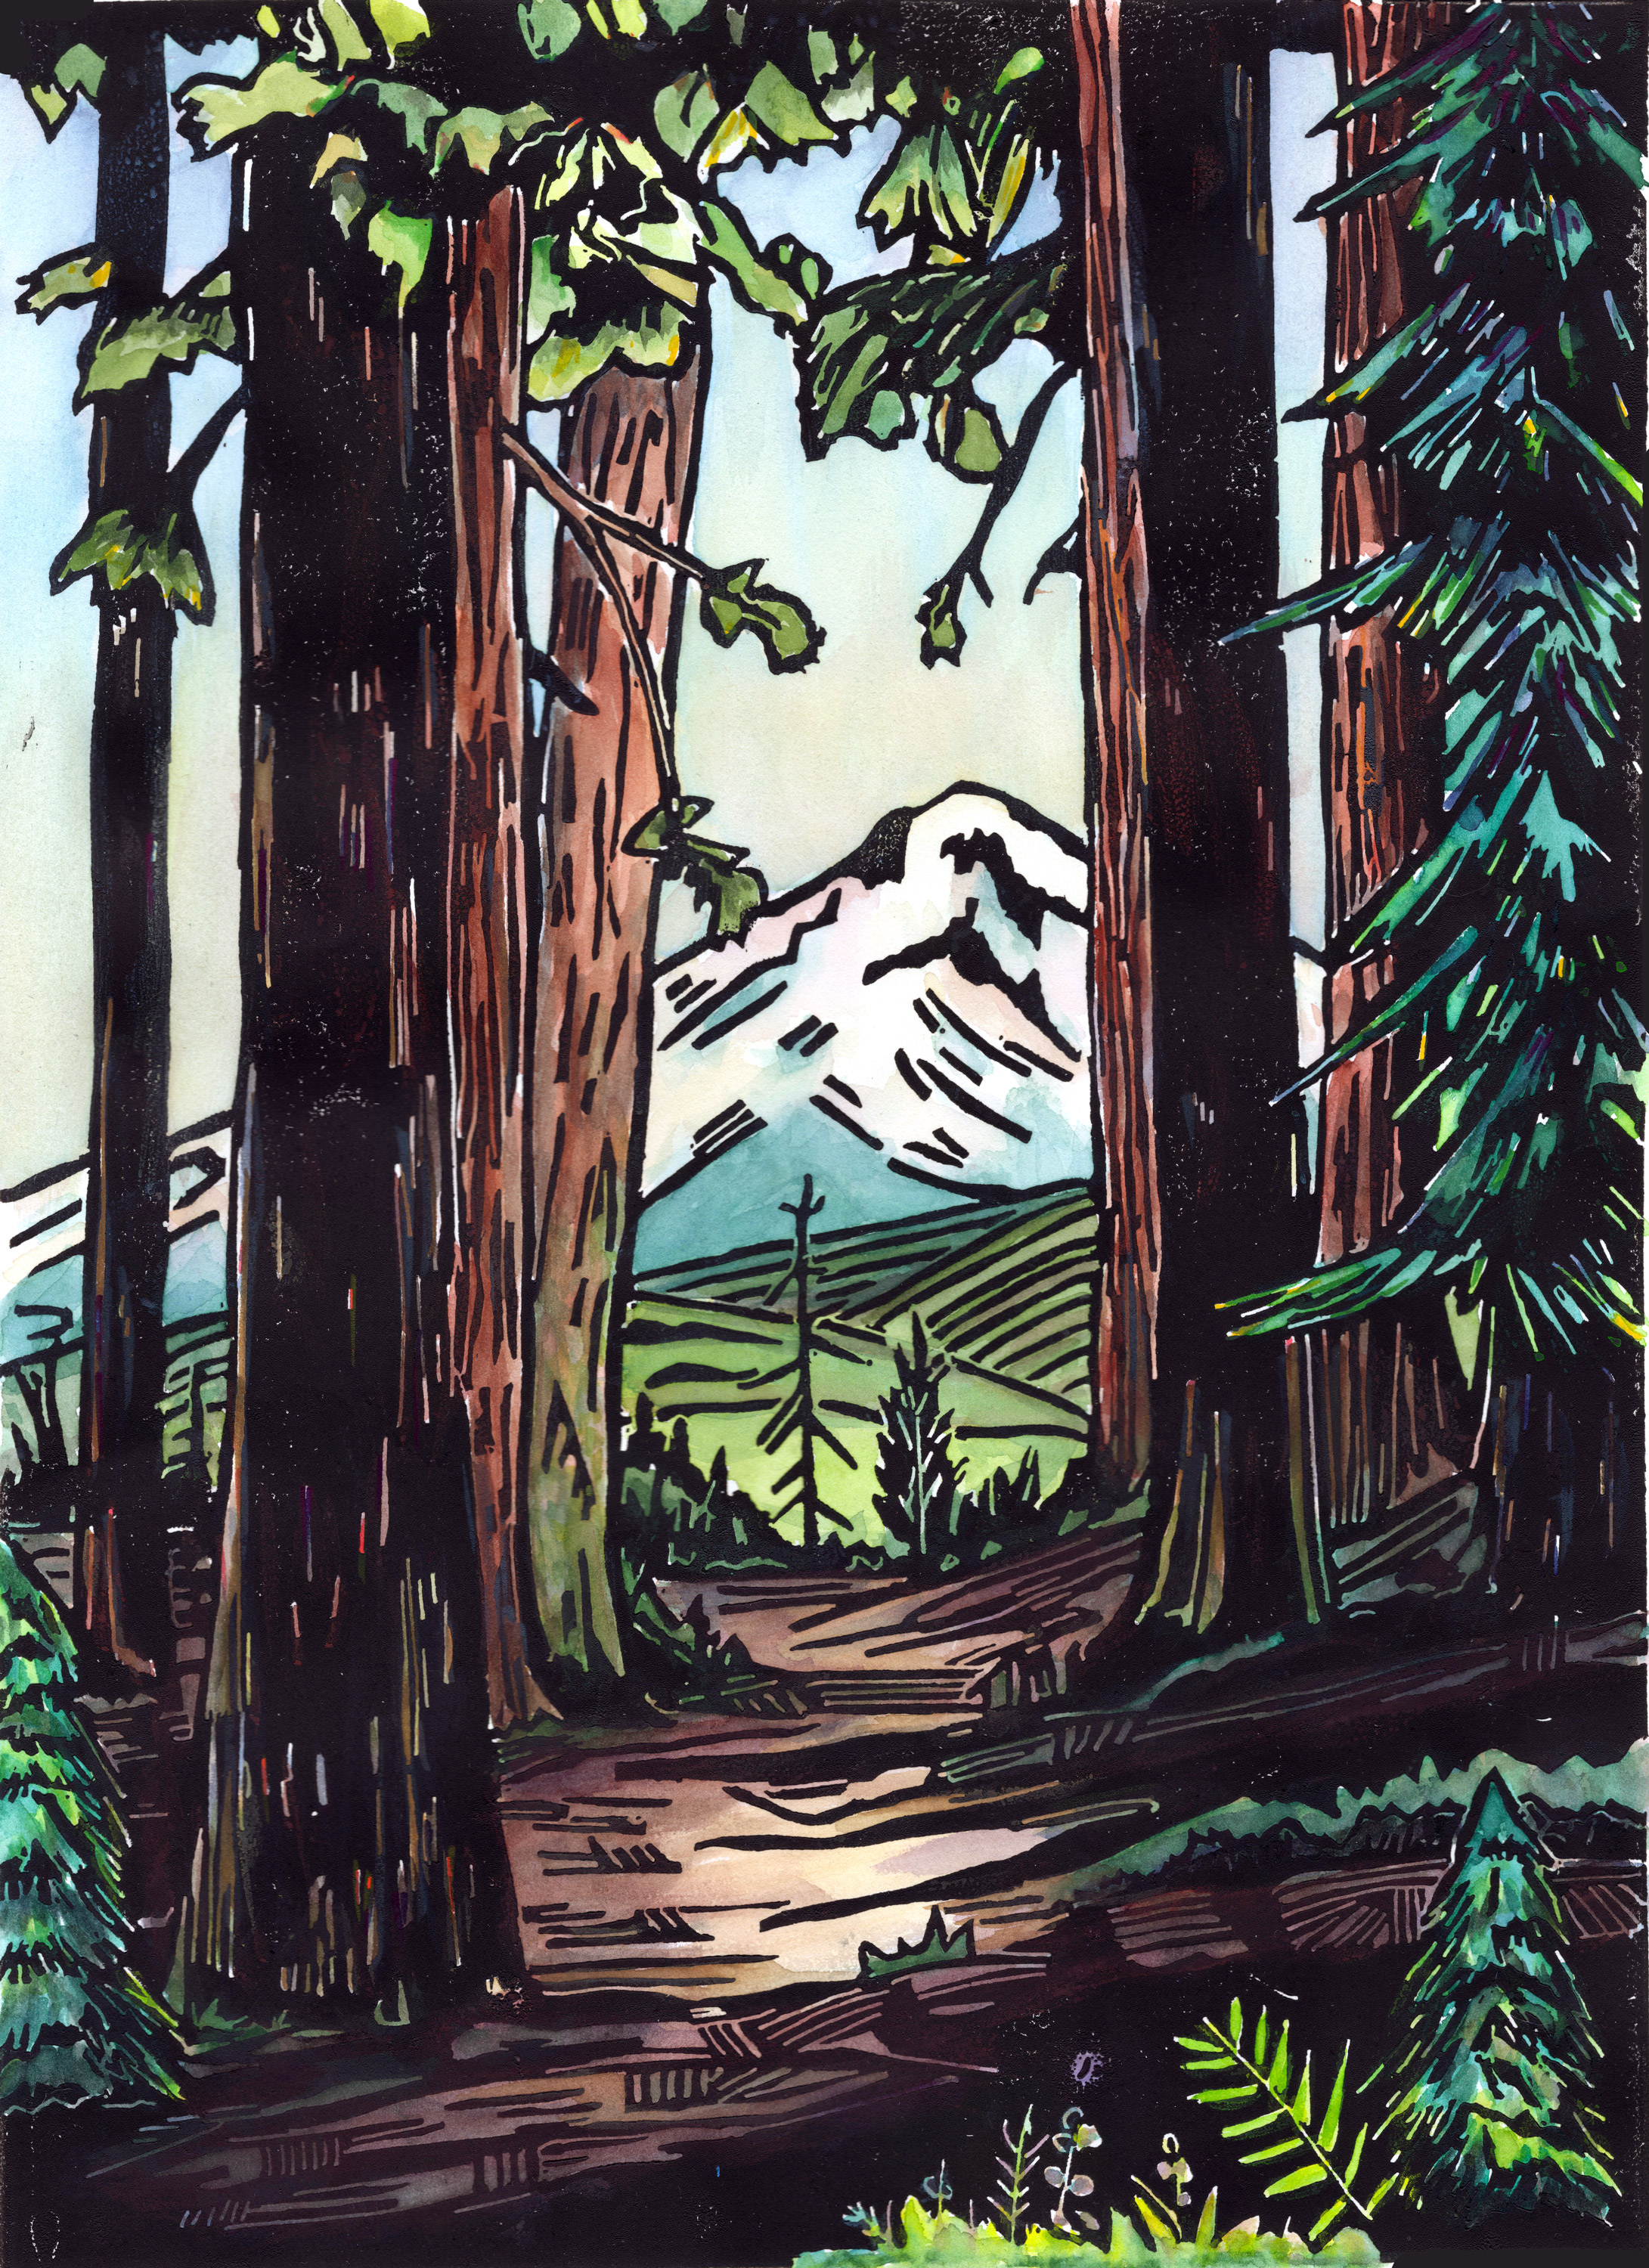
Now for the final step! Once the print is dried I go back and paint the print using watercolor. This is probably my favorite part! I love seeing the combination of the looseness of the watercolor mixed with the abstraction of the carving. I feel like it really makes the print shine.
Now after all of that I have a finished piece of artwork! : ] Timeline wise from start to finish it took me about 7-8 days to finish this piece. I have put together a time-lapse video of me carving and printing for you.
I hope you have enjoyed this and I hope you gave some insight into the printmaking process!
Bryan.
